Jewelry making can be a surprisingly accessible and rewarding hobby, offering a creative outlet and the satisfaction of crafting unique pieces. Knotted rings, in particular, present a fantastic entry point for beginners, requiring minimal materials and offering a surprising level of stylistic versatility. From delicate and minimalist designs to bold and textured statements, the possibilities are virtually limitless, all achievable with just some cord and a little know-how. The inherent beauty of a well-tied knot, transformed into a wearable piece of art, is both simple and elegant.
This article explores two incredibly easy methods for creating stunning DIY knot rings, perfect for crafting individual pieces or producing multiples as gifts. Whether you're a seasoned crafter or a complete novice, these straightforward techniques will guide you through the process, step by step, allowing you to create beautiful and unique jewelry in no time. Let's dive into the detailed instructions and begin crafting your own exquisite knot rings!
Safety Guidelines
- Always use sharp, clean scissors or wire cutters to prevent frayed ends and potential injuries.
- Ensure the knot is securely tightened before wearing to avoid the ring coming undone.
- Avoid using materials that could irritate skin, such as rough or untreated natural fibers. Choose hypoallergenic materials if you have sensitive skin.
Methods: Single Wire Knot Ring
Tools Needed
- 20 gauge wire
- pliers
- sharpie or ring mandrel
Step-by-Step Instructions
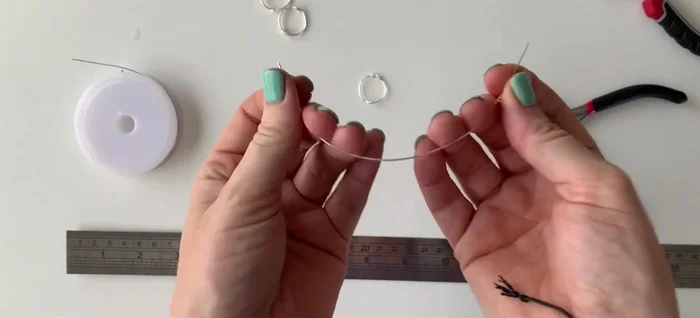
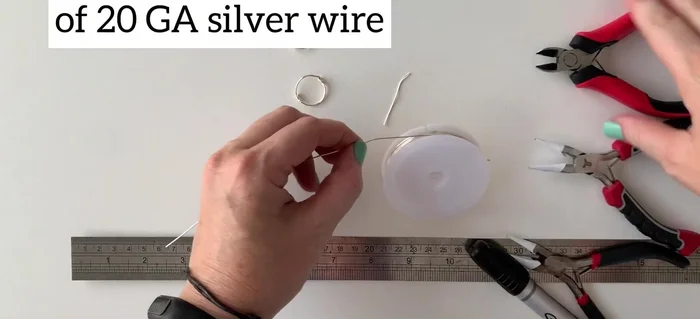
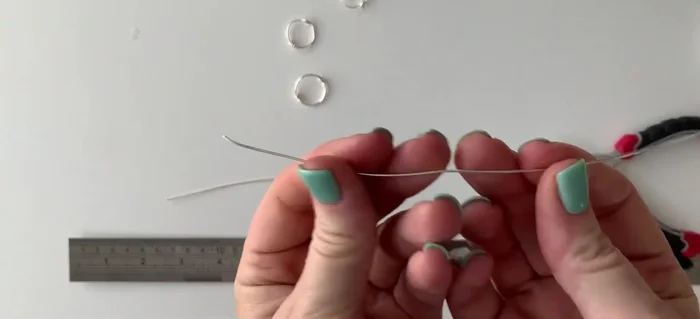
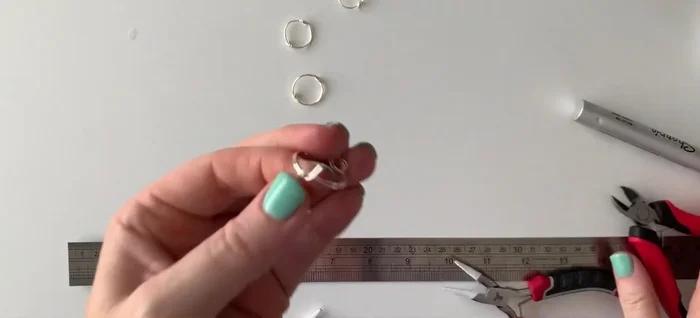
Prepare the Wire
- Cut approximately six inches of 20 gauge wire.

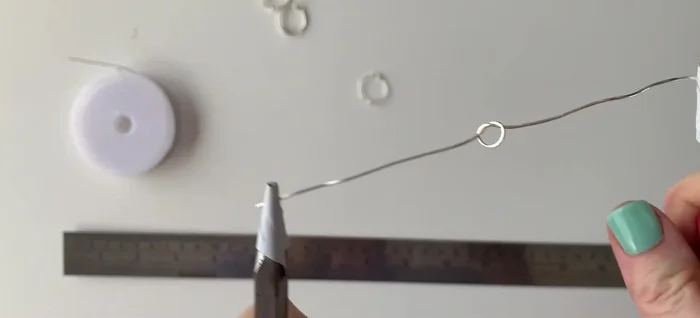
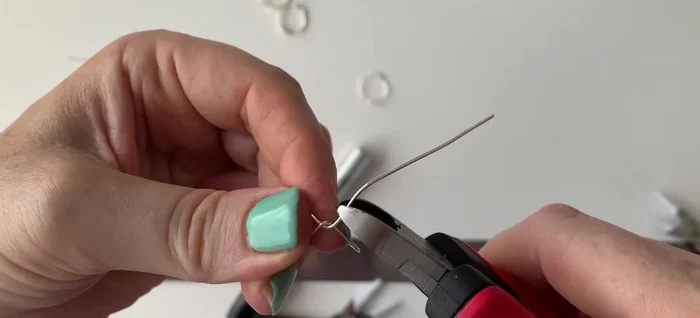
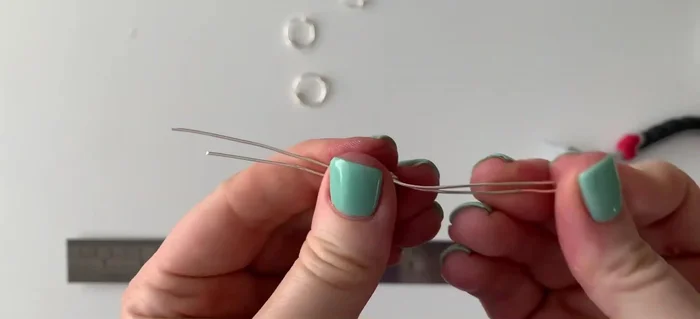
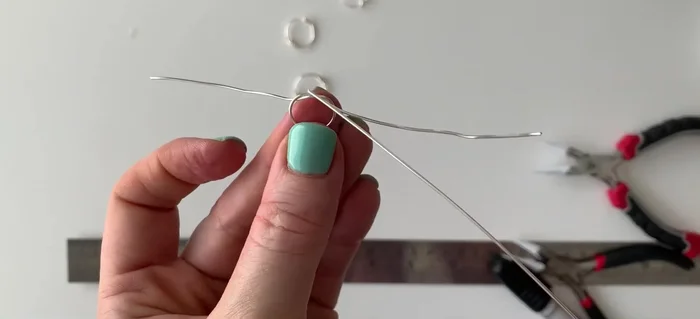
Prepare the Wire Form the Knot
- Gently form the wire into a knot shape, ensuring not to create sharp bends.
- Position the knot in the middle of the wire and tighten with pliers.
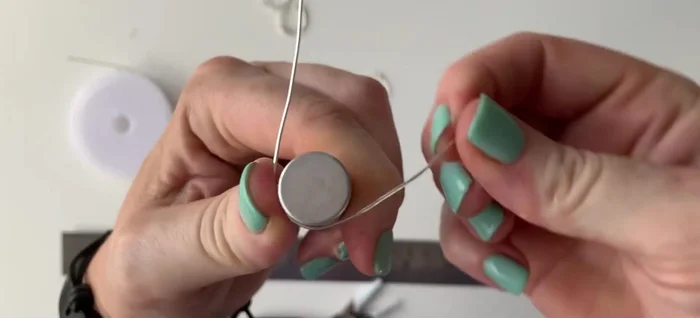
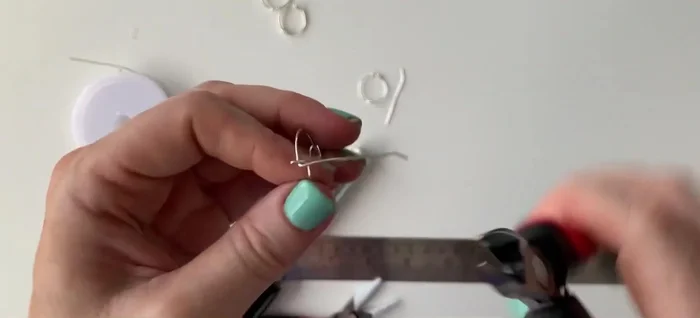
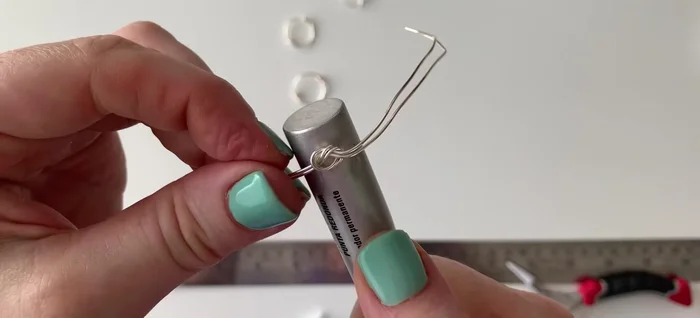
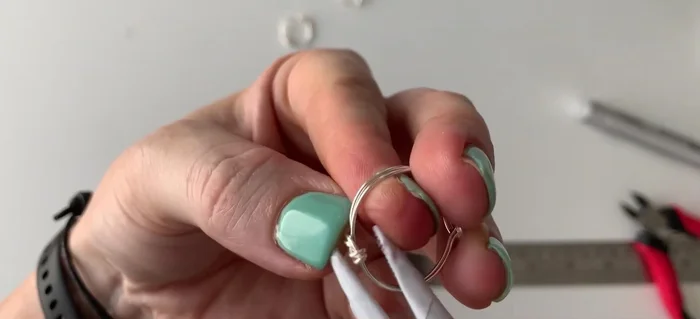
Form the Knot Size the Ring
- Wrap the wire around a sharpie or ring mandrel to achieve desired ring size.
- Adjust the size by gently pushing or pulling the wire.
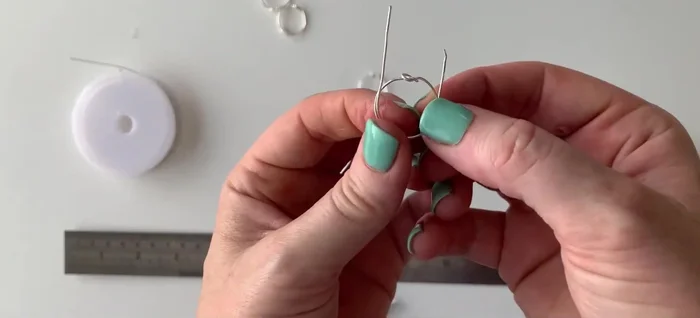
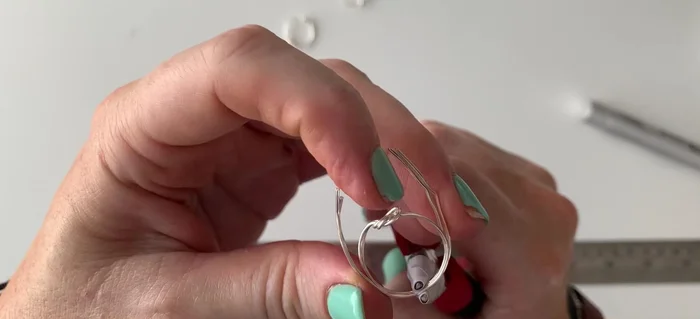
Size the Ring Secure the Ring
- Secure the ring at the back by overlapping the wire ends and creating a connection directly opposite the knot.
Secure the Ring Trim and Bend Wire Ends
- Trim the excess wire, leaving a couple of millimeters.
- Bend the remaining wire ends around the main wire to secure the connection.
Trim and Bend Wire Ends Finish and Polish
- Crimp the ends tightly to ensure smoothness and prevent sharp edges.
Finish and Polish


Tips
- Don't make the ring too small initially, as it will tighten when the back is secured.
- Ensure the connection at the back is opposite the knot for balance.
- Smooth out any lumps or bumps for comfort.
Methods: Double Wire Knot Ring
Tools Needed
- 20 gauge wire (two 6-inch lengths)
- pliers
- sharpie or ring mandrel
Step-by-Step Instructions
Prepare the Wire
- Prepare two 6-inch lengths of 20 gauge wire.
Prepare the Wire Form the Single Knot Ring
- Form a knot in the middle of one wire, being careful not to create sharp bends.
- Adjust the knot to the center by carefully pulling the wires.
- Wrap the wires around a sharpie or ring mandrel to size.
- Secure the ring at the back by overlapping and connecting the wires, ensuring the connection is in the middle.
Form the Single Knot Ring - Trim excess wire and bend the ends around to secure.
- Crimp down the ends, ensuring smoothness.
Form the Single Knot Ring Form the Double Knot Ring
- Feed the second wire through the knot and around it, following the same direction as the knot.
- Adjust the knot to the center by carefully pulling the wires.
- Wrap the wires around a sharpie or ring mandrel to size.
- Secure the ring at the back by overlapping and connecting the wires, ensuring the connection is in the middle.
Form the Double Knot Ring - Trim excess wire and bend the ends around to secure.
- Crimp down the ends, ensuring smoothness.
Form the Double Knot Ring
Tips
- Avoid tight bends in the wire to prevent weak spots.
- Adjust the ring size as needed by pushing or pulling the wires.
- Make sure the ring is slightly larger initially as it will shrink when secured.
Read more: DIY Dainty Gemstone Rings: Two Easy Techniques for Beginners