Elegant chain links are a cornerstone of exquisite jewelry design, adding a touch of sophistication to necklaces, bracelets, and anklets. However, the cost of pre-made chains can quickly escalate, especially when crafting multiple pieces or experimenting with different styles. Fortunately, creating your own stunning chain links is easier than you might think, opening up a world of creative possibilities and significant cost savings. Forget about settling for generic chains; you can achieve unique, high-quality results with simple materials and techniques.
This guide unveils two straightforward methods for crafting your own elegant chain links, perfect for both beginners and experienced jewelry makers. Whether you prefer a delicate, intricate design or a bolder, more substantial look, you'll find a technique to match your aesthetic. Ready to transform your jewelry-making game? Let's delve into the step-by-step instructions for each method and begin crafting your own beautiful, custom chains.
Safety Guidelines
- Always wear safety glasses to protect your eyes from flying metal pieces during cutting and shaping.
- Use appropriate pliers for your chosen wire gauge to avoid damaging the wire or injuring yourself. Apply pressure evenly to prevent bending or breaking.
- If working with jump rings, open them carefully using the appropriate pliers to avoid deformation. Avoid opening them more than is necessary.
Methods: Method 1: Classic Interlocking Chain Link
Tools Needed
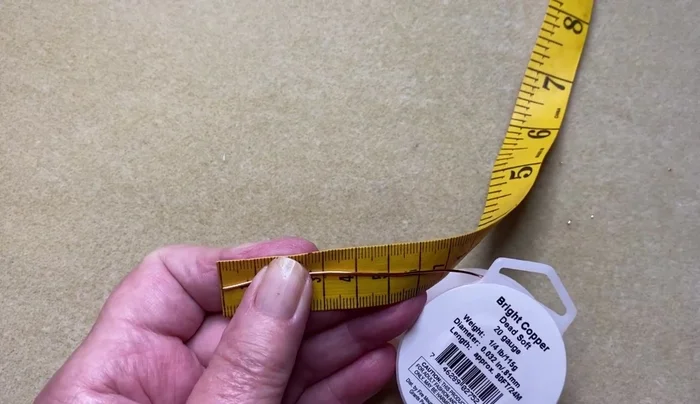
- 20 gauge wire
- Tape measure
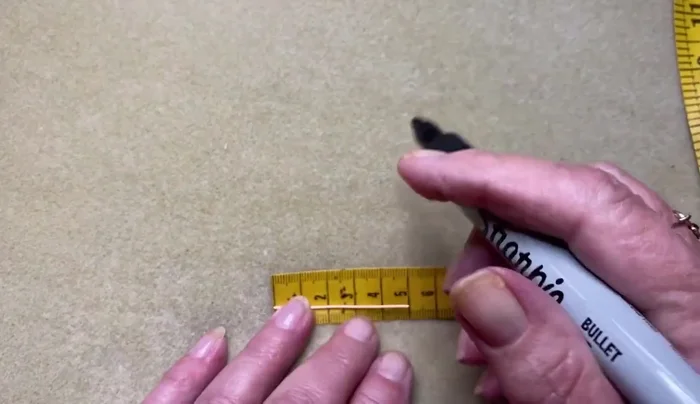
- Permanent marker
- Pliers (flat nose and chain nose)
- Jump rings
Step-by-Step Instructions
Prepare the Wire
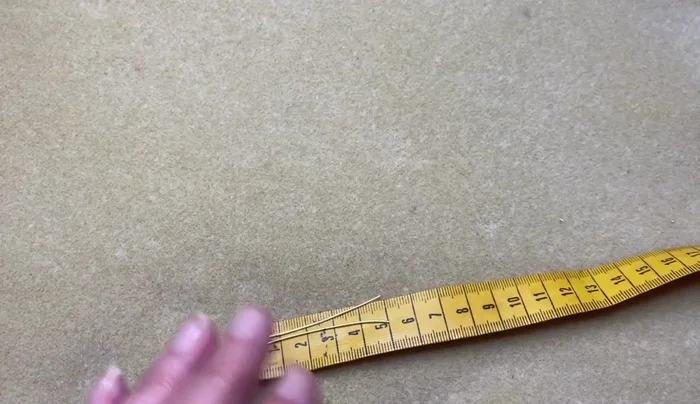
- Cut two 5cm (2 inches) pieces of 20 gauge wire. Ensure flush cuts.
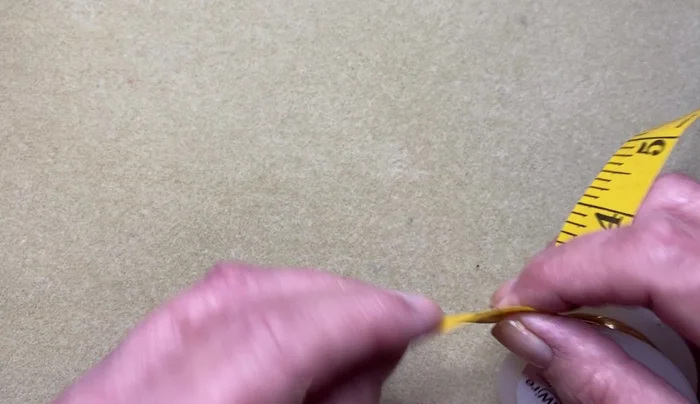
- Mark 2.5cm (1 inch) on each wire piece.

Prepare the Wire Create the First Link
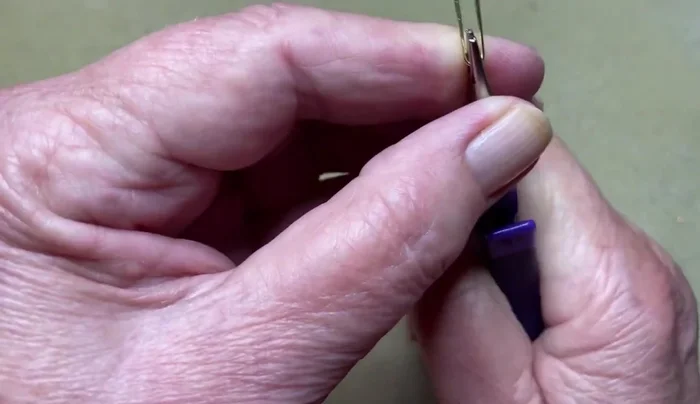
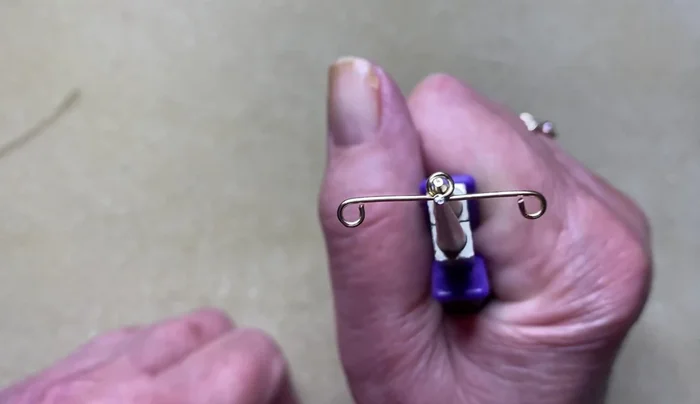
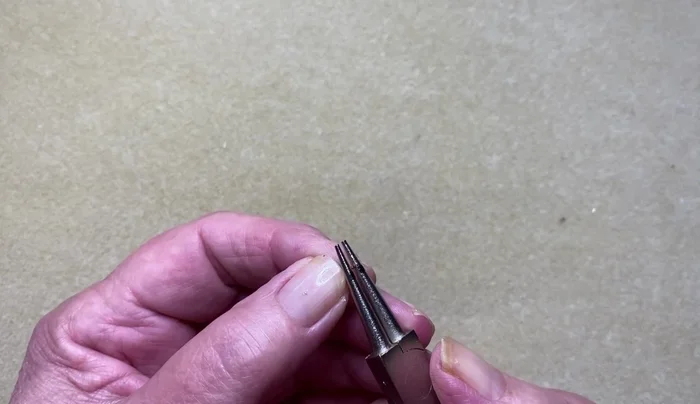
- Using pliers, make a loop at the 7mm mark on each wire end. Ensure loops are facing towards you.
- Adjust loops until they are even. Bring one loop over the other, creating an overlap.
- Using pliers, secure the overlap.
Create the First Link Create the Second Link
- Repeat steps 3-5 to create a second link.
Create the Second Link Join the Links
- Connect links using jump rings.
Join the Links

Tips
- If loops are uneven, adjust the shorter loop out and the longer one in until even.
- Don't use wire gauge lower than 22.
- Copper wire is more malleable than gold wire.
Methods: Method 2: Simplified Paperclip-Inspired Link
Tools Needed
- Copper wire
- Tape measure
- Permanent marker
- Pliers (flat nose and chain nose)
- Jump rings
Step-by-Step Instructions
Prepare the Wire
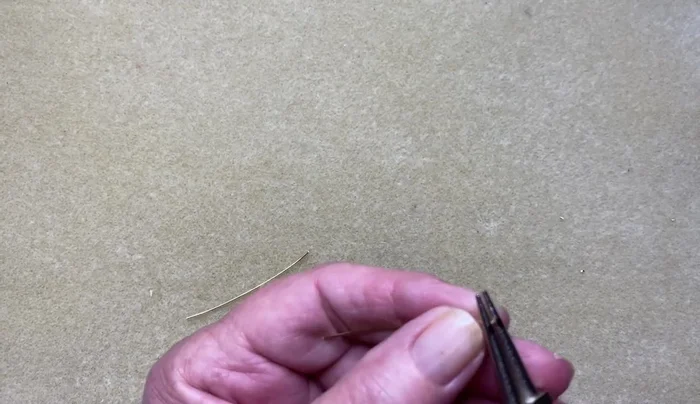
- Cut a 6cm piece of copper wire. Ensure flush cuts.
Prepare the Wire Mark and Form Loops
- Mark 2.5cm on the wire.
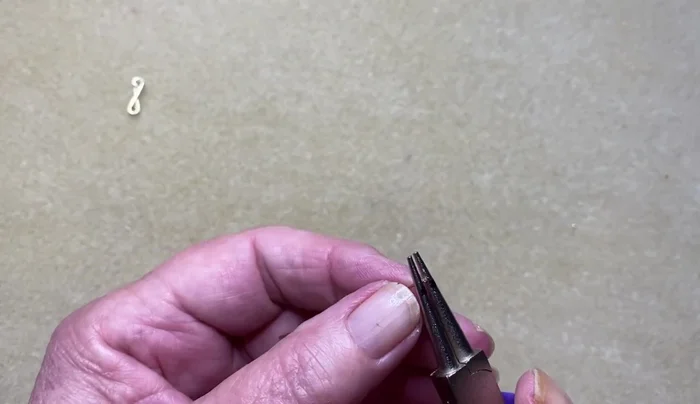
- Create two loops at the 2.5cm mark, ensuring loops face each other.
Mark and Form Loops Assemble the Link
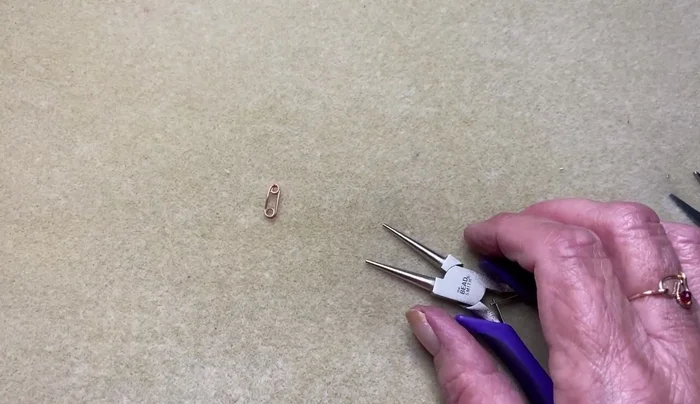
- Cross the loops over each other, creating an X shape.
- Using pliers, secure the loops and adjust until even.
Assemble the Link Attach to Chain
- Connect the link to the chain using jump rings.
Attach to Chain


Tips
- Don't cut links smaller than 5cm.
Read more: DIY Dainty Gemstone Rings: Two Easy Techniques for Beginners