Have you always admired delicate gemstone rings but been intimidated by the price tag or the perceived complexity of jewelry making? Fear not! Creating your own dainty gemstone rings is easier than you think, offering a rewarding and surprisingly affordable creative outlet. With just a few basic supplies and a little patience, you can craft stunning, personalized jewelry that reflects your unique style and adds a touch of sparkle to your everyday life. Forget expensive designer pieces; this guide empowers you to become your own jewelry designer.
This article provides two simple, yet effective techniques perfect for beginners, guiding you through the process of crafting beautiful gemstone rings. Whether you prefer a bezel setting for a secure and polished look, or a simpler wire-wrapping method for a more bohemian aesthetic, we’ll walk you through each step, equipping you with the skills and confidence to start creating your own collection of exquisite, handcrafted rings. Let’s dive into the step-by-step instructions!
Safety Guidelines
- Always supervise children around small crafting materials like gemstones and beads to prevent choking hazards.
- Be mindful of sharp tools like wire cutters or jewelry pliers. Use caution and consider wearing safety glasses.
- Some gemstones may be fragile. Handle them gently to avoid chipping or breaking. If using a hammer, ensure it is appropriate for the stone's hardness.
Methods: Closed Bezel Ring Making
Tools Needed
- square wire (1.2 mm)
- fine silver bezel strip
- sterling silver sheet (0.6 mm thick)
- gemstone
- flux
- hard solder
- row height mallet
- mandrel
- files
- polishing tools
Step-by-Step Instructions
Ring Band Preparation
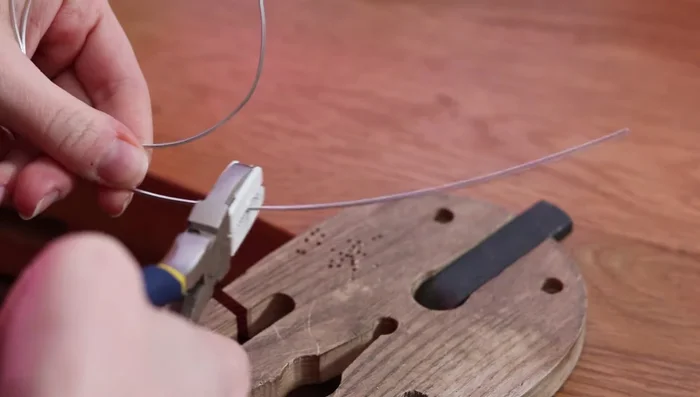
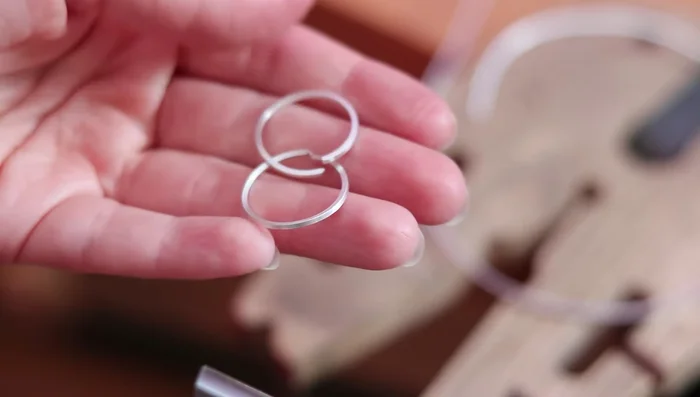
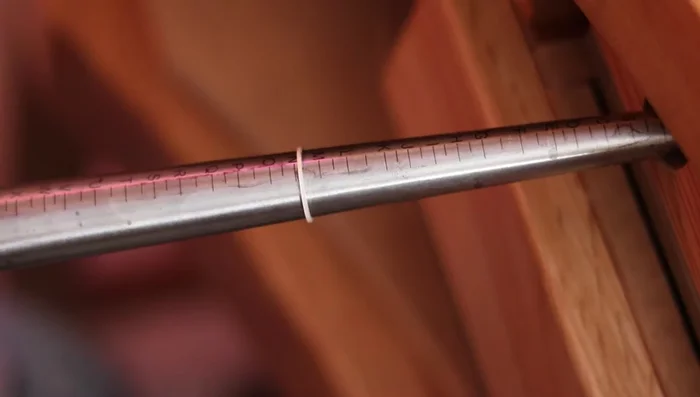
- Form two ring bands from square wire by wrapping it around a mandrel slightly smaller than desired size.
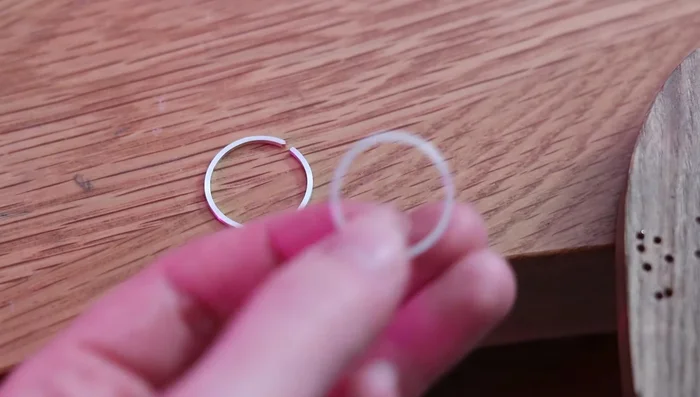
- Cut and adjust the ring bands to the desired size. Use a mallet to even out any twists.

Ring Band Preparation Closed Bezel Ring Construction
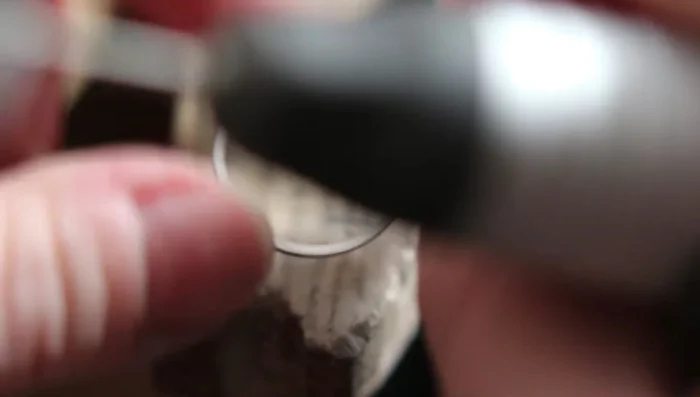
- Form the ring band for the closed bezel, cut the edges, and shape it on the mandrel.
- File down the edges until they are flush, ensuring no gaps.
- Apply flux and hard solder, heating the ring evenly to avoid overheating.
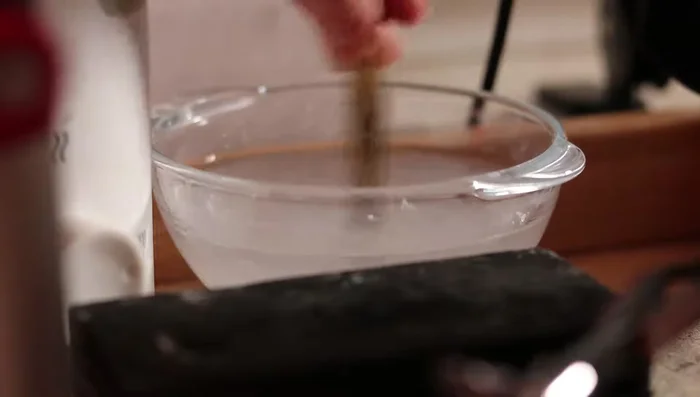
- Quench and clean the soldered ring in a pickling solution.
Closed Bezel Ring Construction - Shape the ring on the mandrel using a row height mallet.
- Sand off excess solder around the joint using files and polishing sticks.
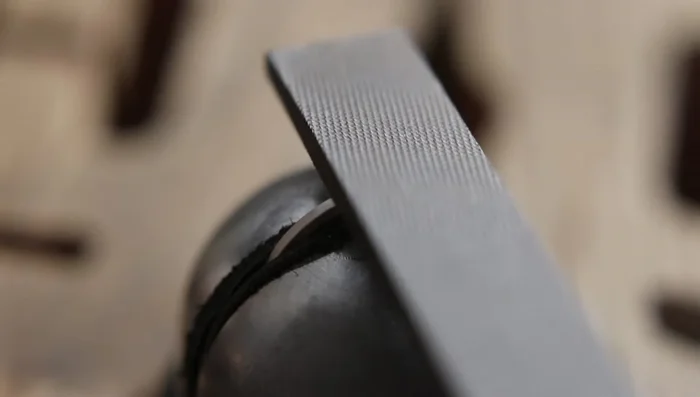
Closed Bezel Ring Construction Bezel Creation
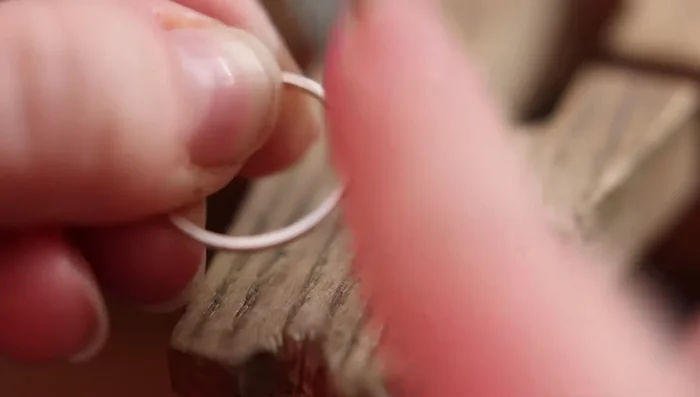
- The bezel wire should be slightly taller than the cabochon, overlapping where the curve starts.
- Wrap the bezel wire around the gemstone, cut, and check the size. Use half-round pliers to shape.
Bezel Creation Closed Bezel Attachment
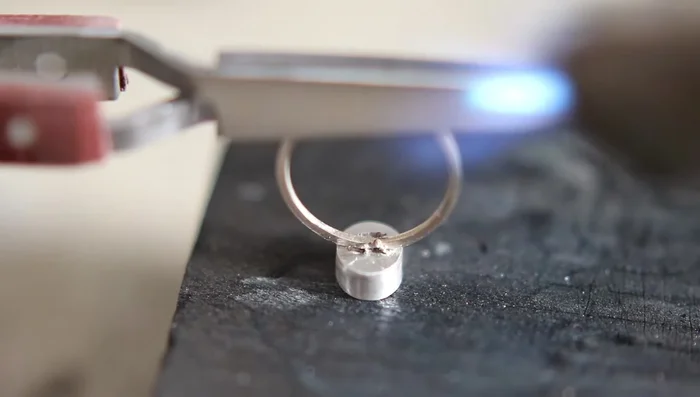
- File down the ring band to create a flat spot for soldering the closed bezel.
- Solder the bezel to the ring band using hard solder paste. Heat tweezers first to avoid heat sink.
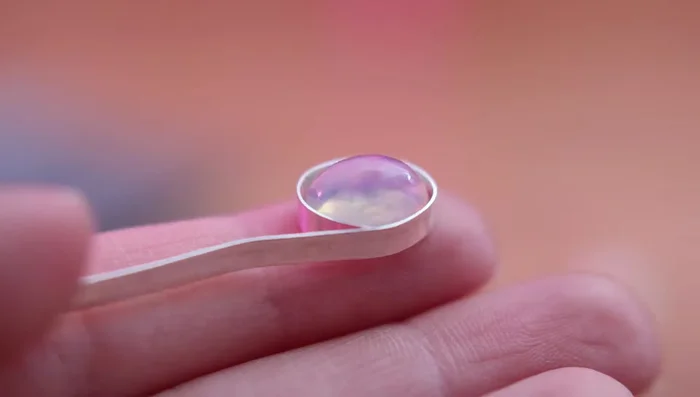
Closed Bezel Attachment Gemstone Setting and Finishing
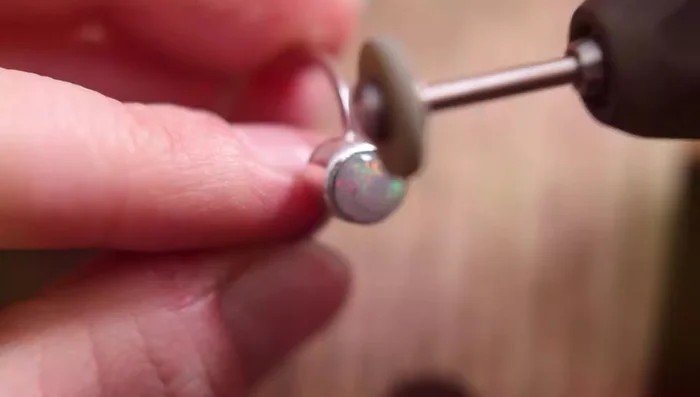
- Clean and polish the ring using various polishing tools and attachments.
- Set the gemstone using a bezel pusher, pushing from opposite sides first and working around the gem.
- Clean the edges using polishing attachments designed for use near gemstones.
Gemstone Setting and Finishing


Tips
- Use a slightly smaller mandrel when wrapping the wire to account for expansion during soldering.
- Avoid putting the flame directly on the metal while soldering to prevent overheating.
- Use a row height mallet to avoid scratches and enlargement of the ring during shaping.
Methods: Open Back Bezel Ring Making
Tools Needed
- square wire (1.2 mm)
- fine silver bezel strip
- sterling silver sheet (0.6 mm thick)
- gemstone
- flux
- hard solder
- hole punching pliers
- files
- polishing tools
Step-by-Step Instructions
Ring Band Preparation
- Form and shape the ring band as in the closed bezel method.
Ring Band Preparation Closed Bezel Creation
- Create the bezel setting as described in the closed bezel method.
- Solder the bezel onto the ring band.
Closed Bezel Creation Open Back Bezel Backplate Preparation
- Cut out the back plate for the open back bezel using hole punching pliers and files to create the shape. This can also be done after soldering by drilling.
Open Back Bezel Backplate Preparation Open Back Bezel Assembly
- Solder the bezel onto the ring band.
Open Back Bezel Assembly Finishing and Polishing
- Clean and polish the ring using various polishing tools and attachments.
- Clean the edges using polishing attachments designed for use near gemstones.
Finishing and Polishing Gemstone Setting
- Set the gemstone using a bezel pusher, pushing from opposite sides first and working around the gem.
Gemstone Setting


Tips
- Use a slightly smaller mandrel when wrapping the wire to account for expansion during soldering.
- Avoid putting the flame directly on the metal while soldering to prevent overheating.
- Use a row height mallet to avoid scratches and enlargement of the ring during shaping.