Dangle charm rings – delicate, personalized, and surprisingly easy to create! These charming accessories are perfect for adding a touch of whimsy to any outfit, and the best part? You can make them yourself. Forget expensive designer jewelry; with a few basic supplies and a little patience, you can craft stunning, unique rings that reflect your personal style. Whether you’re a seasoned jewelry maker or a complete beginner, this tutorial will guide you through the process of creating your own enchanting dangle charm rings. The possibilities are endless – from delicate floral designs to bold geometric shapes, you can customize your rings to match any mood or occasion.
This simple wire jewelry tutorial will show you how to transform ordinary wire and charms into extraordinary pieces of wearable art. We'll walk you through each step, from selecting your materials to adding the finishing touches, ensuring you create beautiful, professional-looking dangle charm rings with confidence. Let's get started on creating your own dazzling collection!
Safety Guidelines
- Always use jewelry-grade wire; craft wire can be brittle and break easily, posing a risk of injury.
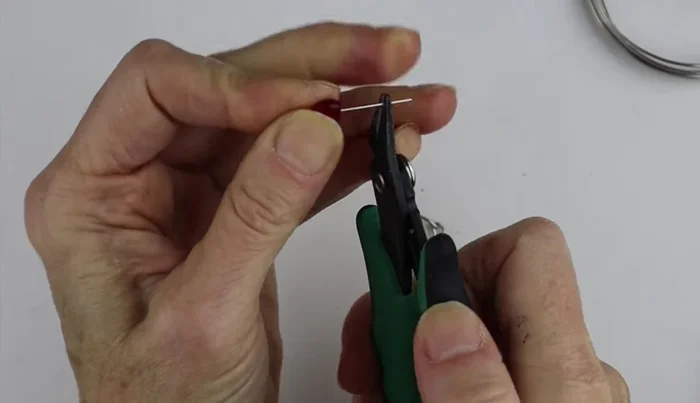
- Be mindful of sharp wire ends. Use wire cutters to trim cleanly and consider blunt-ended pliers to manipulate the wire, preventing accidental pokes or scratches.
- If working with small components, consider using a work surface with a magnifier or good lighting to avoid eye strain and ensure precise placement of the charms.
Methods: Method 1: Simple Ring with Dangle Charm
Tools Needed
- 18 gauge wire
- 20 gauge wire or head pins
- round pliers
- ring cone
- flat pliers
- beads or charms
Step-by-Step Instructions
Prepare the Ring Band
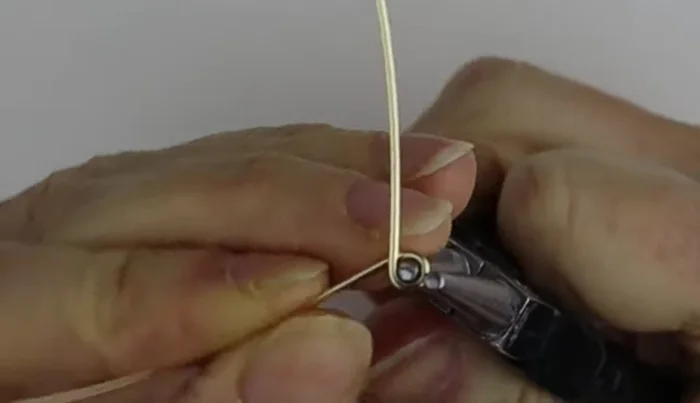
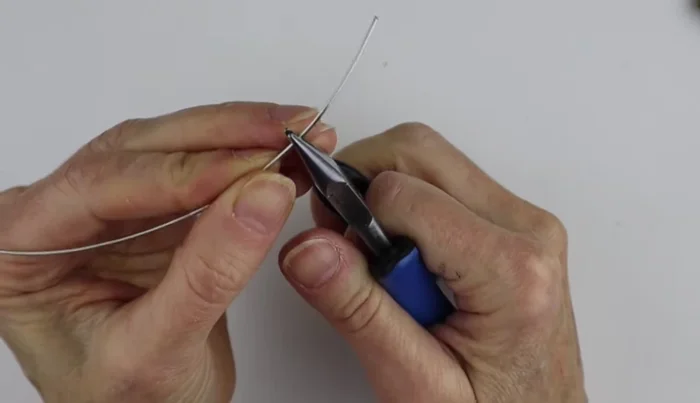
- Cut a 12-15 inch piece of 18 gauge wire. Create a small circle using round pliers where the charm will hang.
Shape and Size the Ring
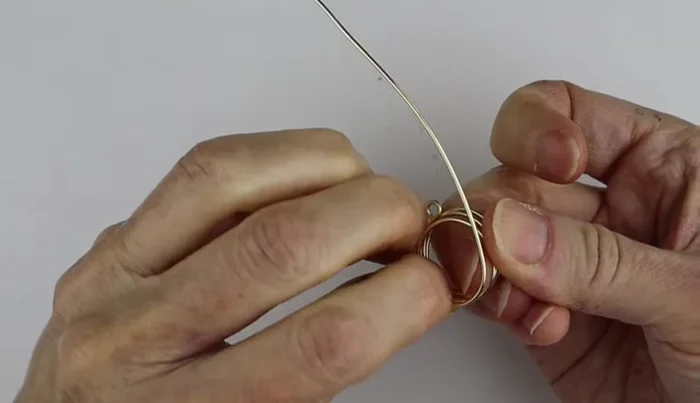
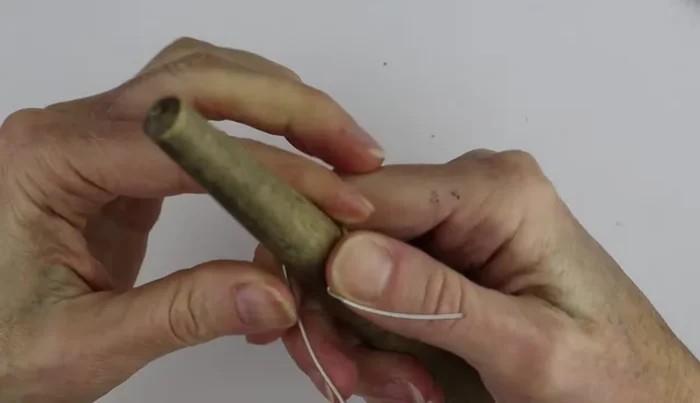
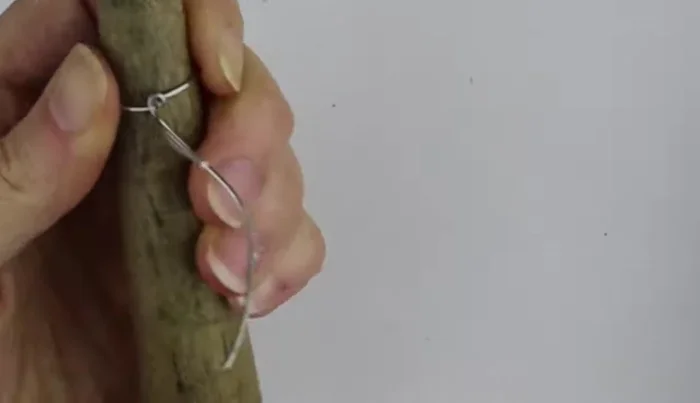
- Shape the wire into a ring using your finger as a guide. Use the ring cone to determine the desired size and wrap the wire once above and once below the cone for centering.

Shape and Size the Ring Finish the Ring Back
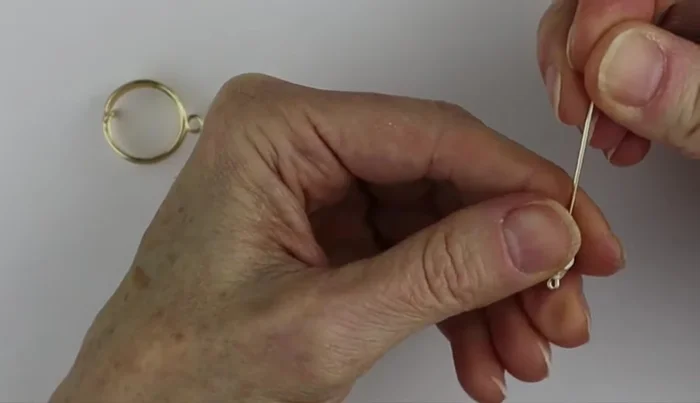
- To finish the back, clip and turn the wire ends, or wind them around. Clip and turn method involves creating small loops at the back and flattening them with flat pliers to create a flush finish.
Finish the Ring Back Prepare the Dangle Charm Attachment
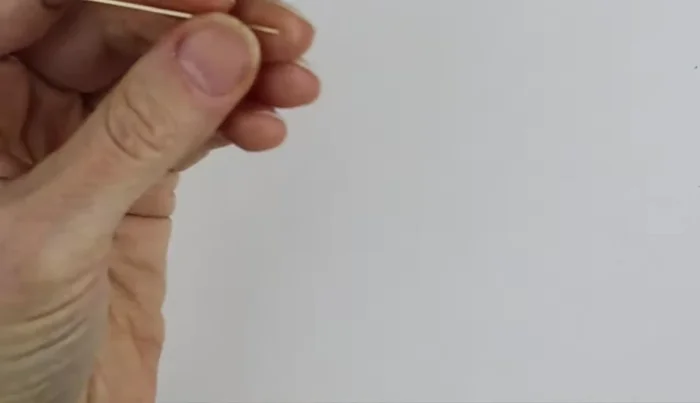
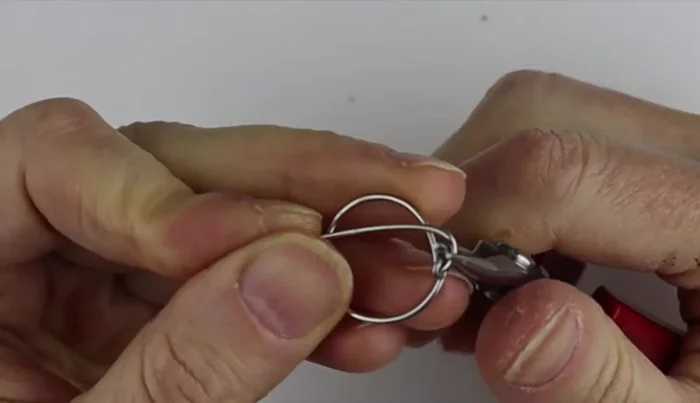
- Cut a short piece of 20 gauge wire (or use a head pin). Create a small loop on one end using round pliers.
Prepare the Dangle Charm Attachment Attach the Charm
- Attach the bead or charm to the loop, securing it by wrapping the wire around the ring's loop and flattening the ends with flat pliers.
Attach the Charm
Tips
- For multiple charms, make the initial circle larger.
- Use 18 gauge wire for a more durable ring.
- Adjust the position of the loops at the back as desired.
Methods: Method 2: Simple Peace Sign Ring with Charm
Tools Needed
- 16 or 18 gauge wire
- ring cone
- round pliers
- flat pliers
- head pin & charm
Step-by-Step Instructions
Prepare the Wire
- Bend a piece of wire at a 45-degree angle about an inch from the end.
Prepare the Wire Form the Ring
- Use the ring cone to shape the wire into a ring.
Form the Ring Secure the Ring
- Twist the wire ends together and clip them flush against the ring.
Secure the Ring Create the Charm Loop
- Create a small loop on the opposite end using round pliers.
Create the Charm Loop Attach the Charm
- Attach a head pin with a charm to the loop.
Attach the Charm
Tips
- Thicker wire (16 gauge) is recommended for better stability.
Read more: DIY Dainty Gemstone Rings: Two Easy Techniques for Beginners