Bracelets are a timeless accessory, capable of elevating any outfit from casual to chic. But the price tags on designer bracelets can be surprisingly steep. Fortunately, creating your own stunning jewelry is easier than you might think! With just a few basic materials and a little creativity, you can craft beautiful, personalized bracelets that reflect your unique style without breaking the bank. Forget expensive boutiques; unleash your inner artisan and discover the joy of DIY jewelry making.
This guide will walk you through three simple yet effective techniques for creating gorgeous bracelet chains, perfect for beginners and seasoned crafters alike. Whether you prefer a delicate chain, a bold statement piece, or something in between, we've got you covered. Get ready to learn these easy-to-follow steps and transform ordinary materials into extraordinary accessories, so let's dive into the step-by-step instructions!
Safety Guidelines
- Always supervise children when working with small parts and sharp tools like wire cutters or pliers.
- Be mindful of the materials you choose. Some metals may cause allergic reactions. Test a small area of skin before wearing a finished bracelet for an extended period.
- Avoid pulling or tugging forcefully on delicate chains or components to prevent breakage.
Methods: Horseshoe Link Chain
Tools Needed
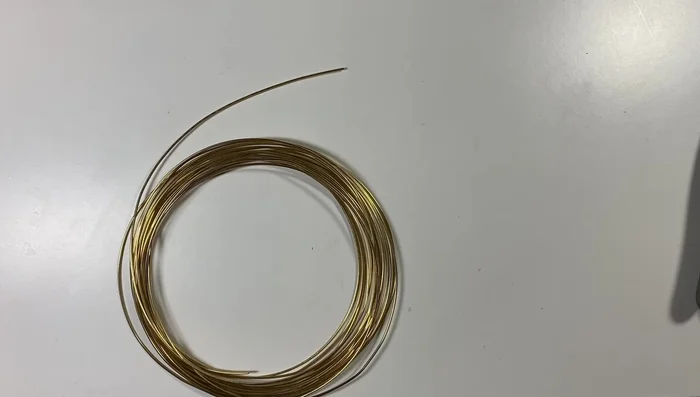
- 20 gauge non-tarnish brass wire
- flush cutters
- round nose pliers
- chain nose pliers
- flat nose pliers
- 5/16 inch dowel (8mm diameter)
- ruler
Step-by-Step Instructions
Prepare Links
- Measure and cut 18 (or more) 1.5-inch wire pieces for links. Ensure all cuts are flush.
- Create small loops at both ends of each link using round nose pliers. Keep loops small and facing the same direction.

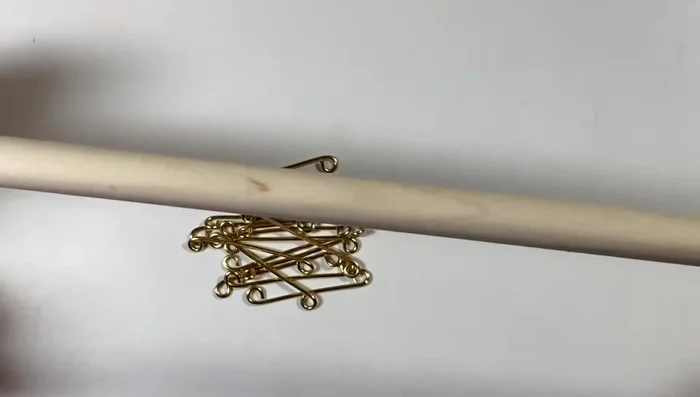
Prepare Links Form Horseshoe Links
- Wrap links around dowel to form horseshoe shapes, ensuring loops are flat against the dowel. Use pliers to adjust and create a rounded shape.
Form Horseshoe Links Assemble Chain
- Connect the horseshoe links together by opening the loops on one end of each link and hooking them onto the loops of the adjacent link. Close the loops tightly.
Assemble Chain Create Clasp
- fold in half, flatten slightly, create loops at both ends.
Create Clasp

Tips
- Use the first cut piece as a guide to ensure consistent link length.
- Keep loops on the smaller side to have enough wire to wrap around the dowel.
- Make sure the loops are flat up against the dowel when creating the horseshoe shape.
Methods: Jump Ring and Figure Eight Chain
Tools Needed
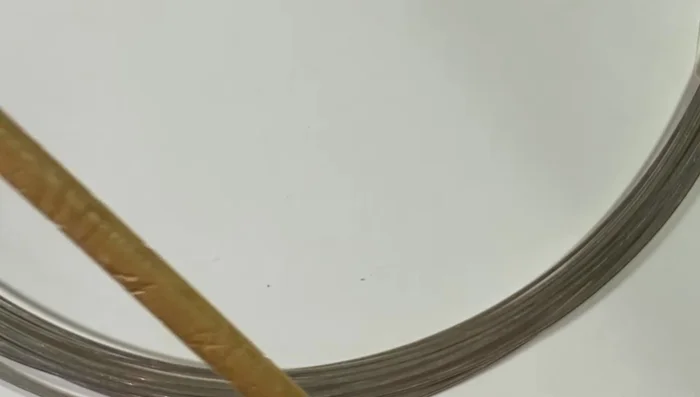
- 18 gauge sterling silver wire (figure eight links)
- 16 gauge sterling silver wire (jump rings)
- round nose pliers
- nylon jaw pliers (optional)
- quarter-inch doll rod (6mm)
- flush cutters
Step-by-Step Instructions
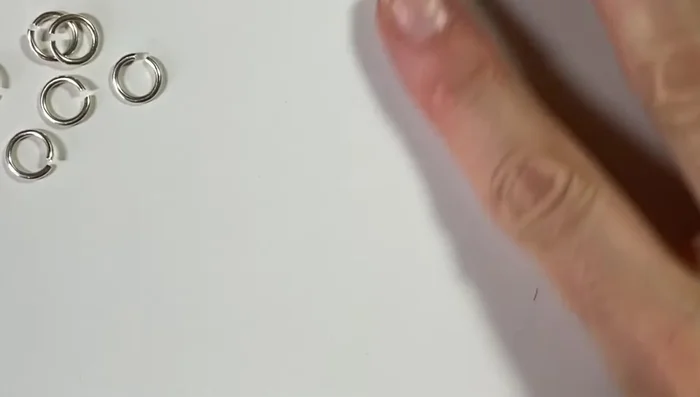
Create Jump Rings
- Make approximately 12 jump rings using 16 gauge wire and a 6mm dowel.
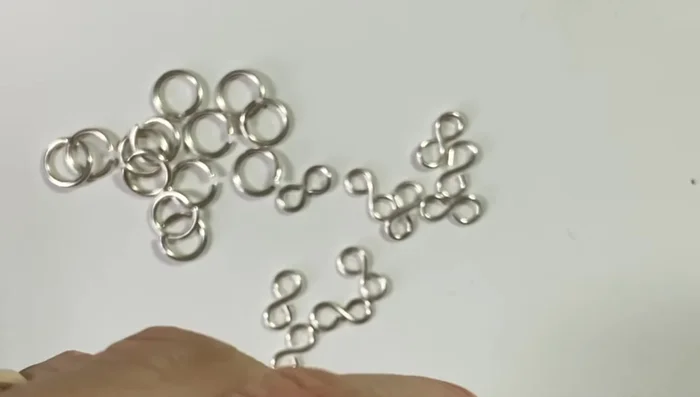
Create Jump Rings Create Figure Eight Links
- Make approximately 12 figure eight links using 18 gauge wire.
Create Figure Eight Links Assemble the Chain
- Assemble the chain by connecting jump rings and figure eight links.
Assemble the Chain Attach Clasp
- Add a clasp (e.g., swan clasp).
Attach Clasp
Tips
- Use nylon jaw pliers to protect your hands when working with 16 gauge wire.
Methods: Split Ring Chain
Tools Needed
- round copper wire
- 1/8 inch dowel (5mm)
- flush cutters
- 16 gauge jump rings (for clasp)
- sharpening stone (optional)
Step-by-Step Instructions
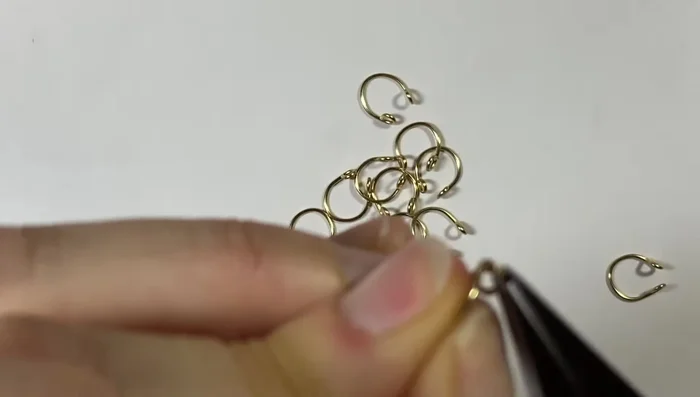
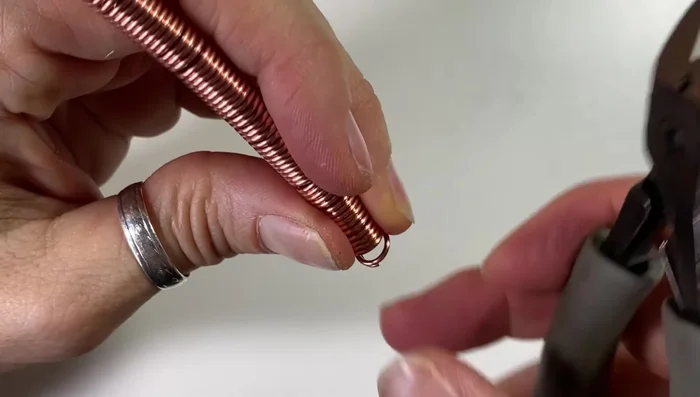
Prepare Split Rings
- Wind copper wire around 5mm dowel to create a long coil.
- Cut the coil to create split rings by skipping a ring between each cut. Ensure all ends are flush.
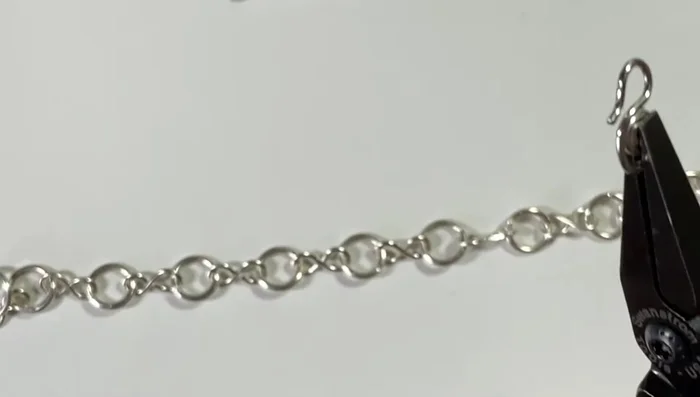
Prepare Split Rings Assemble the Chain
- Connect the split rings together to form the chain.
Attach Clasp
- Add a clasp (e.g., 16 gauge swan clasp and jump ring).
Attach Clasp

Tips
- To make split rings, skip a ring between cuts.
- Straighten the rings as you link them for easier assembly.
- Check for sharp edges after assembly and smooth or tuck in any snags.
Read more: DIY Stretchy Bracelets: A Step-by-Step Guide to Making Meaningful Jewelry