Summer camp crafts just got a serious upgrade! Forget the predictable friendship bracelets and beaded necklaces – this year, we're diving into the vibrant, versatile world of DIY polymer clay bead bracelets. Polymer clay offers endless creative possibilities, allowing campers to design unique jewelry reflecting their individual styles and personalities. From bright, summery colours to intricate patterns and textures, the potential for self-expression is truly limitless. Imagine the pride on a camper's face as they sport a bracelet they crafted themselves, a tangible reminder of their fun-filled summer experience.
This isn't your grandma's clay; polymer clay is easy to work with, even for younger crafters, and bakes into durable, long-lasting beads. We'll guide you through a step-by-step process, transforming simple clay into stunning, wearable art. Ready to get your hands dirty and create some seriously cool bracelets? Let's jump into the detailed instructions below!
Safety Guidelines
- Polymer clay needs to be baked in a preheated oven according to the package instructions. Adult supervision is required at all times during baking.
- Avoid touching your eyes or face while working with unbaked polymer clay to prevent accidental ingestion.
- Use a well-ventilated area when baking polymer clay to minimize exposure to fumes.
Methods: Rainbow/Random Color Bracelet
Tools Needed
- Clay beads
- Elastic thread
- Scissors
- Super glue
Step-by-Step Instructions
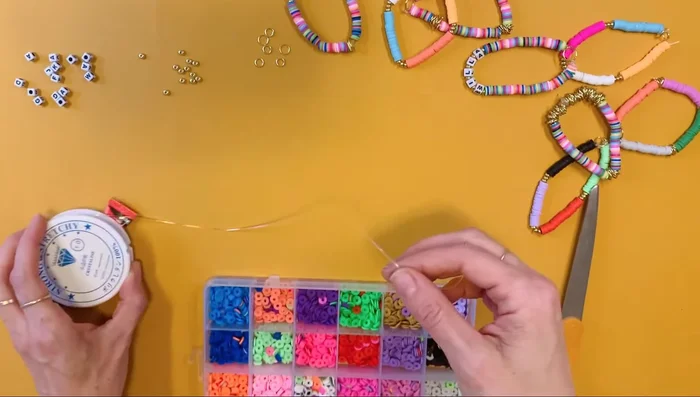
Prepare Materials
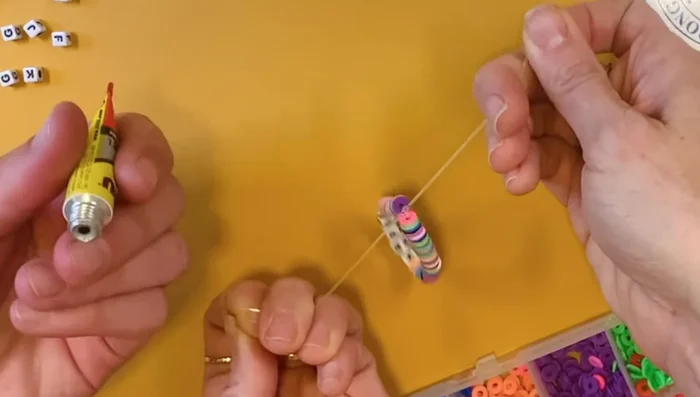
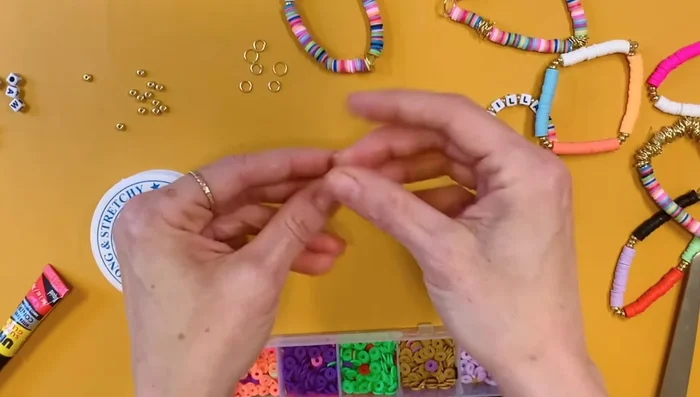
- Keep the elastic thread on its spool to prevent sliding.

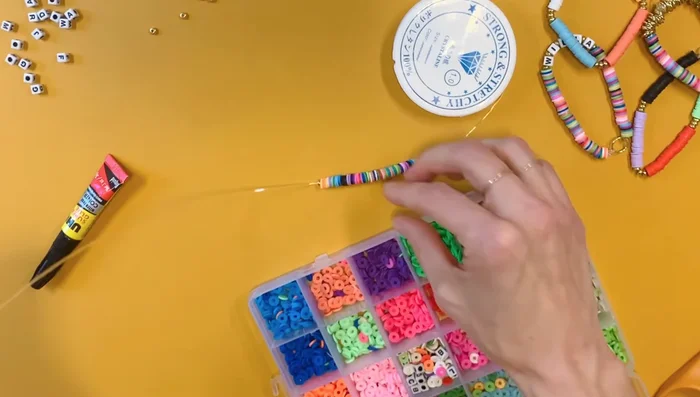
Prepare Materials String the Beads
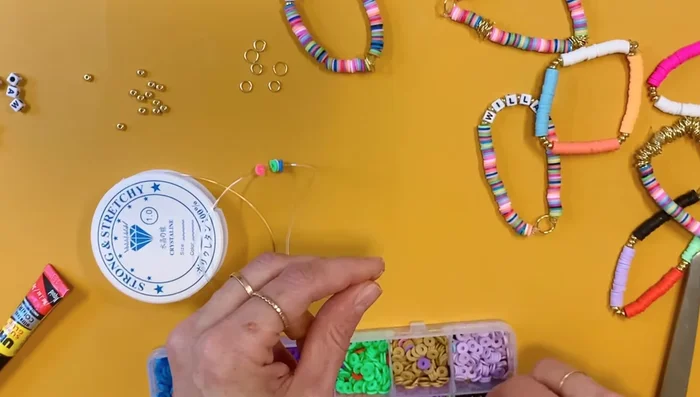
- Start putting the clay beads onto the elastic thread in a random order of colors.
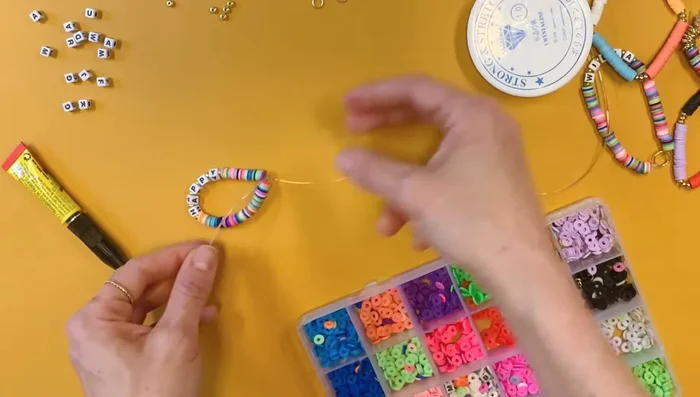
- Add letter beads and gold accents as desired between color sections.
- Continue adding beads until the desired length is reached.
String the Beads Secure the Bracelet
- Tie a knot at the end of the elastic thread.
- Apply a small dot of super glue to the knot to secure it.
- Let the glue dry completely.
Secure the Bracelet Finish the Bracelet
- Trim the excess elastic thread.
Finish the Bracelet
Tips
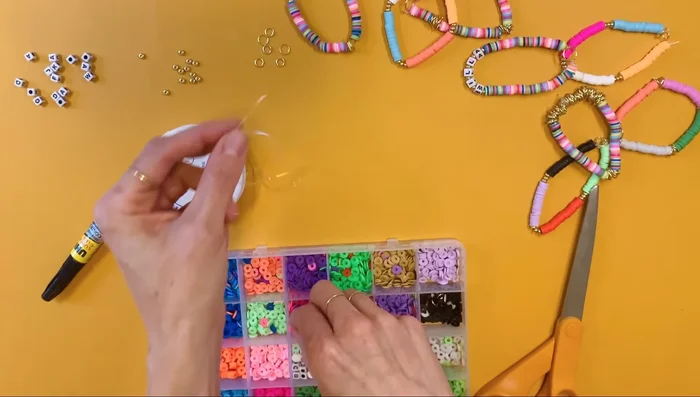
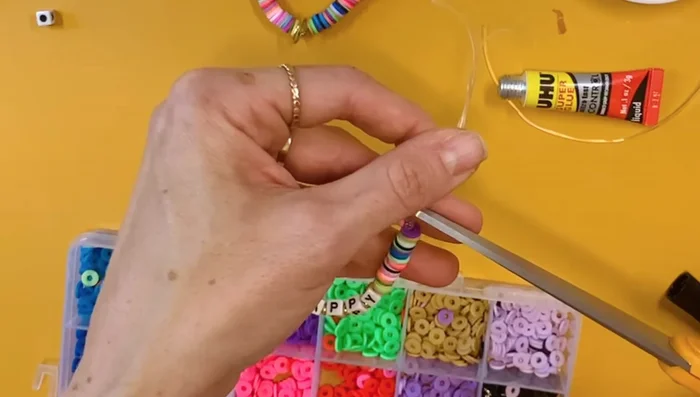
- The thin beads take longer to string than pony beads.
- When color blocking, stack a few beads of the same color onto your fingers to speed up the process.
Methods: Color Blocked Bracelet
Tools Needed
- Clay beads
- Elastic thread
- Letter beads
- Gold beads
- Gold jump rings
- Scissors
- Super glue
Step-by-Step Instructions
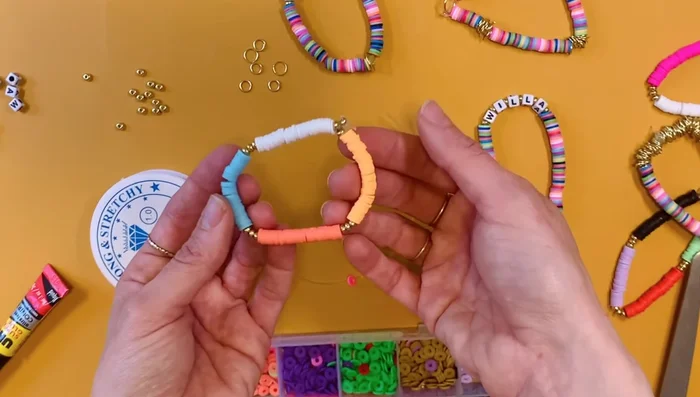
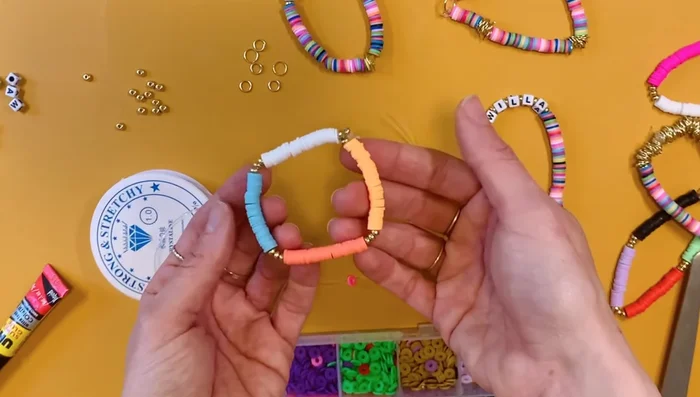
String Beads: Color Block Method
- String beads in sections of the same color.
- Separate color blocks with gold beads or jump rings.
String Beads: Color Block Method Add Accents
- Add letter beads and gold accents as desired.
Add Accents Finishing the Bracelet
- Follow steps 5-8 from the Rainbow/Random Color Bracelet method.
Finishing the Bracelet

Tips
- Stack beads when stringing larger chunks of the same color.
Read more: DIY Stretchy Bracelets: A Step-by-Step Guide to Making Meaningful Jewelry