In a world saturated with mass-produced accessories, there's a growing appreciation for handcrafted items imbued with personal meaning. DIY stretchy bracelets offer a perfect blend of creativity and sentimentality, allowing you to craft unique pieces of jewelry that reflect your style and tell your story. Whether you're looking for a fun afternoon project, a thoughtful gift for a loved one, or a way to express your individuality, making your own bracelets is both rewarding and surprisingly simple. The process allows for endless customization, from choosing vibrant beads to incorporating meaningful charms, ensuring each bracelet becomes a unique treasure.
This guide provides a comprehensive, step-by-step approach to making your own beautiful and long-lasting stretchy bracelets, perfect for beginners and seasoned crafters alike. From selecting the right materials to mastering the simple knotting techniques, we'll walk you through every stage of the process, empowering you to create stunning jewelry that speaks volumes about your personal style and creativity. Let’s dive into the detailed instructions and start making some meaningful magic!
Safety Guidelines
- Always supervise children when using elastic cord. Small pieces can pose a choking hazard.
- Use sharp scissors carefully to avoid cuts. Keep them away from children.
- Be mindful of the elasticity of the cord. Overstretching can cause it to break and potentially lead to injury.
Methods: Creating a Stretchy Bracelet with Pre-Braided Cord
Tools Needed
- Pre-braided flat leather cord
- End caps
- Gel glue or epoxy
- Scrap paper
- Chain nose pliers
- Beads
- Stretchy cord
- Scissors
- Jeweler's cement
Step-by-Step Instructions
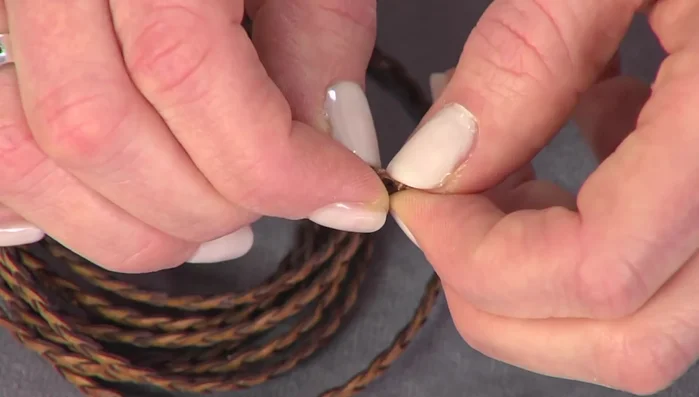
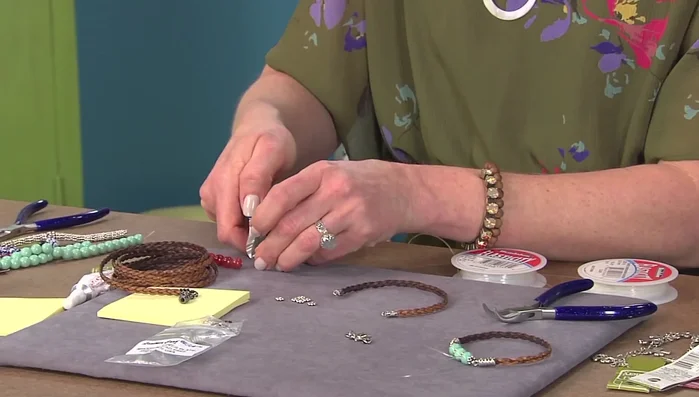
Prepare Cord Ends
- Prepare the cord ends by stacking them to fit the round end caps.

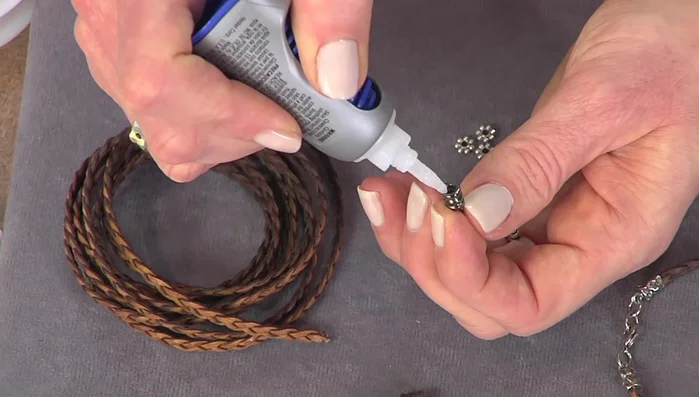
Prepare Cord Ends Attach End Caps
- Apply glue to the inside of the end caps and insert the cord ends, pressing firmly.
- Set aside to dry.
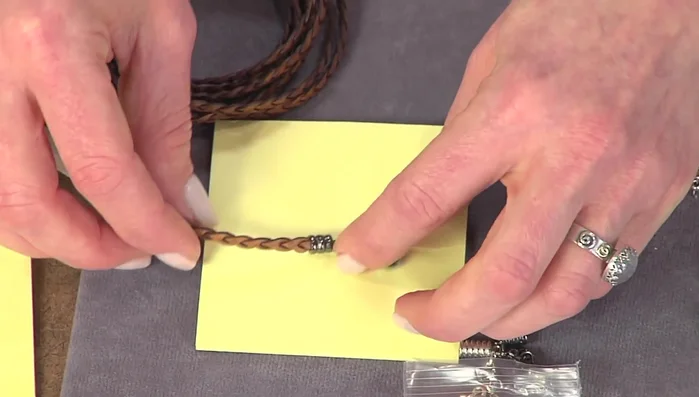
Attach End Caps Measure Bracelet Length
- Measure the desired bracelet length (approximately 7.5 inches including clasp).
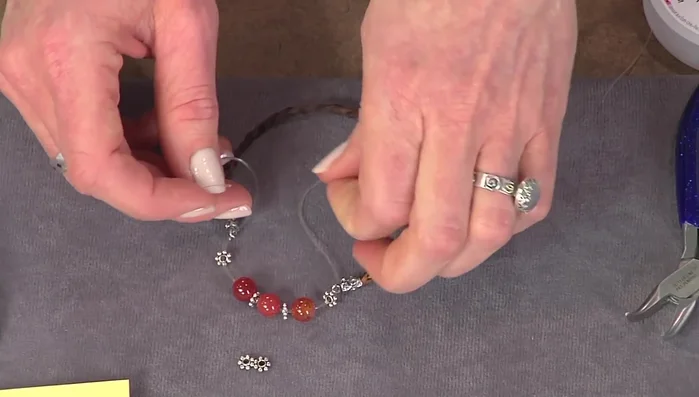
Measure Bracelet Length String Beads
- Thread the stretchy cord through the beads twice.
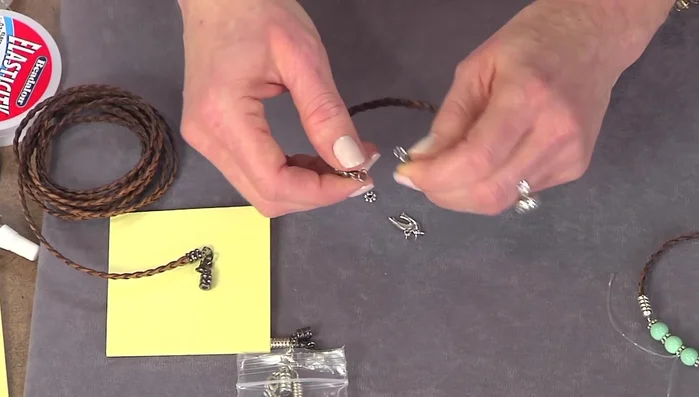
String Beads Connect Beads to Cord Ends
- Pass the cord through the loop at one end of the bracelet and back through the beads, meeting the cords in the center.
Connect Beads to Cord Ends Secure the Knot
- Tie a secure knot, pulling the cords tight. Add a drop of jeweler's cement to secure the knot and tuck it into a bead.
Tips
- Glue over scrap paper to protect your work surface.
- Use chain nose pliers to press the cord ends into the end caps.
- When working with stretchy cord, pull it tight over your finger for easier bead stringing.
Methods: Braided Leather Cord Bracelet with Clasp
Tools Needed
- Leather cord (multiple strands)
- Ball chain (optional)
- Clasp
- Glue
- Scrap paper
- Scissors
- Tying station (optional)
Step-by-Step Instructions
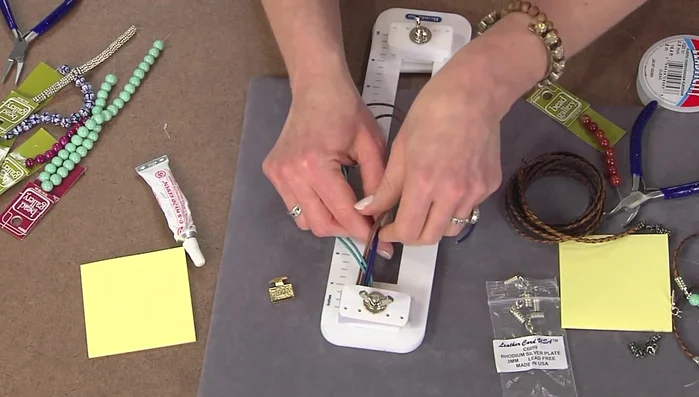
Prepare the Clasp
- Attach the ends of the cords into the clasp using glue.
- Apply glue to the inside of the clasp, insert the braid ends and press flat.
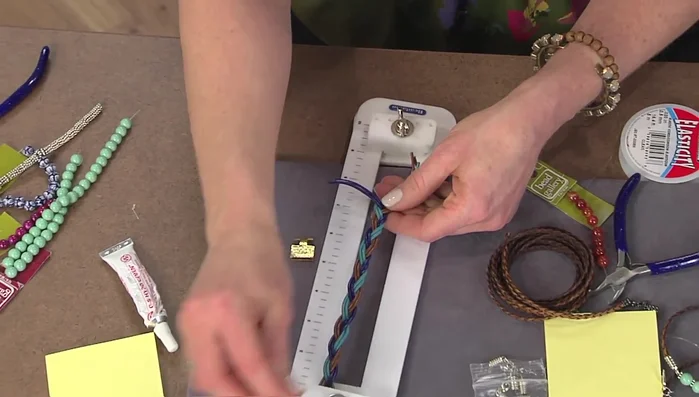
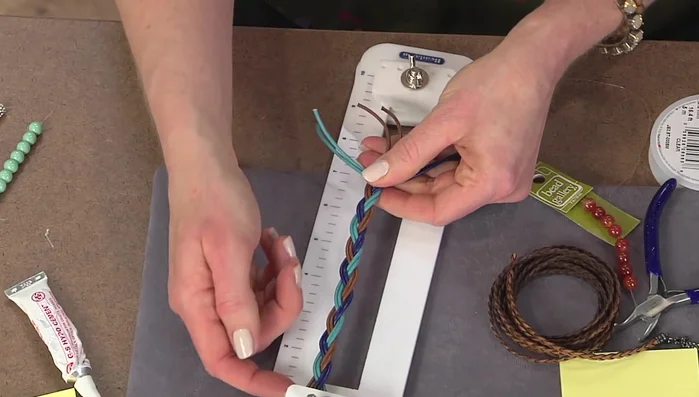
Prepare the Clasp Measure and Braid
- Braid the cords together, maintaining a flat braid.
- Measure the bracelet to the desired length (approximately 7-8 inches for women's bracelets).
Measure and Braid
Tips
- Use a tying station to help maintain even braid length and tension.
- Ensure the clasp is oriented correctly before gluing.
- Add glue to the cord ends before attaching the clasp to secure them.
Read more: DIY Polymer Clay Bead Bracelets: A Summer Camp Craft Upgrade!