The art of stone setting transcends mere securing; it's about achieving a flawless integration of gemstone and metal, showcasing the stone's brilliance while ensuring its lasting security. Precise stone setting techniques are crucial for creating high-quality jewelry, demanding both skill and meticulous attention to detail. Among the most sophisticated methods are tube setting and the multi-solder technique, which, when combined, offer exceptional precision and durability. This powerful combination allows for the secure setting of even the most delicate stones while minimizing metal obscuring the gemstone's beauty.
This article will delve into the intricacies of precise stone setting using the combined tube setting and multi-solder technique, providing a comprehensive, step-by-step guide to mastering this advanced jewelry-making skill. We will explore each stage of the process, from preparing the setting to the final polishing, ensuring you have the knowledge and confidence to achieve flawlessly set stones in your own creations.
Preparation and Safety Guidelines
- Soldering iron
- Solder (easy, medium, hard)
- Flux
- Tweezers
- Camera
- Board
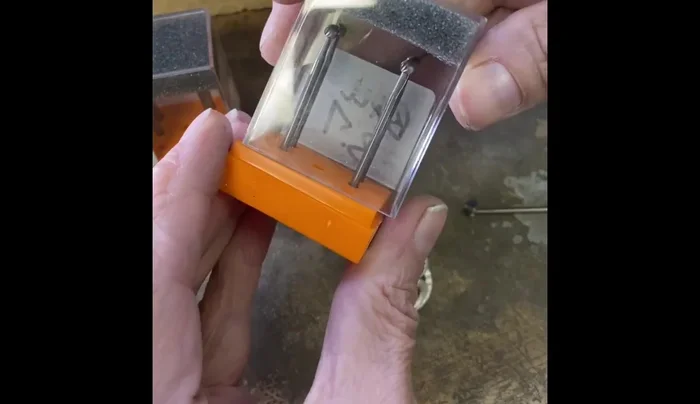
- Ball Burr
- Setting Burr
- Beeswax
- Burnishing tool
- Prong pusher
- Bezel punch
- Bezel rocker
- Polishing wheel
- Brass brush
- Files
- Mitre vise
- Tube cutter
- Always wear appropriate safety glasses and a dust mask when working with precious metals and stones. Tiny metal particles and dust can cause serious eye and respiratory irritation.
- Use proper ventilation to avoid inhaling fumes produced during soldering. Soldering fumes can be toxic.
- Work on a stable, clean surface and use heat-resistant tools and materials to prevent burns and accidents. Ensure proper fire safety precautions are in place.
Step-by-Step Instructions
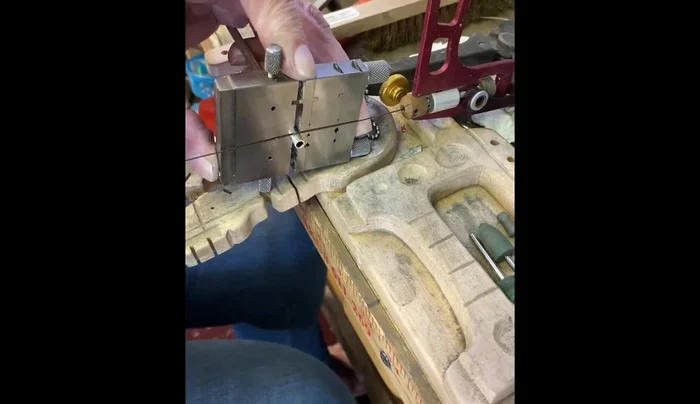
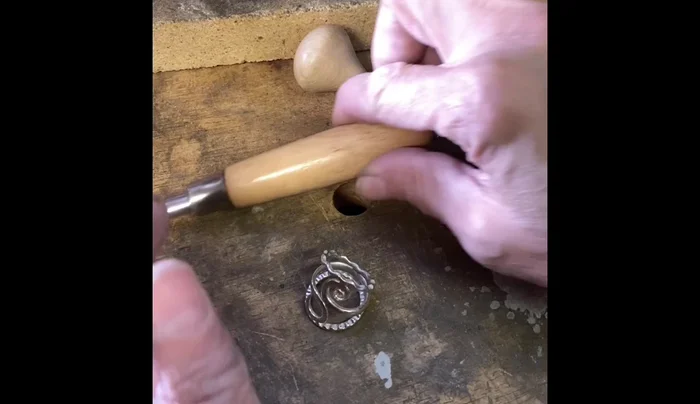
Prepare the Tube Setting
- Cut a small piece of tubing and create a smooth edge.

Prepare the Tube Setting Attach the Tube Setting
- Solder the tube setting into the piece using easy solder.
Attach the Tube Setting Create the Stone Seat
- Create a seat inside the tube setting using ball burr to make space for the stone.
- Shape the seat using a setting burr to create straight sides.
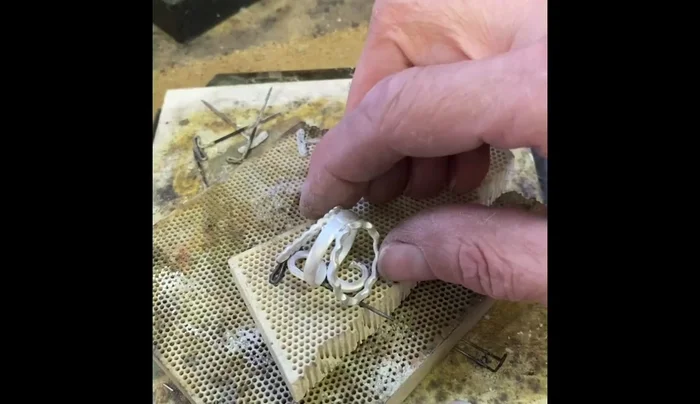
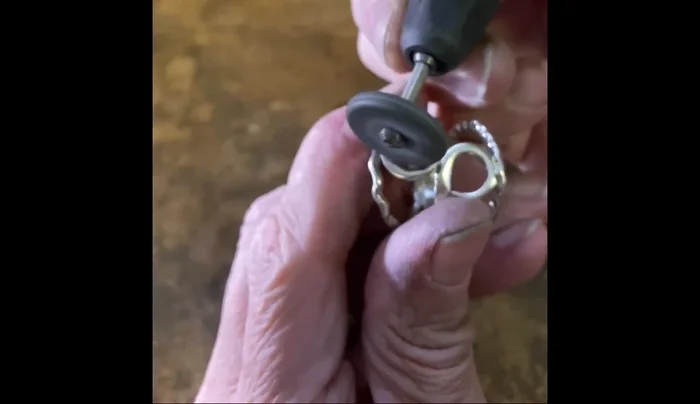
Create the Stone Seat Clean and Polish the Setting
- Clean and polish the setting.
Clean and Polish the Setting Set the Stone
- Set the stone using a bezel rocker to fold the bezel over the stone.
Set the Stone Secure and Finish the Setting
- Use a burnishing tool to smooth and secure the bezel around the stone.
- Polish the bezel for a smooth and shiny finish.
Secure and Finish the Setting


Read more: Ultimate Guide to Making Inlay Rings with Bentwood Ring Supplies
Tips
- Use beeswax to lubricate the burrs.
- Use less expensive burrs for initial material removal.
- Keep your bits lubricated while using them.
- Stone setting is the last step. Complete patina work beforehand.
- Ensure the stone sits flat and flush within the bezel.