Creating stunning, handcrafted jewelry has never been more accessible. Bentwood ring making offers a unique and rewarding experience, allowing you to craft personalized pieces with intricate details. This ultimate guide delves into the captivating world of inlay rings, specifically utilizing the versatile and readily available materials found in bentwood ring supplies. We’ll explore the various techniques for seamlessly integrating diverse inlays, from vibrant stones and shimmering metals to natural wood and even resin. Discover the artistry of shaping the wood, prepping your chosen inlay, and achieving a flawless, professional finish.
Learn to transform simple bentwood blanks into exquisite, wearable works of art. This comprehensive guide walks you through each step of the process, from selecting your materials to the final polishing, ensuring you create beautiful, long-lasting inlay rings. Prepare to unlock your inner artisan and embark on a journey of creative expression, as we unveil the secrets to mastering this captivating craft with our detailed, step-by-step instructions.
Preparation and Safety Guidelines
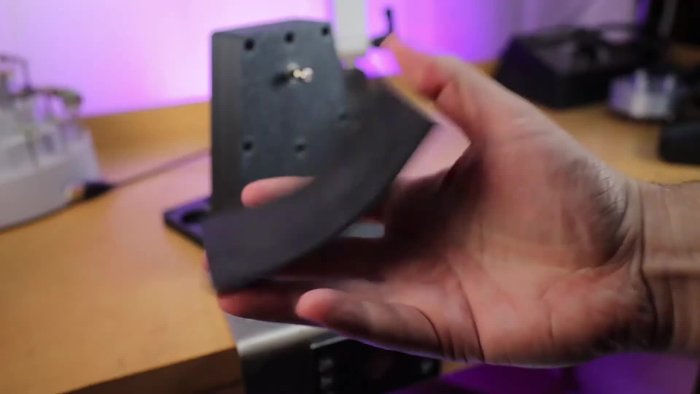
- Slow Speed Ring Turner
- Mandrel Stand
- CA Glue
- Glue Activator
- Tweezers
- Stone Sifter
- Mini Lathe
- Expandable Steel Mandrels
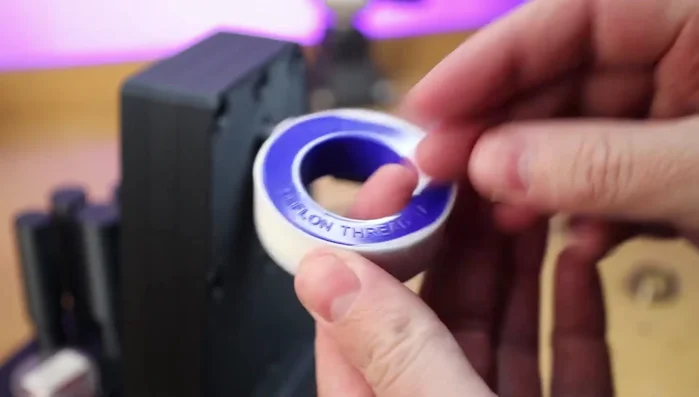
- Teflon Tape
- Assortment of Sandpaper
- Foamy Sandpaper
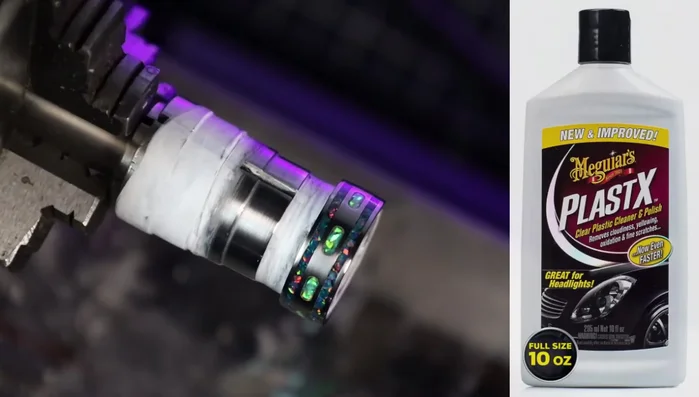
- McGuire's Polishing Compound
- Ring Sizer
- Finger Savers
- Always wear safety glasses to protect your eyes from flying wood chips and debris during sanding and cutting.
- Use caution when working with sharp tools like knives and chisels. Maintain a firm grip and cut away from yourself.
- Ensure proper ventilation when using finishes and adhesives; wear a respirator if necessary to avoid inhaling harmful fumes.
Step-by-Step Instructions
Setup and Preparation
- Assemble the slow speed ring turner.
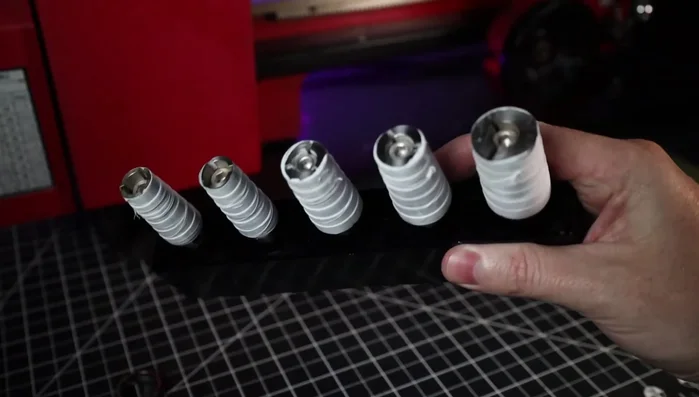
- Prepare the ring mandrel by adding Teflon tape to ensure the ring can be easily removed after gluing.

Setup and Preparation Inlay Application
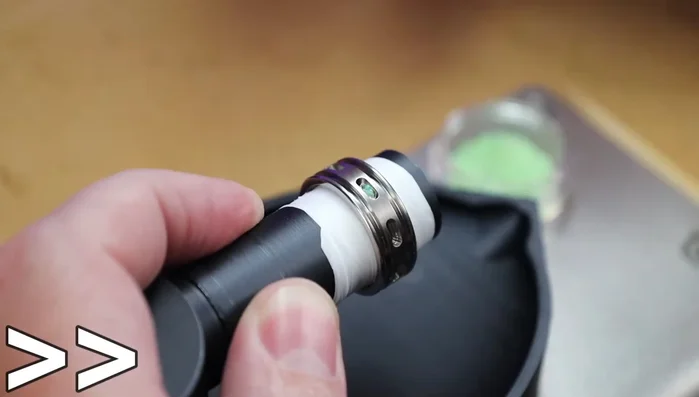
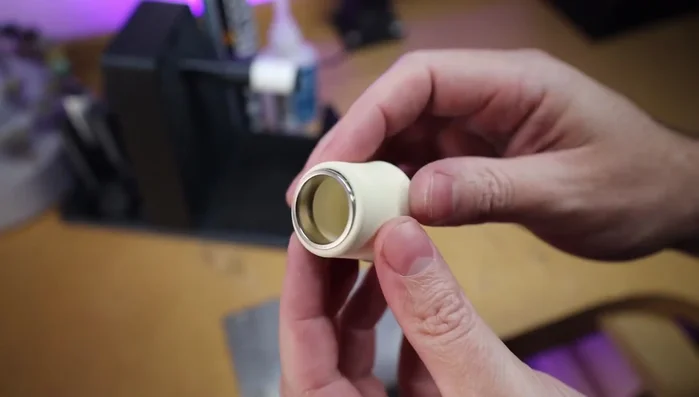
- Fill the ring channels with CA glue and place the opal stones using tweezers or by pouring.
Inlay Application Glue Setting and Initial Shaping
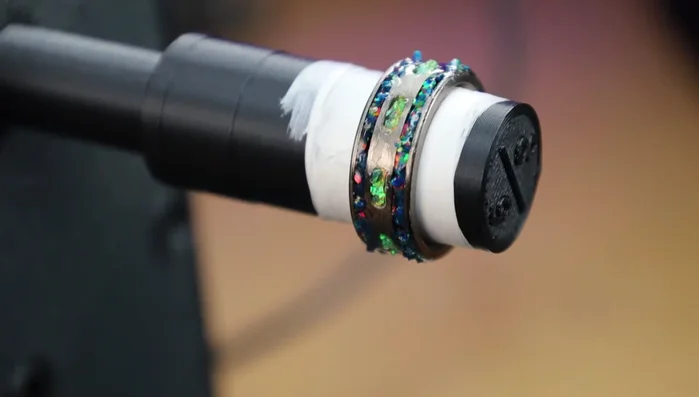
- Flood the entire inlay area with CA glue and let it spin on the slow turner to evenly coat, or use an accelerator to speed up the process.
Glue Setting and Initial Shaping Shaping and Smoothing
- Clean up the ring using a mini lathe, expandable steel mandrels (wrapped in Teflon tape), and various grits of sandpaper (wet sanding recommended).
Shaping and Smoothing Polishing
- Polish the ring with a polishing compound for a glassy finish.
Polishing Inside Ring Finishing
- Use finger savers to safely and comfortably finish the inside of the ring on the lathe.
Inside Ring Finishing
Tips
- Use a silicone mat in the ring turner to easily clean up excess glue and resin.
- CA glue with activator doesn't bloom or turn white, ensuring a clean finish.
- Use the stone sifter to sort stones by size for efficient inlay work.
- Ensure inlay stones are placed so you can't see through to the base metal.
- Wet sanding helps prevent dust inhalation and keeps the sandpaper from clogging.