Are you tired of fiddly knots and frustrating bracelet-making projects? Do you dream of creating stunning jewelry with beautiful, heavy beads without the endless struggle of threading and tying? Then you've come to the right place! This easy stretch bracelet tutorial will show you how to effortlessly create gorgeous bracelets using even the largest and heaviest beads, all without a single knot in sight. Forget the frustration of tangled threads and broken nails; this technique is remarkably simple and surprisingly effective.
Imagine the satisfaction of crafting beautiful, durable bracelets in a fraction of the time it usually takes. This method relies on a clever technique that utilizes stretchy cord and allows the beads to slide easily into place, creating a professional-looking finish every time. Ready to say goodbye to knot-tying headaches and hello to beautiful, easy-to-make jewelry? Let's dive into the step-by-step instructions below and discover how to make your own stunning, knot-free stretch bracelet.
Preparation and Safety Guidelines
- Stretch Magic cord (or Opalon)
- Needle
- Fireline
- Flat nose pliers
- Beads
- Glue
- Jump ring (optional), charm (optional)
- Scissors
- Always use strong, high-quality elastic cord designed for jewelry making. Weak cord can break, leading to loss of beads or injury.
- Before wearing, gently stretch the bracelet a few times to check the cord's strength and ensure it's comfortable. Replace if it feels too tight or weak.
- Be mindful of the size and weight of your beads. Overly heavy beads on thin cord can put excessive stress on the elastic, leading to breakage.
Step-by-Step Instructions
Prepare the Cord
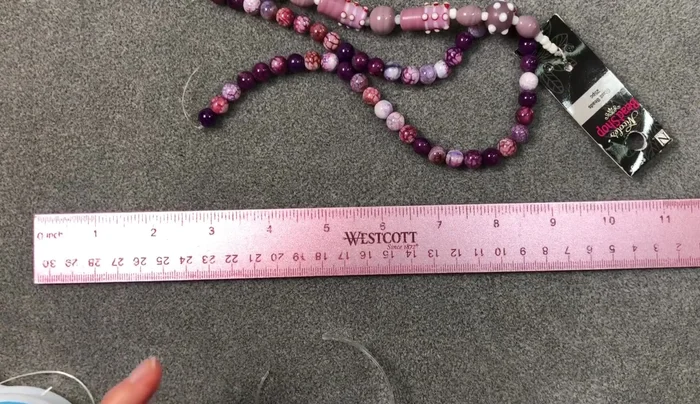
- Cut a generous length of stretch cord (approximately 24 inches for a 7-inch bracelet). Flatten one end using flat-nose pliers for easier threading.

Prepare the Cord Create the Initial Loop
- Tie a secure knot (e.g., a surgeon's knot followed by an overhand knot) at one end of the cord, leaving a loop. Trim excess cord.
- Thread a piece of fireline through the loop created in step 2.
Prepare for Beading
- Pre-stretch the doubled cord to avoid loosening after making the bracelet.
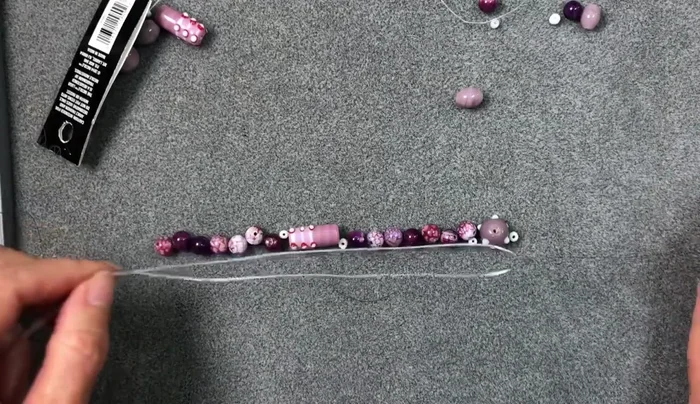
String the Beads
- Using the needle and fireline, string beads onto the cord. Ensure even color distribution if using varied beads.
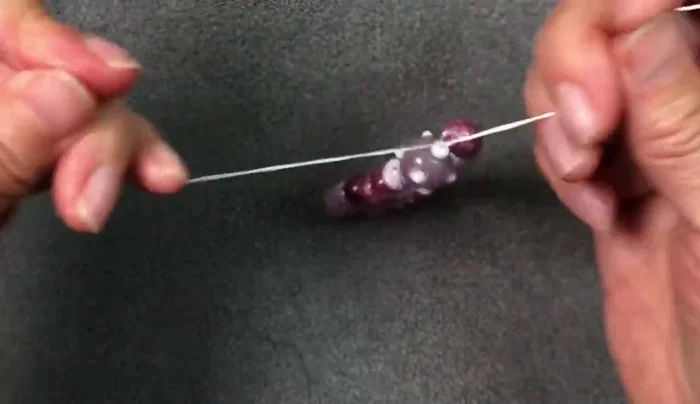
String the Beads Secure the Beads
- Gently push the fireline through the last bead and pull the cord through the loop until it's completely hidden inside the bead.
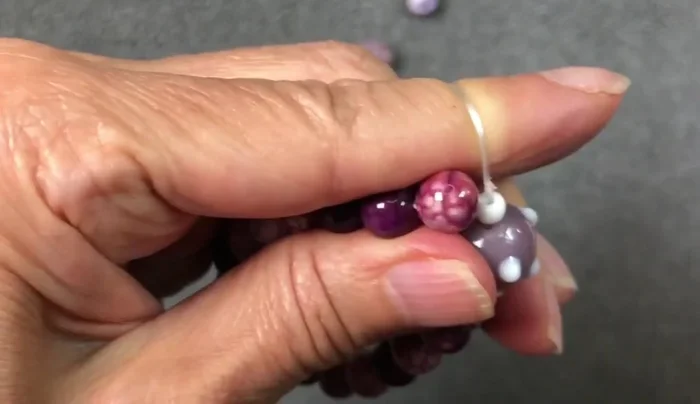
Close the Bracelet
- Tighten the cord by creating several secure overhand knots to close the bracelet. Add a small amount of glue to secure the knots.
- Trim the excess cord close to the knots.
Close the Bracelet Add Charm (Optional)
- Attach a jump ring and charm, if desired.
Add Charm (Optional)
Read more: DIY Crystal Bracelet: Easy Square Knot Tutorial
Tips
- Double the cord for extra security when using heavy beads.
- Flatten the fireline before threading to make it easier to insert into the needle.
- Pre-stretch the Opalon cord before threading to avoid loosening.
- Evenly distribute beads of different colors or tones.
- Don't pull too hard on the knots when tightening, to avoid breaking the cord.