Elevate your jewelry-making skills with the elegant and secure technique of creating professional-quality stretch bracelets using double-loop connectors. This method not only adds a touch of sophistication to your designs but also ensures exceptional durability and a polished finish, preventing those frustrating breaks and stretches common in simpler designs. Unlike traditional knotting methods, the double-loop connector offers a clean, streamlined aesthetic, allowing your chosen beads to truly take center stage. This technique is perfect for showcasing high-quality gemstones, pearls, or even intricate glass beads, transforming them into stunning, wearable pieces.
This comprehensive guide will walk you through the process step-by-step, providing clear instructions and helpful tips to ensure your bracelets are not only beautiful but also expertly crafted. Ready to transform your beading into a professional endeavor? Let's dive into the detailed instructions below.
Preparation and Safety Guidelines
- Stretch cord (16 inches x 2)
- Double-loop connectors
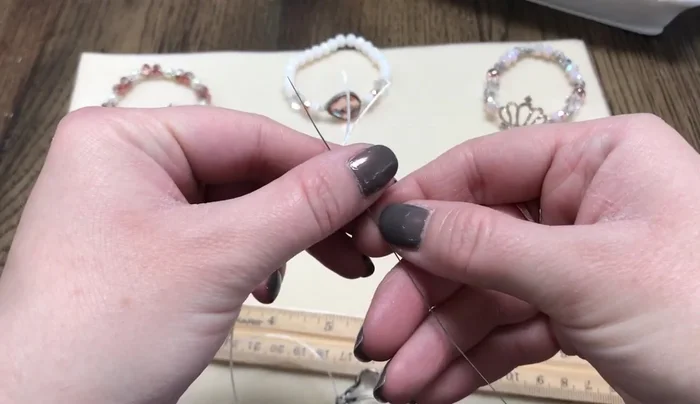
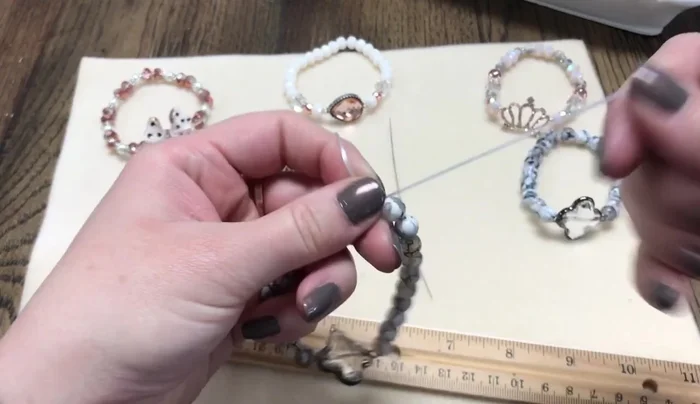
- Big-eye needle
- Beads (large enough to accommodate cord)
- Always use sharp, high-quality wire cutters specifically designed for jewelry making to prevent wire ends from fraying or causing injury.
- Be mindful of the strength of your chosen elastic cord. Using cord that's too thin or weak for the weight of your beads can lead to breakage and loss of materials.
- Avoid pulling too tightly on the elastic cord while knotting or crimping. This can weaken the cord and compromise the longevity of your bracelet.
Step-by-Step Instructions
Prepare Materials
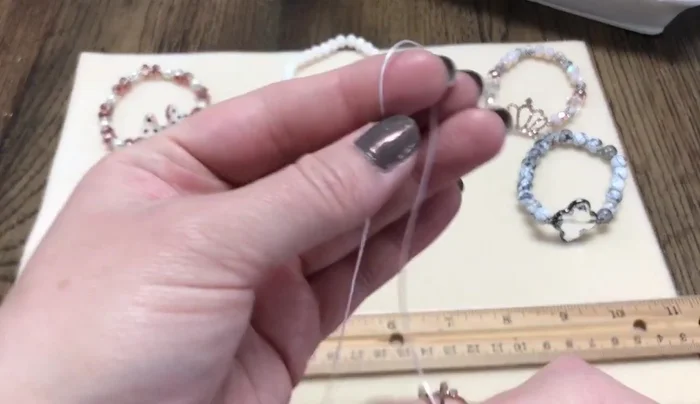
- Cut two 16-inch pieces of stretch cord. Choose beads large enough for the cord to pass through.

Prepare Materials Create Slip Knots
- Thread one end of each cord through one loop of a connector. Make a small loop and pull the cord ends through the loop to form a slip knot. Repeat on both sides of the connector.
Create Slip Knots Thread Beads (First Half)
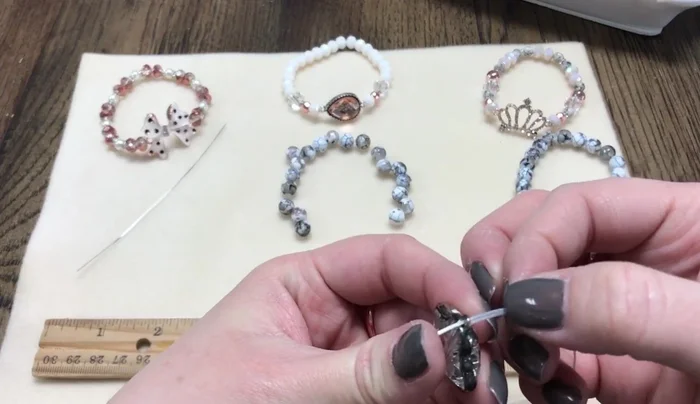
- Use a big-eye needle to thread one end of each cord with its respective tails. Thread approximately half of your beads onto one side.
Thread Beads (First Half) Thread Beads (Second Half)
- Remove the needle and attach it to the other side of the bracelet (leaving some tail on the previous side). String the remaining beads onto this side.
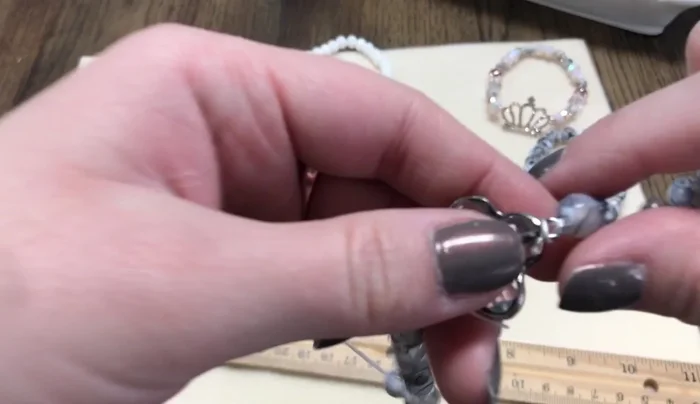
Thread Beads (Second Half) Adjust and Secure
- Tighten the slip knots and adjust the beads to remove any slack.
- Tie the remaining cord tails together with three knots to create a secure fastening.
Adjust and Secure

Read more: DIY Crystal Bracelet: Easy Square Knot Tutorial
Tips
- Use a big-eye needle to make threading easier.
- Make sure beads are large enough to allow the cord to pass through easily.
- When creating the slip knots, ensure the knots are even on both sides for a professional finish.
- Use high-quality stretch cord for durability.