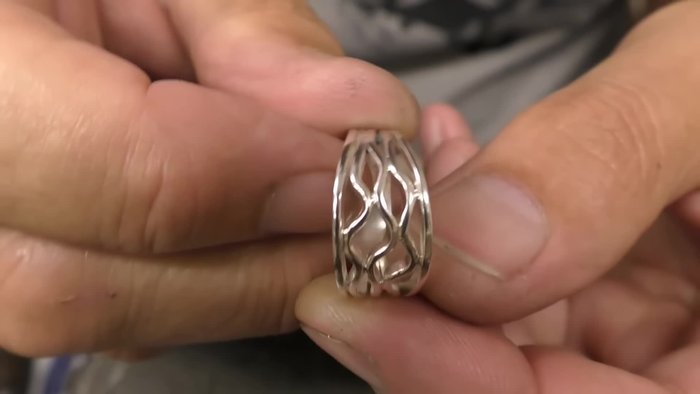
Ocean waves, endlessly captivating in their power and beauty, now inspire a stunning piece of jewelry you can craft yourself. This tutorial guides you through the process of creating elegant, handcrafted wave rings using sterling silver. Forget mass-produced jewelry; embrace the artistry of making something truly unique, a piece that reflects your personal style and carries the mesmerizing energy of the sea. Learning to work with sterling silver might seem daunting, but with clear instructions and a little patience, you'll be surprised at how achievable this project is.
This DIY project is perfect for both beginners and experienced jewelry makers looking for a new challenge. We'll walk you through each step, from carefully shaping the silver to achieving a polished, professional finish. Ready to ride the wave of creativity? Let's dive into the detailed, step-by-step instructions below to begin crafting your own breathtaking sterling silver wave rings.
Preparation and Safety Guidelines
- Sterling silver round wire (1.6 mil diameter)
- Mandrel
- Slip-joint pliers or wire cutters
- Hard solder
- Solder pick
- Flat stake
- Chasing hammer
- Emery cloth
- Flux
- Binding wire
- Medium solder
- Pen knife
- Fine round nose pliers
- Half-round pliers
- Brownie disc
- Greeny polishing disc
- Tumbler
- Always wear safety glasses when sawing, filing, or sanding sterling silver. Metal particles can easily cause eye injuries.
- Use proper ventilation when soldering. Soldering fumes are toxic and can cause respiratory problems. Work in a well-ventilated area or use a fume extractor.
- Handle sterling silver with clean hands or gloves to avoid fingerprints and maintain its shine. Clean your work surface regularly.
Step-by-Step Instructions
Prepare the Wire
- Start with a piece of sterling silver round wire (1.6 mil diameter, 30 cm long).

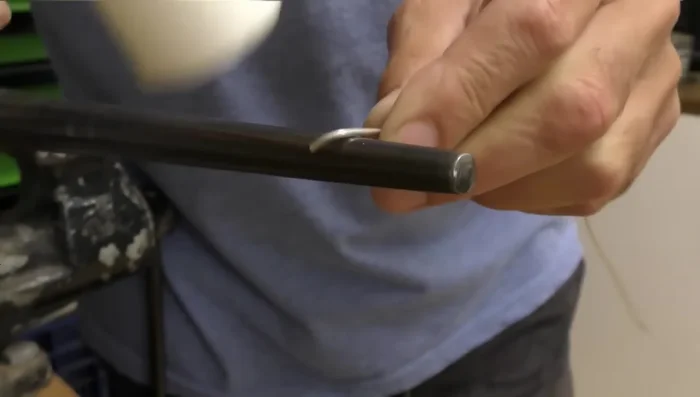
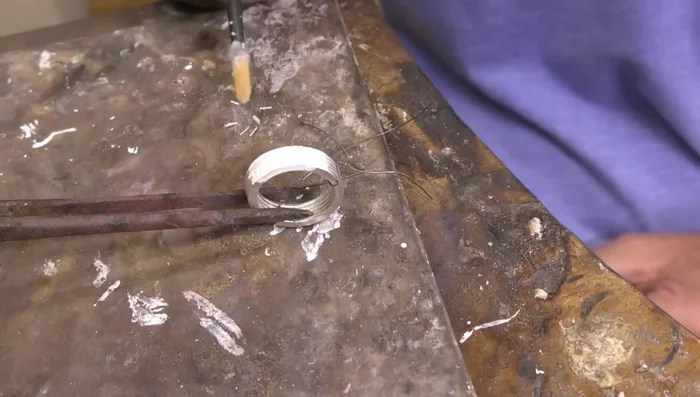
Prepare the Wire Shape the Initial Coil
- Use the pointy end of the mandrel to shape one end of the wire.
- Wrap the wire around the mandrel to the desired size (slightly smaller than the final ring size).
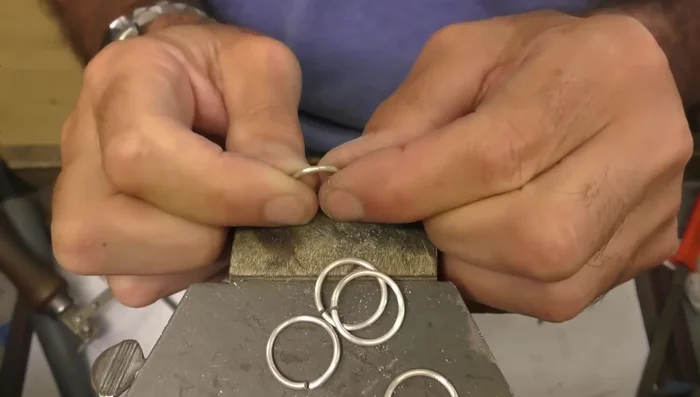
Shape the Initial Coil Cut and Prepare Rings for First Solder
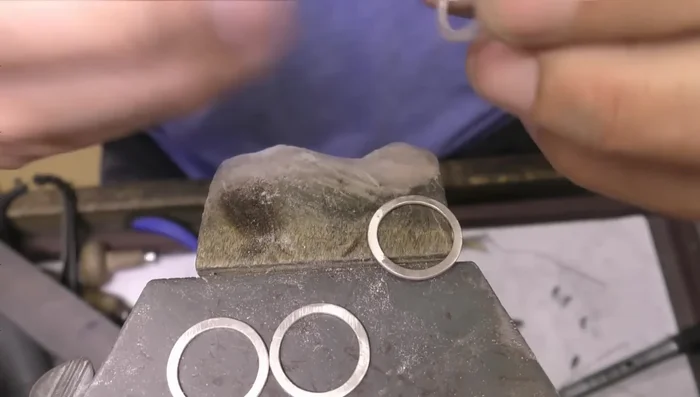
- Cut the coil into five pieces to create five individual rings.
- Overlap and align the ends of each ring, ready for soldering. Add small pieces of hard solder to each joint.
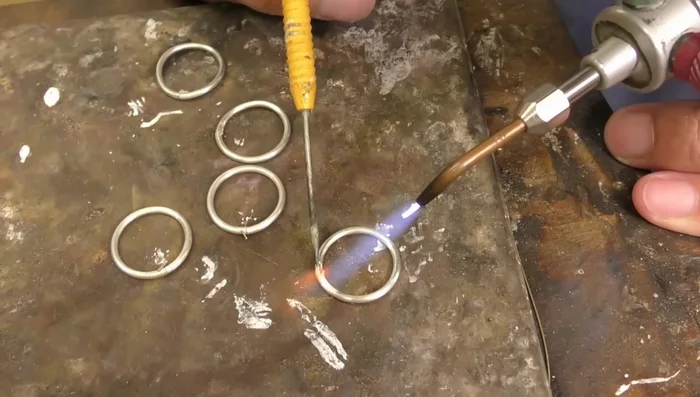
Cut and Prepare Rings for First Solder First Soldering
- Use a solder pick to ensure even heat distribution and proper solder melting onto the joints.
First Soldering Shape the Rings
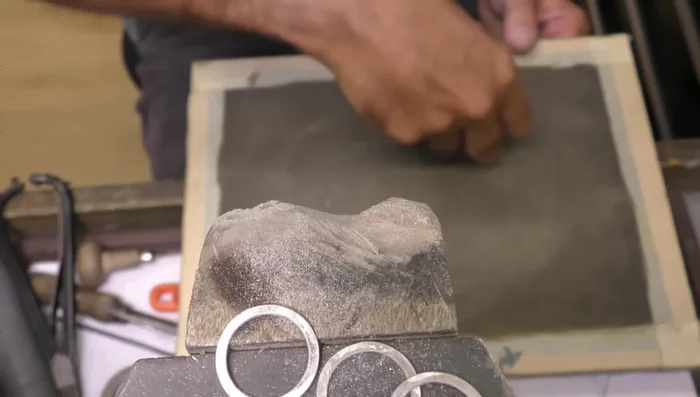
- Use a flat stake to flatten the rings, making sure they're roughly the same size. Use caution to avoid hitting fingers. Masking tape can help.
- Use a chasing hammer to make sure the rings are perfectly round.
- Use emery cloth to finish the sides.
Shape the Rings Prepare for Final Soldering
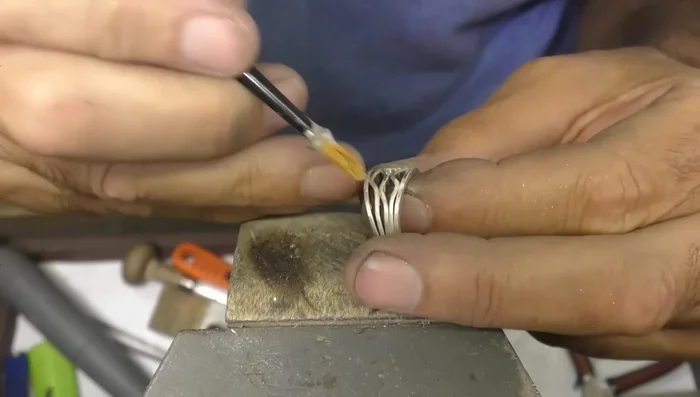
- Mark the solder joints to ensure they are at the top of the ring before the final soldering step.
- Apply flux to the marked areas of the ring.
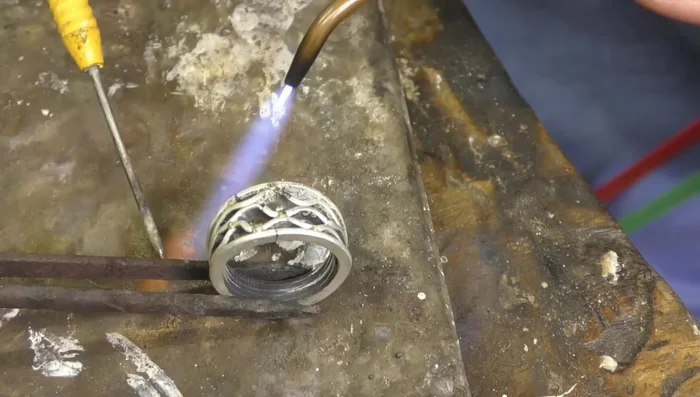
Prepare for Final Soldering Final Soldering
- Add pre-cut pieces of medium solder to the fluxed areas. Control the heat to prevent the solder from running too far.
Final Soldering Pickle and Remove Binding Wire
- Remove binding wire before pickling.
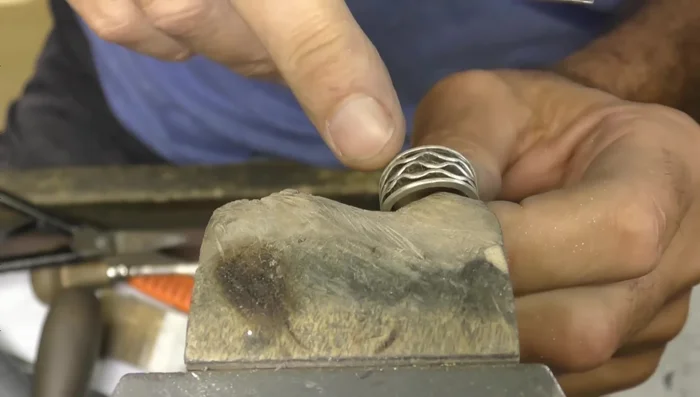
Create Wave Design
- Use fine round nose pliers to create the wave design by twisting and leveraging the metal, avoiding pinching or squeezing.
- Continue shaping the wave, ensuring contact points to maintain the top section’s integrity.
Create Wave Design Final Solder Contact Points
- Solder any remaining contact points to strengthen the wave design.
Final Solder Contact Points Finishing and Polishing
- Clean the rings, refine the shape, and polish using emery, brownie disc, and greeny polishing disc. Use a tumbler for final polishing.
Finishing and Polishing


Read more: Ultimate Guide to Making Inlay Rings with Bentwood Ring Supplies
Tips
- Make the initial rings slightly smaller than the final desired size to account for flattening and soldering.
- Use masking tape to protect your fingers when flattening the rings.
- Control heat distribution during soldering to prevent the solder from jumping to one side.
- Avoid overheating during soldering to prevent the solder from running too far.