Crafting your own jewelry can be a deeply rewarding experience, allowing for unique self-expression and the creation of cherished pieces. Sterling silver, with its lustrous beauty and enduring quality, is a particularly appealing material for aspiring jewelry makers. This timeless metal offers a perfect canvas for creativity, allowing you to design and construct rings that reflect your personal style and preferences – from delicate and minimalist to bold and statement-making. The allure of handcrafted jewelry lies not just in the finished product, but in the journey of creation itself.
This step-by-step guide will walk you through the process of making your own sterling silver ring, from selecting the right materials and tools to the final polishing and finishing touches. Whether you're a complete beginner or have some prior experience with metalwork, this comprehensive tutorial will empower you to create a stunning, personalized ring, providing detailed instructions and helpful tips along the way. Let's begin!
Preparation and Safety Guidelines
- ruler
- simple ring sizer
- sterling silver rectangular wire
- jeweler's saw
- beeswax
- hand file
- sanding stick with low-grade sandpaper
- ring bending tool or pliers
- ring mandrel
- charcoal block
- soldering board
- solder
- solder pick
- borax flux
- brush
- pickling solution
- rotary tool (optional)
- various rotary tool attachments
- mallet
- protective equipment (mask, goggles)
- wet and dry sandpaper (optional)
- Always wear safety glasses to protect your eyes from flying metal particles during filing and sawing.
- Use proper ventilation when soldering; sterling silver fumes can be harmful if inhaled. Work in a well-ventilated area or use a fume extractor.
- Handle sharp tools with extreme caution. Cut away from yourself and keep your fingers clear of blades and cutting surfaces.
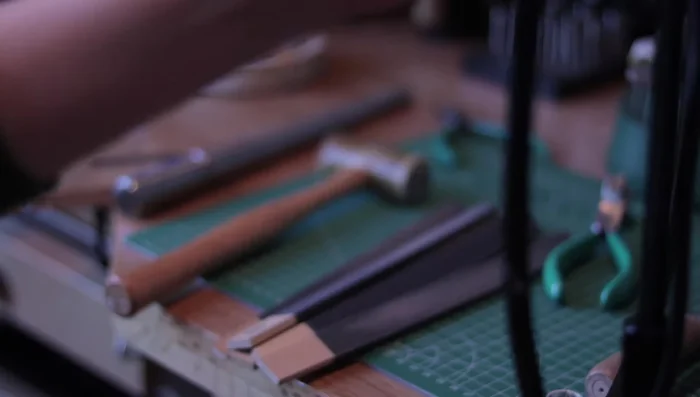
Step-by-Step Instructions
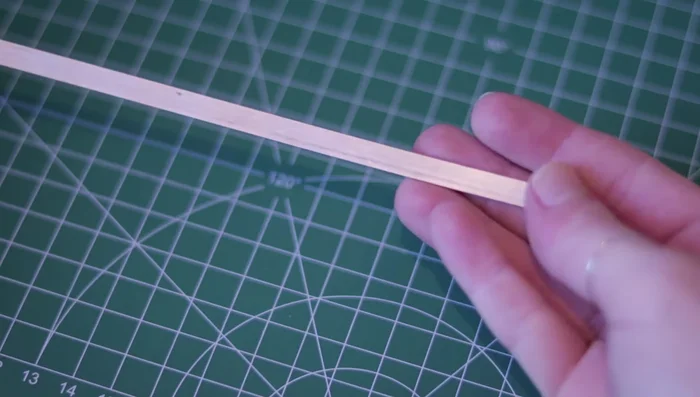
Measure and Prepare Wire
- Measure finger and determine ring size using a sizer.
- Measure and cut the required length of silver wire (56mm in this example).
- Cut the wire using a jeweler's saw, lubricating the blade with beeswax.
- File the cut edges to make them even.

Measure and Prepare Wire - Use a sanding stick to further smooth the edges.
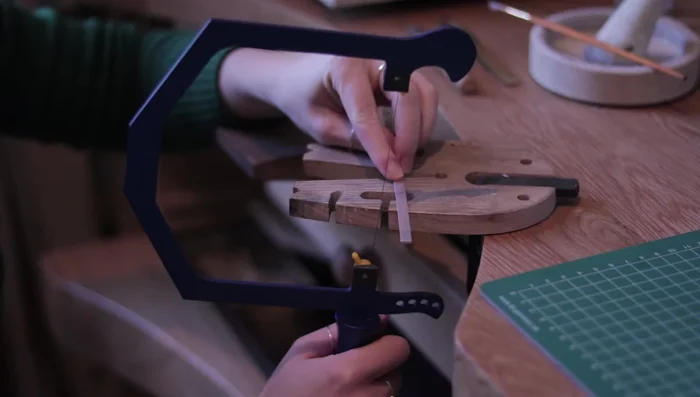
Anneal and Shape Ring
- Anneal the ring blank to make it easier to bend.
- Bend the ring using pliers or a ring bending tool.
Anneal and Shape Ring Join and Solder
- Cut through the joint where the ends meet with the saw to ensure a flush join.
- Apply flux to the join area.
- Solder the ring using hard solder and a soldering board.
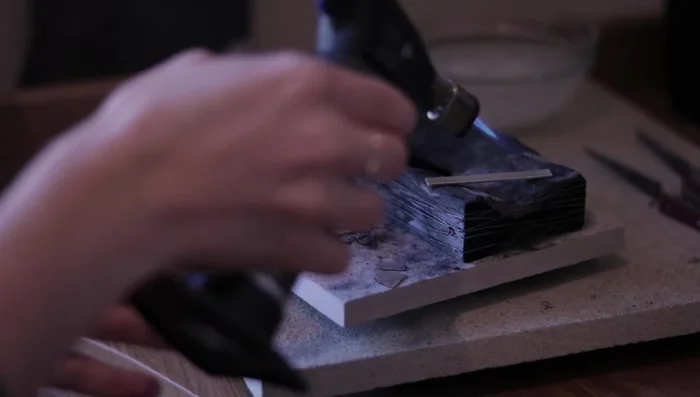
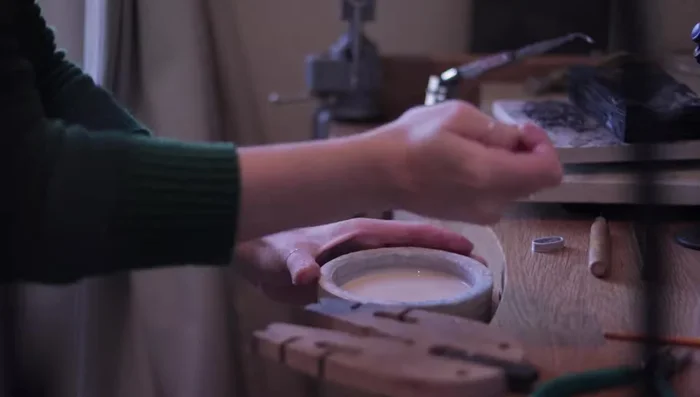
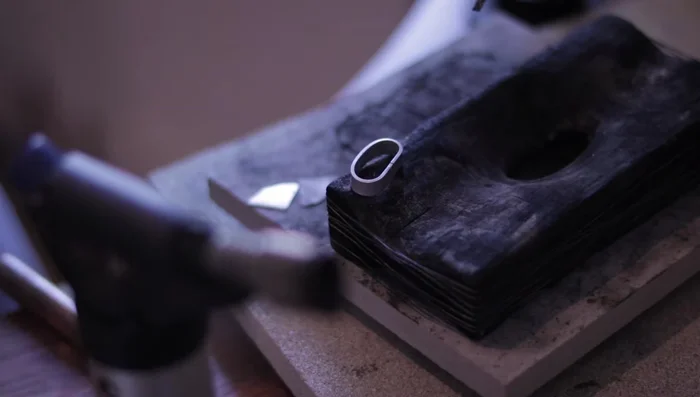
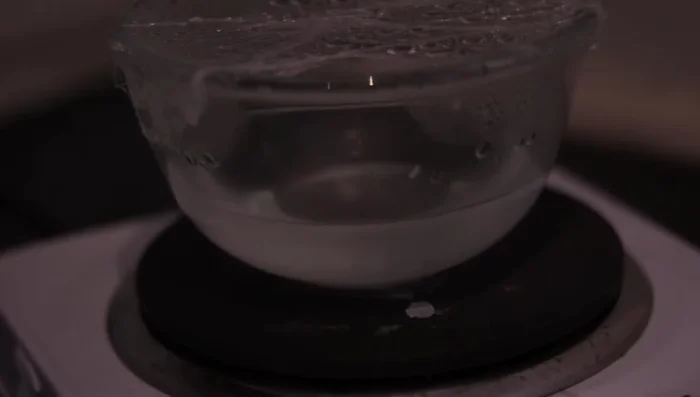
Join and Solder Clean and Finish
- Pickle and quench the ring to clean it.
- Shape the ring using a ring mandrel and a mallet.
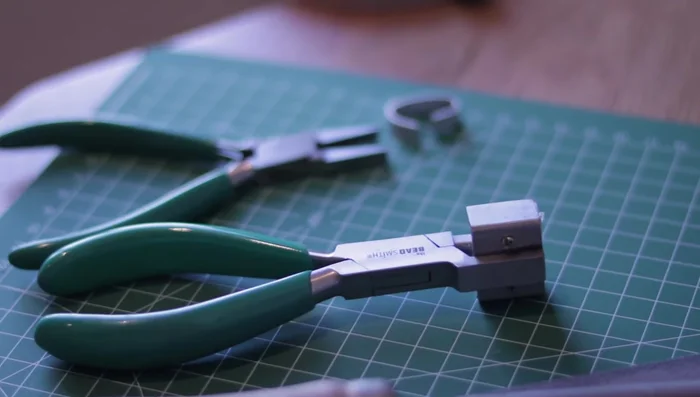
- Sand and polish the ring using sanding sticks, buffing sticks, or a rotary tool.
Clean and Finish
Read more: Ultimate Guide to Making Inlay Rings with Bentwood Ring Supplies
Tips
- Keep your bench peg at chest level for comfortable sawing.
- Hold the saw frame vertically, avoid pushing or pulling too hard.
- File in one direction for best results.
- Check edges frequently while filing to prevent removing too much silver.
- Heat evenly while soldering and avoid overheating.