Looking for a fun and rewarding crafting project that results in a unique and stylish accessory? Then look no further! This tutorial will guide you through the process of creating your own vibrant and eye-catching seed bead flower ring. Seed beads, with their tiny size and dazzling array of colors, offer endless possibilities for creating intricate and beautiful designs. This particular project focuses on crafting a delicate flower motif, perfect for adding a pop of color to any outfit, and showcasing your creative flair. The best part? It’s surprisingly easy, even for beginners!
Forget expensive jewelry stores – you can create stunning pieces at home for a fraction of the cost. This DIY project offers a fantastic opportunity to personalize your accessories, experimenting with different color combinations and beading techniques to achieve your desired look. Ready to transform simple seed beads into a blooming masterpiece? Let's dive into the step-by-step process and start crafting your colorful seed bead flower ring!
Preparation and Safety Guidelines
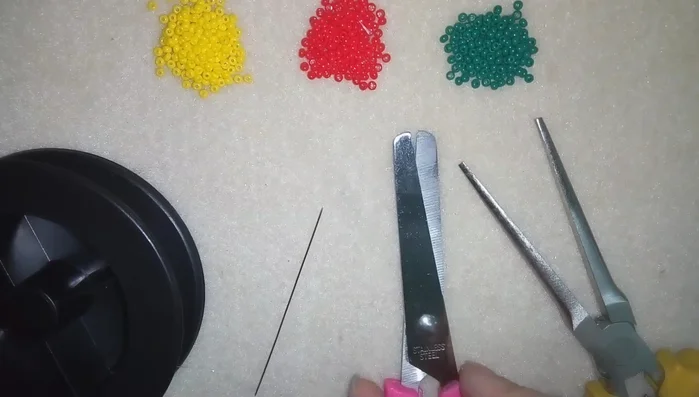
- Seed beads (3 colors)
- Scissors
- Size 10 beading needle
- Monofilament (0.06 inches or 0.15 millimeters)
- Small seed beads pose a choking hazard. Keep them away from young children and pets.
- Use strong, beading-appropriate thread or wire to prevent breakage and bead loss. Avoid using thread that might fray easily.
- If using wire, be mindful of sharp ends and handle with care to avoid injury.
Step-by-Step Instructions
Prepare Materials
- 3 colors of seed beads, scissors, size 10 beading needle, and monofilament.

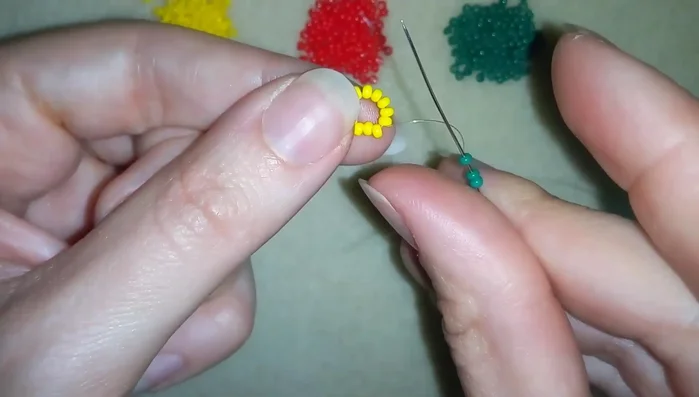
Prepare Materials Create the Flower Center
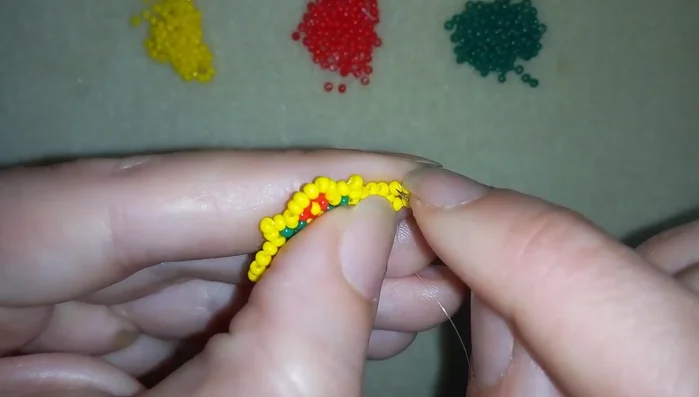
- Start with 12 yellow beads, create a knot at the end of the thread.
Add First Layer of Petals
- Add 3 green beads, go back through the yellow beads in a circle.
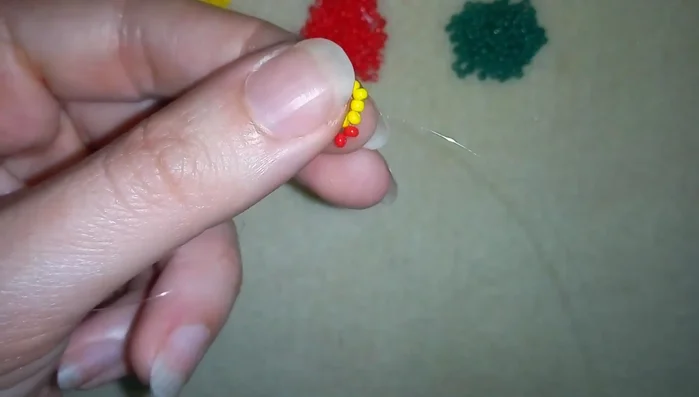
- Add 2 red beads, go through the green and yellow beads in a circle.
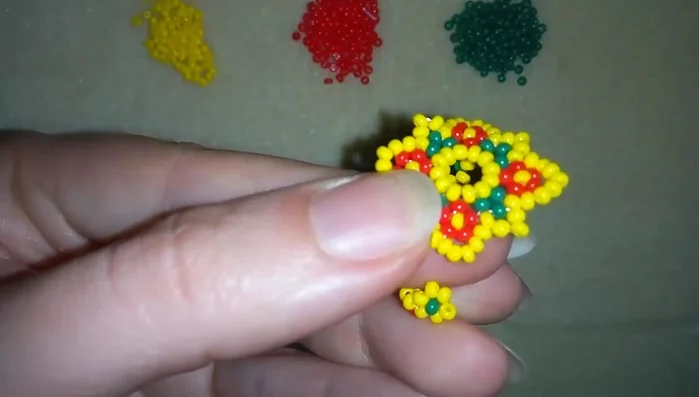
Add First Layer of Petals Create Flower Petals
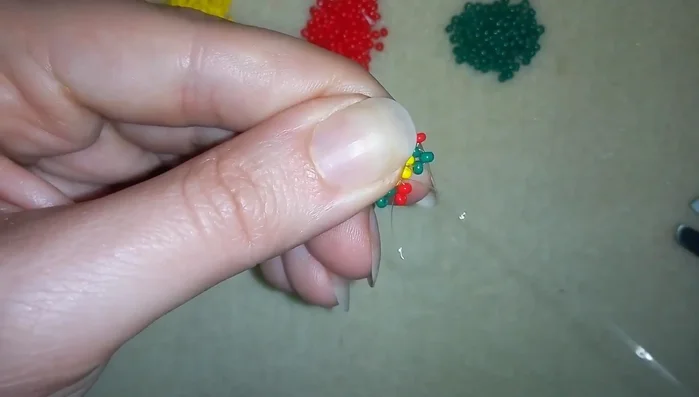
- Continue adding beads in a pattern (green, red, yellow) following the demonstrated pattern. The pattern gradually changes in the number of beads added in each step.
- In the last step add only one bead.
- Complete the flower by adding beads following the pattern until the end of the row. Then add 3 yellow beads and return to the starting green bead.
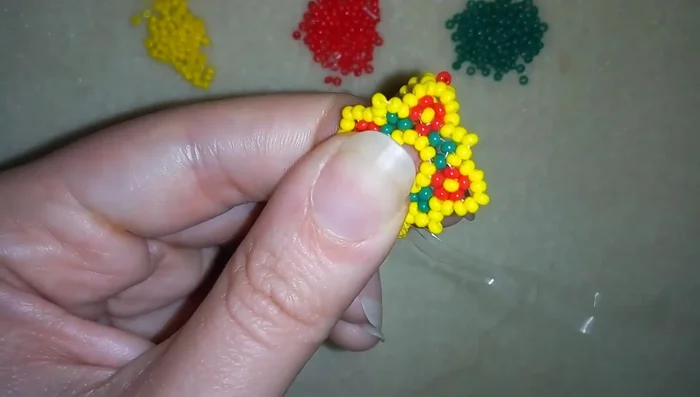
Create Flower Petals Create Ring Band - Part 1
- Begin creating the ring band by adding one green bead, then going to the opposite bead and pulling the thread through.
- Continue adding beads in the ring band. The video demonstrates adding five yellow beads repeatedly, creating a pattern with green beads.
Create Ring Band - Part 1 Connect Ring Band to Flower
- Once the ring band is long enough, connect it to the other end of the flower by going through the yellow beads and adding two more yellow beads.
- Secure the connection by adding two more yellow beads and going through the previous yellow bead.
Connect Ring Band to Flower Secure and Finish
- Create a loop, go through twice and pull tight to secure the end. Trim the excess thread.
Secure and Finish


Read more: Ultimate Guide to Making Inlay Rings with Bentwood Ring Supplies
Tips
- Use a monofilament thread and a size 10 beading needle, or any beading thread that easily goes through the needle.
- The video provides a detailed step-by-step process, but pay close attention to the bead patterns as they change during the tutorial.