Spring has sprung, and what better way to celebrate the vibrant season than with a dazzling, handcrafted accessory? This tutorial will guide you through creating a bold and chunky spring flower resin ring, perfect for adding a touch of unique, handmade flair to your outfit. Forget expensive jewelry stores – with a few simple supplies and a bit of patience, you can craft a stunning ring that reflects your personal style and the beauty of blooming flowers. The process is surprisingly easy, even for beginners, and the final result is truly rewarding.
Imagine the compliments you’ll receive while wearing this eye-catching piece! We'll be using pressed flowers and resin to create a piece that’s both delicate and durable. Get ready to unleash your creativity and transform simple materials into a wearable work of art. Let's dive into the step-by-step process to make your very own DIY bold chunky spring flower resin ring.
Preparation and Safety Guidelines
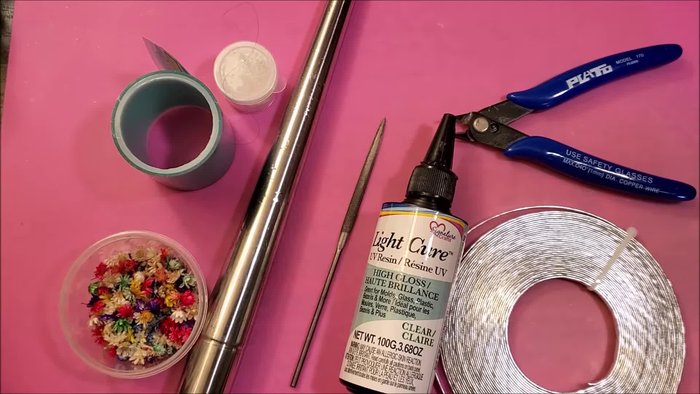
- spring flowers
- resin tape
- pearlized micro powder (pearlized eyeshadow)
- ring mandrel
- file or sandpaper or dremel
- UV resin
- flat textured wire (5mm)
- flush cutters
- mixing bowl
- mixing utensil
- small mat
- pencil
- scissors
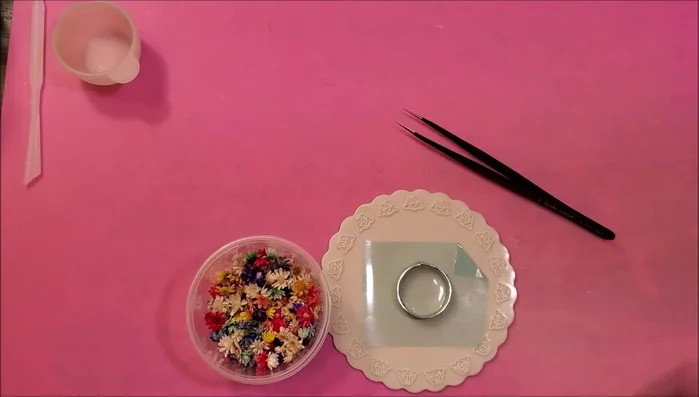
- tweezers
- heat gun
- Always work in a well-ventilated area. Resin fumes can be irritating and harmful if inhaled.
- Wear gloves to protect your skin from resin. Resin can cause skin irritation or allergic reactions.
- Avoid contact with eyes. If resin gets in your eyes, immediately flush with plenty of water and seek medical attention.
Step-by-Step Instructions
Prepare the Ring Base
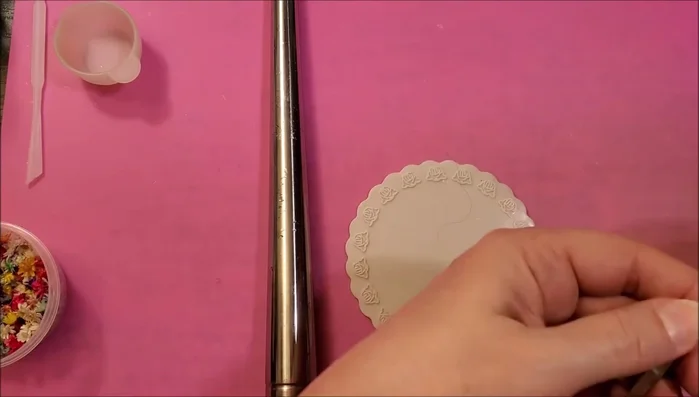
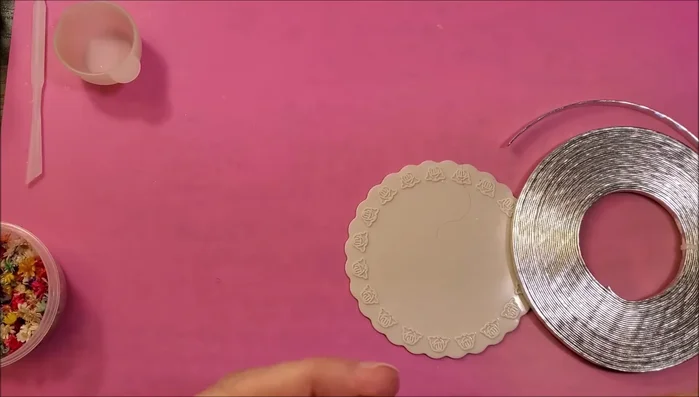
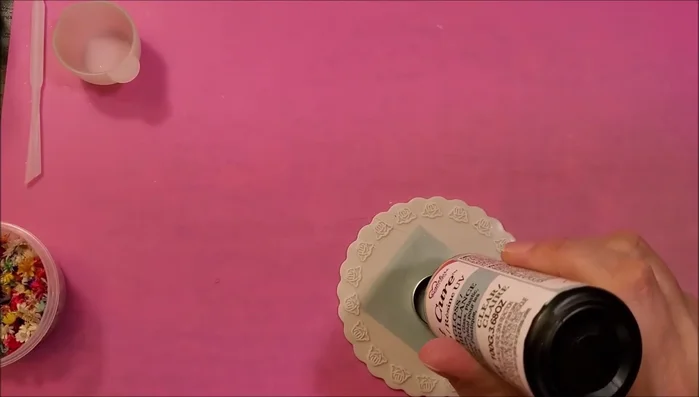
- Prepare materials and workspace.
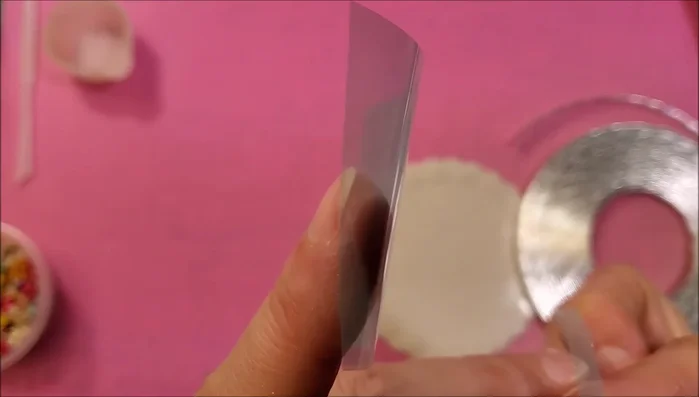
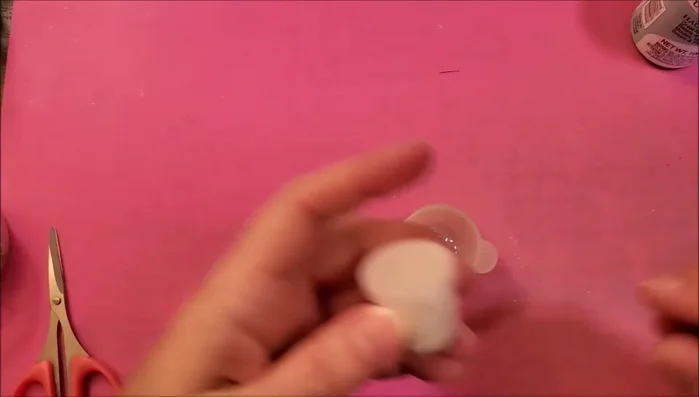
- Cut a piece of resin tape (approximately 4 inches) and shape it into a round ring using the ring mandrel.
- File the edges of the tape ring to make them flat and straight for better joining.
- Join two tape ring halves together, securing with a small piece of tape.

Prepare the Ring Base - Apply a thin layer of UV resin to the taped ring, use a heat gun to remove bubbles, and cure for 90 seconds.
Prepare the Ring Base Embed the Flowers
- Place the flowers (upside down) onto the cured resin ring, add another layer of clear resin, remove bubbles using a heat gun, and cure for 90 seconds.
Embed the Flowers Create Pearlescent Base
- Mix pearlized micro powder with UV resin and apply a thin layer to the bottom of the ring, cure for 90 seconds.
Create Pearlescent Base Add the Wire Ring
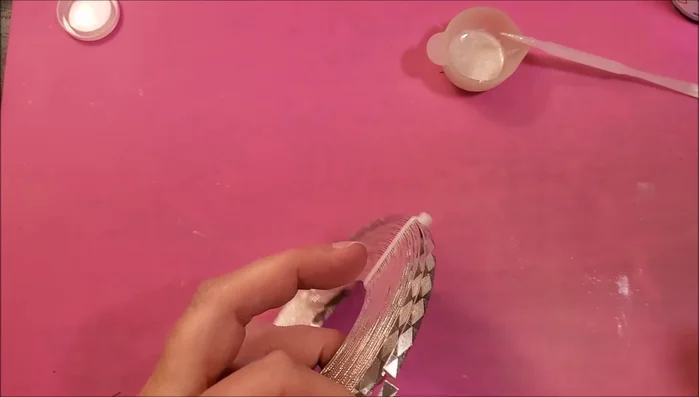
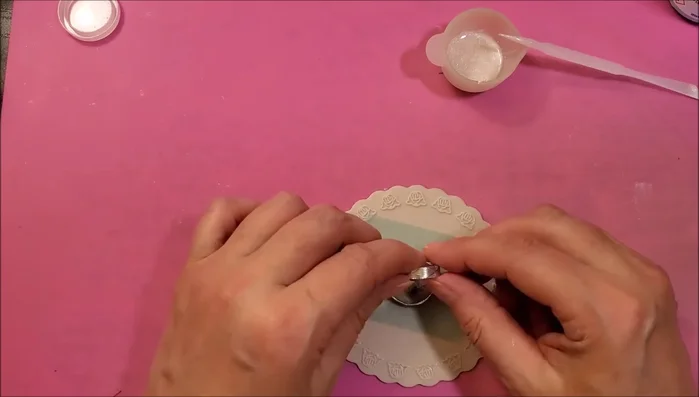
- Cut a piece of wire to your desired ring size and shape.
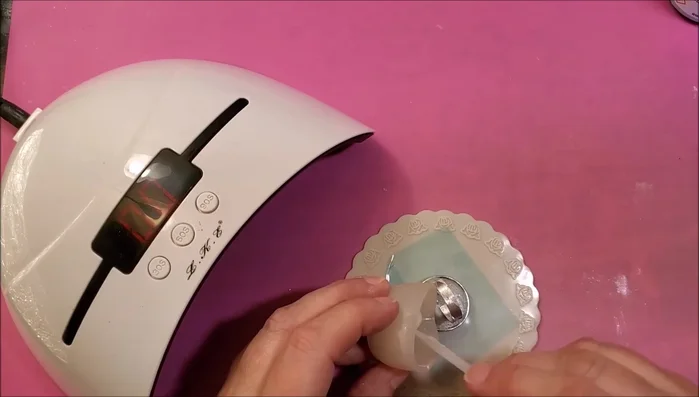
- Apply a thin layer of the pearlized resin mixture to the bottom of the ring base, place the wire ring in the center, and cure for 180 seconds.
- Add another thin layer of resin to secure the wire ring and cure for 180 seconds.
Add the Wire Ring Final Resin Layer and Curing
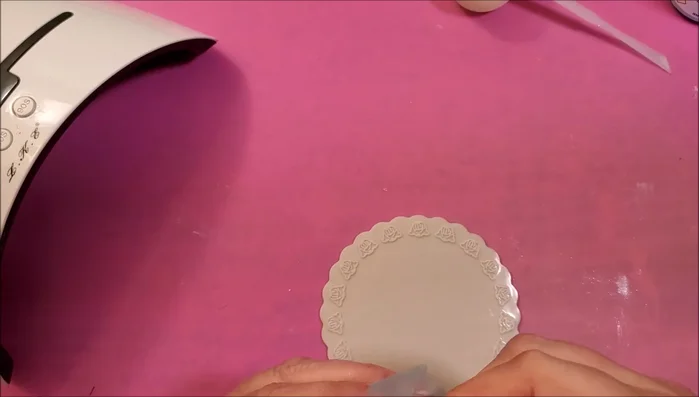
- Remove the tape. Attach the ring to a glass panel or tile using sticky tack. Add a final layer of resin to dome the top and cure for 3 minutes.
Final Resin Layer and Curing
Read more: Ultimate Guide to Making Inlay Rings with Bentwood Ring Supplies
Tips
- Don't put too much pressure when filing the tape, or it will go out of shape.
- Use a small piece of tape as a stopper to prevent the tape from sticking to the work surface.
- When placing flowers, ensure they are facing downwards for a better aesthetic.
- Use a heat gun to remove bubbles from the resin, but be careful not to blow the resin out of the mold.
- For the final resin layer, use a mixing utensil to dab it on instead of pouring to avoid resin flowing over the edges.