The world of resin art offers endless creative possibilities, and few mediums are as captivating as colorized resin. Imagine transforming natural elements – delicate flowers, vibrant leaves, or intriguing insects – into wearable works of art, permanently preserved in shimmering, translucent resin. Creating stunning resin pendants allows you to capture the beauty of the natural world and showcase your unique artistic vision, resulting in truly one-of-a-kind jewelry pieces. The process blends meticulous preparation with artistic flair, resulting in pieces that are both breathtaking and surprisingly accessible to craft enthusiasts of all skill levels.
This article will guide you through the fascinating journey of crafting these exquisite pendants, from selecting your organic inclusions and preparing your resin to mastering the art of color mixing and achieving that perfect, flawless finish. Ready to unlock your inner artist and create breathtaking resin jewelry? Let's dive into the step-by-step process, revealing the secrets to making stunning, colorized resin pendants.
Preparation and Safety Guidelines
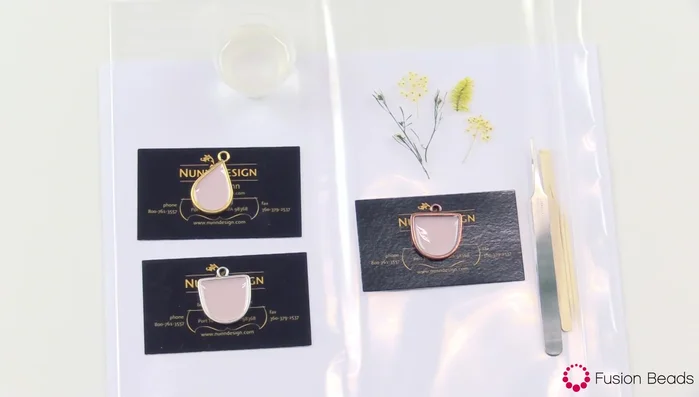
- Nunn Design resin
- Opaque pigment (red brown and white)
- Open back bezels
- Solid back bezels
- Organics
- Stir sticks
- Toothpicks
- Tweezers
- Business cards
- Packing tape
- Rubbing alcohol
- Q-tips
- Goo Gone
- Scissors
- Clear resin
- Always work in a well-ventilated area. Resin fumes can be harmful if inhaled.
- Wear gloves and eye protection at all times. Resin can irritate skin and eyes.
- Dispose of resin and its containers properly according to local regulations. Never pour resin down the drain.
Step-by-Step Instructions
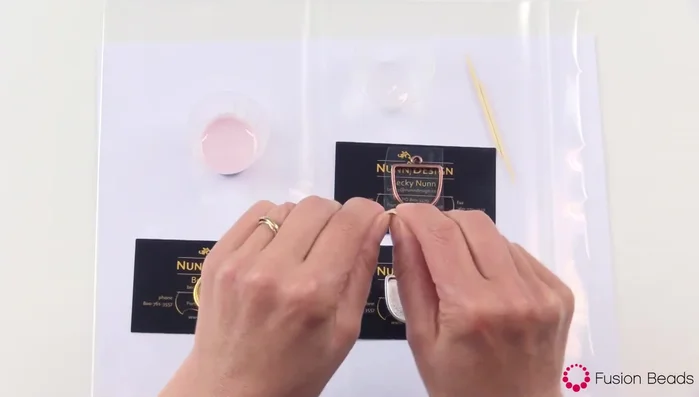
Prepare Bezels with Colorized Resin
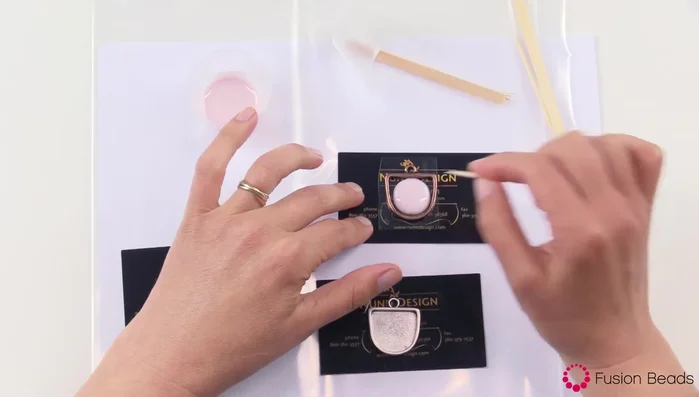
- Pour colorized resin into bezels. Use stir sticks to drizzle resin, breaking them in half for multiple pours. Under-pour to avoid excess resin.
- Use a toothpick to move the resin into all crevices and release air bubbles. Work quickly before resin thickens.
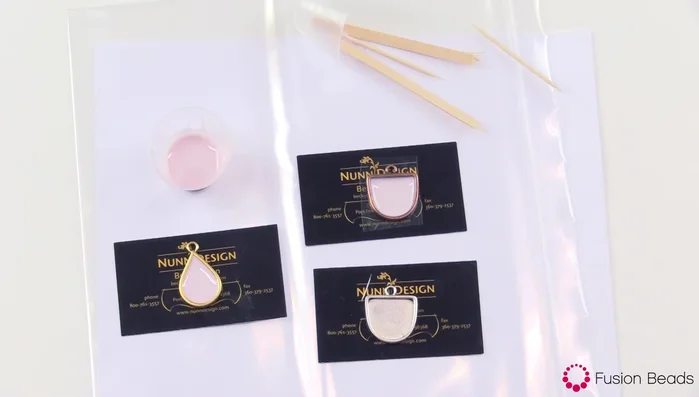
- Let the resin set for 6-12 hours for a soft cure.

Prepare Bezels with Colorized Resin Prepare Organics and Clean Bezels
- Remove packing tape from the back of the bezel after 12 hours of curing. Clean any residue with Goo Gone and a wet wipe.
- Prepare organics and trim excess stems as needed using scissors.
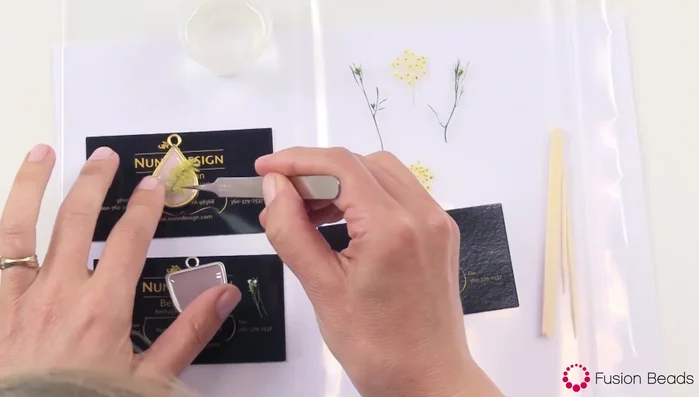
Prepare Organics and Clean Bezels Embed Organics in Clear Resin
- Drizzle clear resin into the bezel base. Use tweezers to carefully place organics into the resin, gently pushing air bubbles out.
- Add more clear resin to cover the organics completely. If resin spills over the sides, use a toothpick or intentionally pour more resin to the sides and create a consistent, even dome.
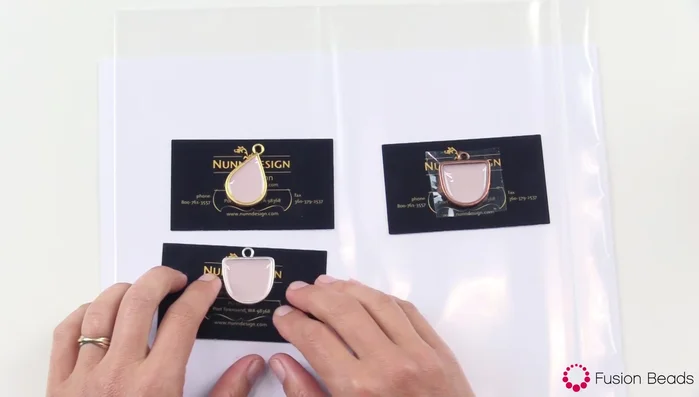
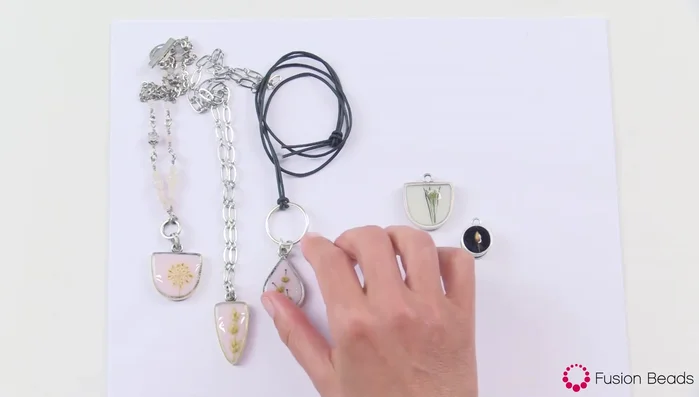
Embed Organics in Clear Resin Final Cure and Assembly
- Let the resin cure completely (another 12 hours) before assembling into jewelry.
Final Cure and Assembly

Read more: DIY Crystal Bracelet: Easy Square Knot Tutorial
Tips
- Under-pour resin to avoid having to clean up excess.
- Use a toothpick to remove excess resin from the bezel if over-poured. This helps prevent organics from popping out.
- Work quickly to release air bubbles before resin thickens.
- Clean up excess resin on the sides of the bezel with a toothpick or q-tip.
- Use Goo Gone to remove sticky residue from the back of the bezel after removing packing tape.