Tired of wrestling with fiddly clasps and struggling to get your bracelets and anklets just right? We've all been there – the frustration of tangled threads and tiny, elusive fastenings. Imagine a world where adorning yourself with beautiful jewelry is a breeze, a quick and effortless process that takes mere seconds. Forget the struggle and embrace a revolutionary approach to wearing your favorite wrap bracelets and anklets. Say goodbye to frustrating knots and hello to effortlessly chic style.
This article reveals the quickest method for applying wrap bracelets and anklets, eliminating the hassle and maximizing your style. Forget complicated techniques and time-consuming adjustments; we'll guide you through a simple, step-by-step process that guarantees a perfect fit every single time. Let's dive into the straightforward steps that will transform your jewelry routine and leave you with beautifully adorned wrists and ankles in a flash.
Preparation and Safety Guidelines
- Wrap Bracelet
- Avoid pulling the wrap too tightly, especially around ankles. This can restrict blood flow and cause discomfort.
- Inspect the wrap before use for any damage or loose threads that could snag or break. Replace damaged wraps.
- If you experience any discomfort, remove the wrap immediately. Allergic reactions to materials are possible.
Step-by-Step Instructions
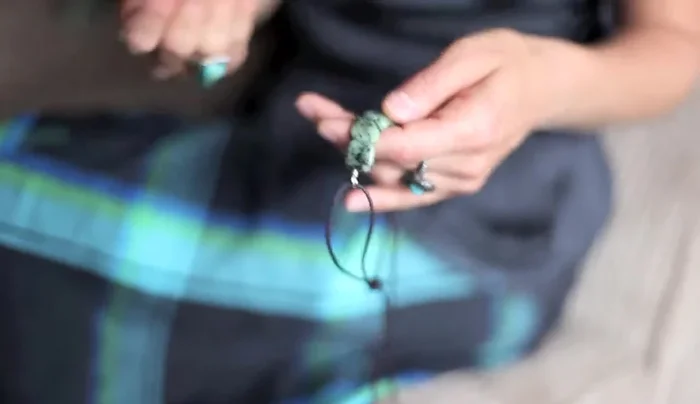
Initial Placement
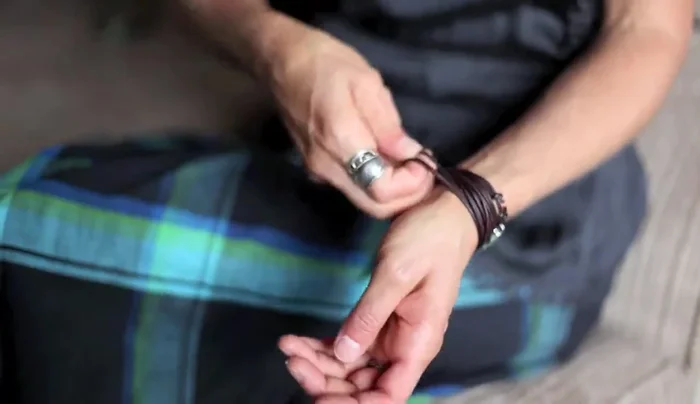
- Place the bracelet around your wrist with the beads along the top, squishing them down for a comfortable fit. Keep the two smaller knots on the outside of your wrist.

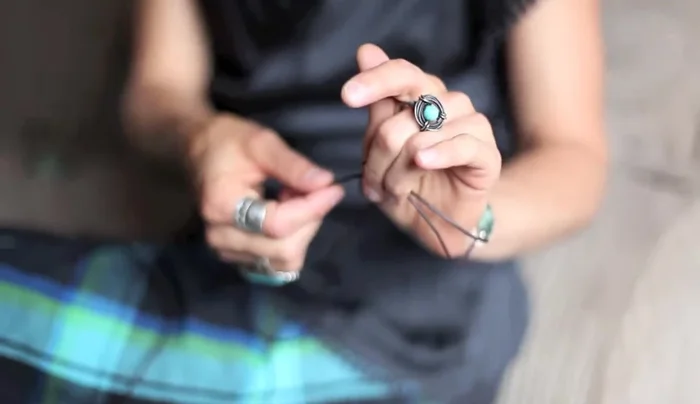
Initial Placement Initial Tightening
- Hold the larger knot with your fingers and pull the long cord to tighten the bracelet around your wrist. Adjust until comfortable.
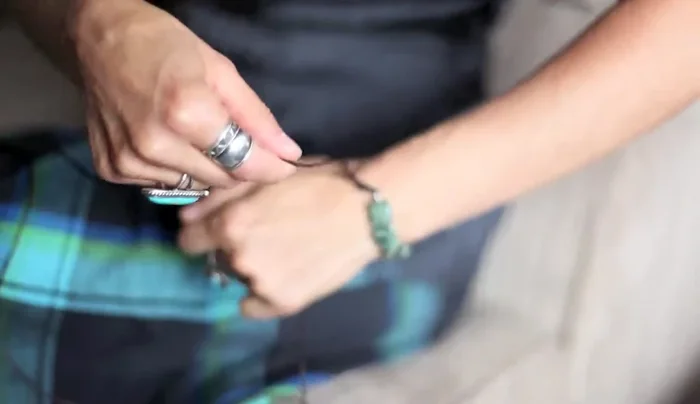
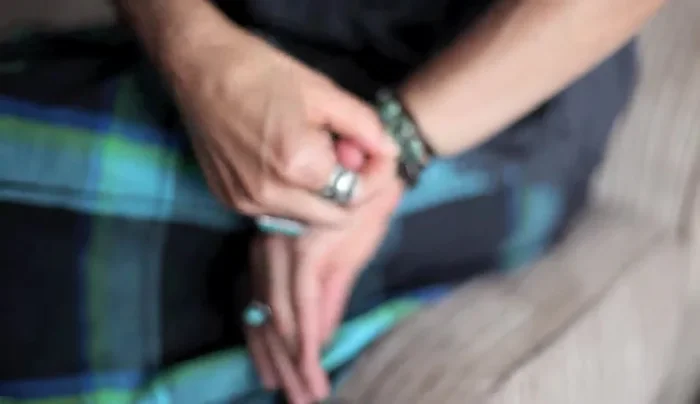
Initial Tightening Coiling and Securing the Bracelet
- Wrap the cord neatly around your wrist, keeping the coils even and close together (not overlapping) for easier removal.
- Cross the last cord before tucking it under the others and pull tight.
- Adjust and tighten individual loops to even out the bracelet's fit against your wrist.
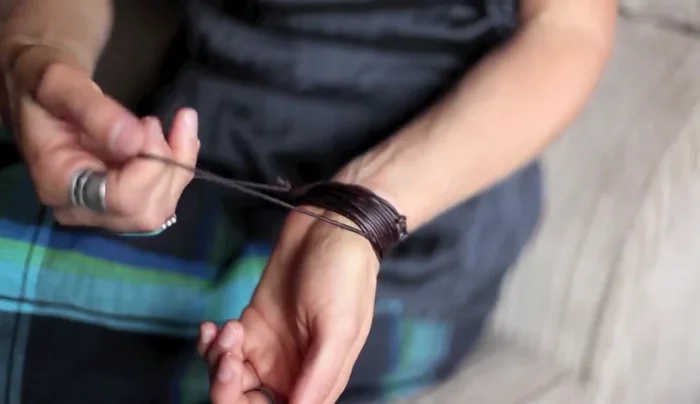
Coiling and Securing the Bracelet Bracelet Removal
- To remove, gently loosen the coils and pull on a looser loop to begin untying.
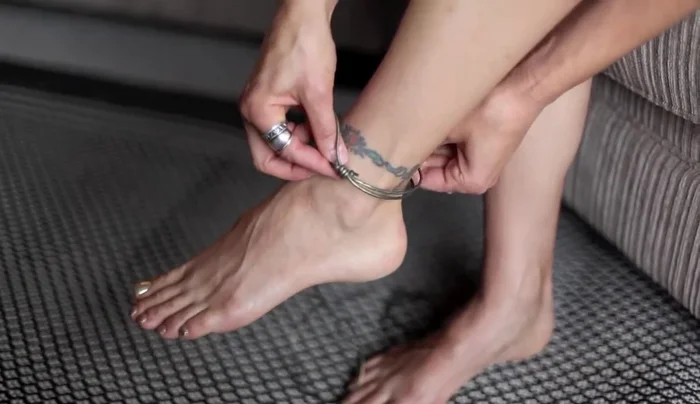
Bracelet Removal Anklet Application and Adjustment
- Use the long cord to easily adjust the anklet around your ankle. Begin by coiling the cord around your ankle at an angle, making it easier to adjust with both hands.
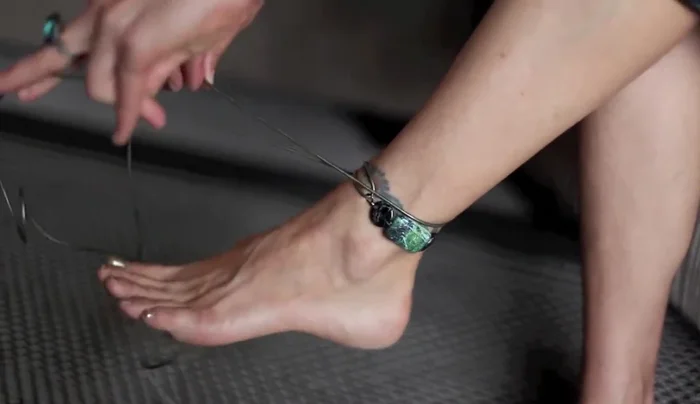
- Cross the cord in front and behind your ankle repeatedly, tightening as needed to achieve a snug, comfortable fit, then tuck the last part through.
Anklet Application and Adjustment
Read more: Summer Bunting Anklet: Easy Beaded Anklet Tutorial
Tips
- For easier removal, keep the bracelet coils even and next to each other, not overlapping.
- Ensure the anklet is snug but not constricting; adjust according to your preference.
- The anklet application method shown is quicker and avoids the awkwardness of threading your foot through each loop.