Summer is here, and what better way to celebrate the warm weather than with a vibrant, handmade accessory? This easy beaded anklet tutorial will guide you through creating a stunning summer bunting anklet, perfect for adding a touch of playful charm to your summer wardrobe. Imagine the cheerful colors dancing around your ankle, complementing your favorite sandals or going barefoot on the beach. This project is surprisingly simple, requiring minimal supplies and only basic beading skills, making it a perfect craft for beginners and experienced crafters alike. The bright, festive design is ideal for adding a pop of color to any summer outfit.
Forget expensive jewelry stores – this anklet is a fun and affordable way to express your personal style. Whether you’re looking for a quick project to complete in an afternoon or a relaxing craft to enjoy on a sunny weekend, this tutorial will have you creating your own beautiful summer bunting anklet in no time. Ready to get started? Let's dive into the step-by-step instructions.
Preparation and Safety Guidelines
- Size 11 seed beads (3 colors)
- Cube beads (square beads)
- Size 15 seed beads
- Lobster claw clasp (or ring clasp)
- Wire guards (optional)
- Size 12 beading needle
- Fireline (6lb)
- Tape measure
- Always supervise children when they are working with small beads to prevent choking hazards.
- Avoid wearing beaded anklets while swimming or showering to prevent damage to the beads and potential skin irritation from prolonged moisture.
- If you experience any skin irritation from the anklet, remove it immediately and discontinue use. Check for allergies to the materials used.
Step-by-Step Instructions
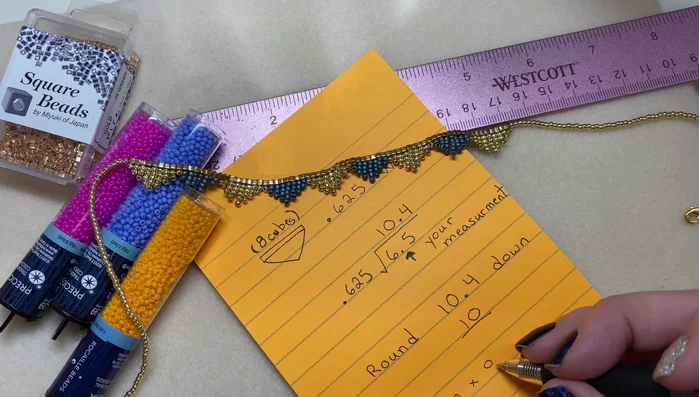
Calculate Bead Requirements
- Measure your ankle and add 0.5 inches. Divide this measurement by 0.625 (width of one cube bead) and round down to find the number of triangle shapes (e.g., 6.5 inches / 0.625 ≈ 10 shapes).
- Multiply the number of shapes by 8 (number of cube beads per shape) and add 1 to get the total number of cube beads (e.g., 10 shapes * 8 beads/shape + 1 = 81 beads).

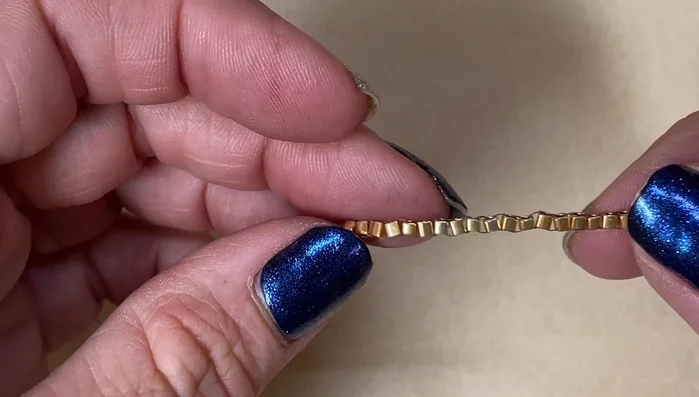
Calculate Bead Requirements Create Ladder Stitch Base
- Create a ladder stitch base using the cube beads. Start with two beads, then add one more, passing the needle through the first bead. Repeat, adding one bead at a time and passing the needle through the previous bead to create a chain.
- After completing the ladder stitch, go back and even out the beads by passing the needle up and down through each bead to straighten the row.
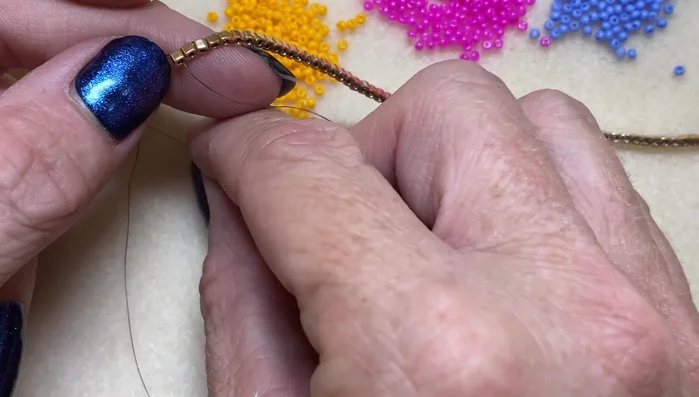
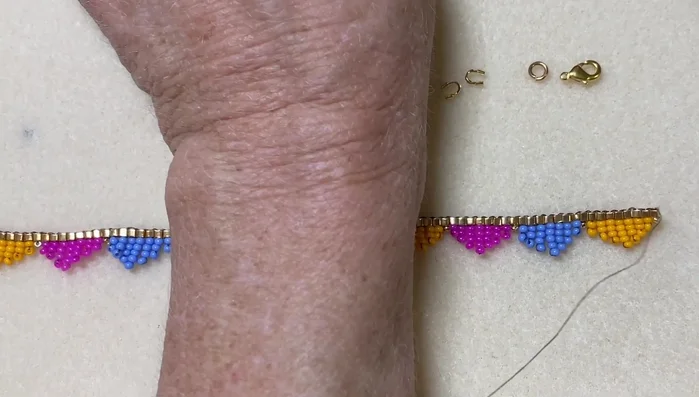
Create Ladder Stitch Base Add Triangle Fringe
- Coming out of a cube bead, add one size 15 seed bead, then go back into the cube bead. Move to the next cube bead and start your first color, increasing the number of size 11 seed beads in each triangle until you reach the peak. Then decrease to complete the triangle. Repeat with different colored seed beads to create the bunting effect.
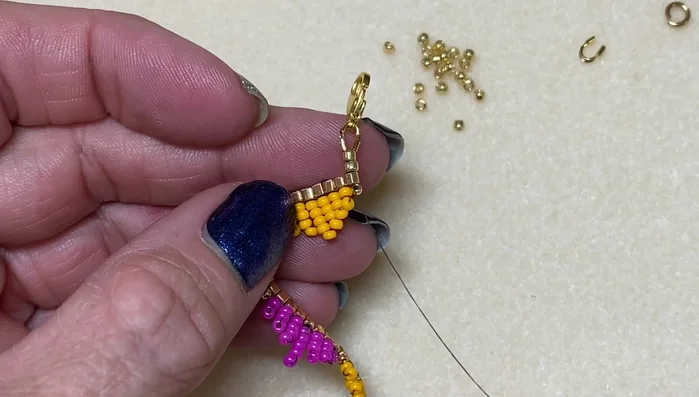
Add Triangle Fringe Attach Clasp
- Add 1-2 seed beads to one end, attach a wire guard (optional), then add the clasp. Secure the clasp by weaving the thread through the clasp and wire guard several times.
Attach Clasp Finish and Secure
- Secure all ends by weaving the thread through several beads, then trim the excess thread.
Finish and Secure

Read more: DIY Beaded Anklet Tutorial: Easy Hitch Knot Technique
Tips
- Count out your beads beforehand to avoid interruptions.
- Use pliers to crimp the wire guard for a more secure clasp attachment.
- Reinforce the clasp connection by weaving the thread through the beads and wire guard multiple times.