Ever wanted to wear a piece of the cosmos on your wrist? This tutorial will guide you through creating your very own dreamy pastel galaxy charm bracelet, a stunning and surprisingly simple DIY project perfect for beginners and experienced crafters alike. Using readily available materials, you'll learn how to craft a beautiful, personalized accessory that captures the ethereal beauty of a distant galaxy in miniature. Imagine the compliments you'll receive! The delicate blend of pastel colours and shimmering beads will add a touch of whimsical magic to any outfit.
Forget expensive, mass-produced jewelry; this project allows for complete creative freedom, letting you customize your bracelet to perfectly reflect your unique style. From choosing your favourite pastel shades to selecting the perfect charms, the possibilities are endless. Ready to embark on this fun and rewarding crafting adventure? Let's dive into the step-by-step instructions and bring your pastel galaxy bracelet to life!
Preparation and Safety Guidelines
- Elastic cord (jeweler's grade)
- Pliers
- Scissors
- Bead caps (2 different sizes)
- 6mm jump rings
- Charms
- Measuring tape
- Beads (various shapes and sizes)
- Glue (optional)
- Adult supervision is required, especially for younger crafters. Small beads pose a choking hazard.
- Avoid using sharp tools near your eyes or face. Always work on a clean, well-lit surface.
- If experiencing any allergic reactions to materials (e.g., beads, wire), discontinue use immediately and seek medical advice.
Step-by-Step Instructions
Prepare Materials and Measure
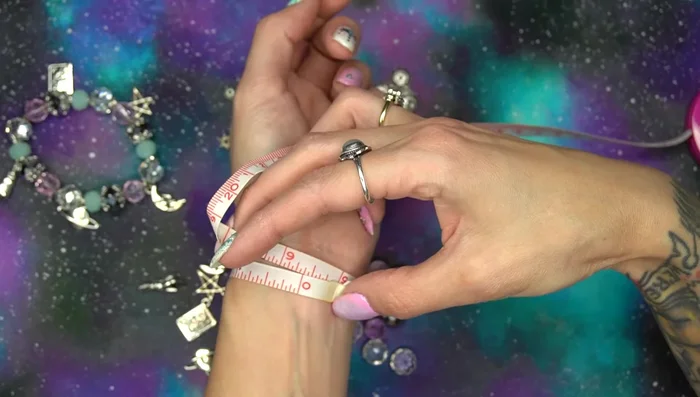
- Measure your wrist and add extra length for comfort and bead width (aim for 6.5-7.5 inches total).

Prepare Materials and Measure Prepare Elastic Cord
- Pre-stretch the elastic cord to prevent sagging.
Prepare Elastic Cord Design the Bracelet
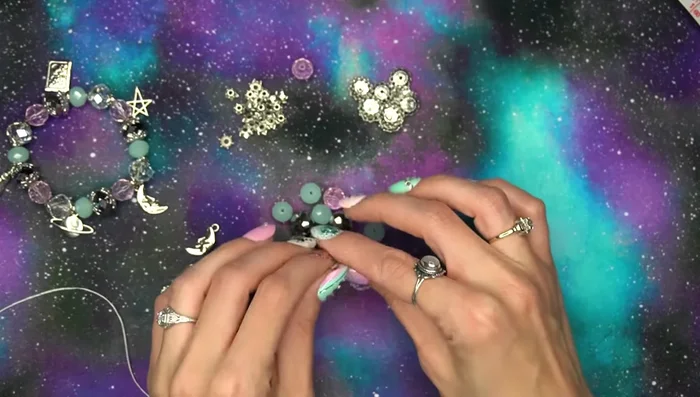
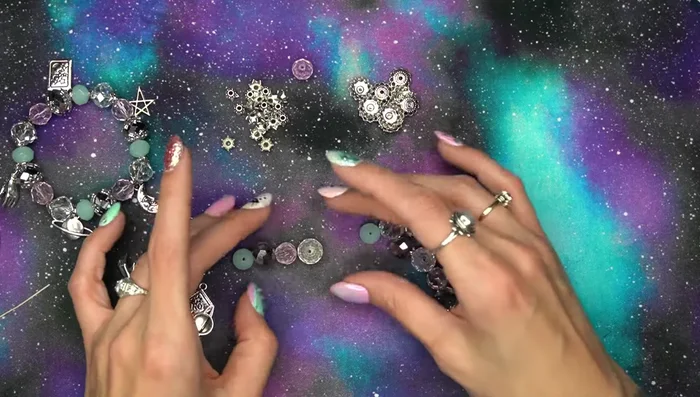
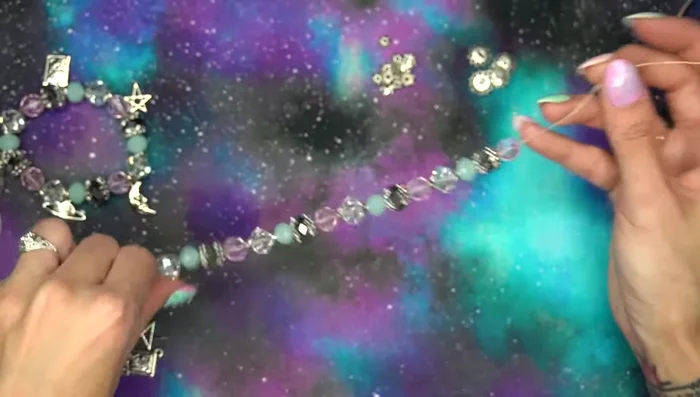
- Arrange beads and bead caps in a desired pattern. The tutorial uses a staggered color pattern.
Design the Bracelet String the Beads
- String beads and bead caps onto the elastic cord, following your chosen pattern.
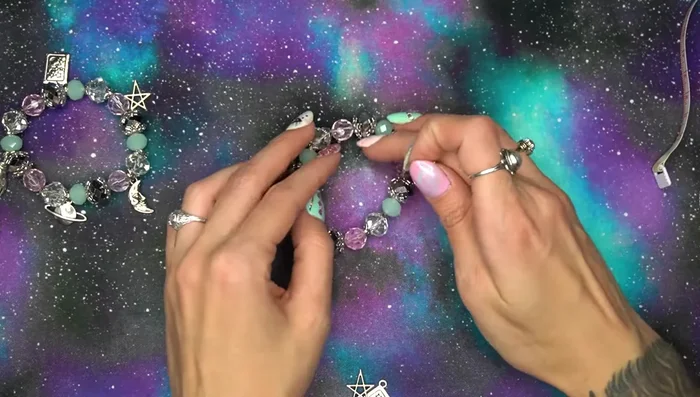
String the Beads Secure One End
- Tie a secure double knot at one end, leaving about 4 inches of extra cord. Add glue to secure the knot.
Secure One End Attach Charms
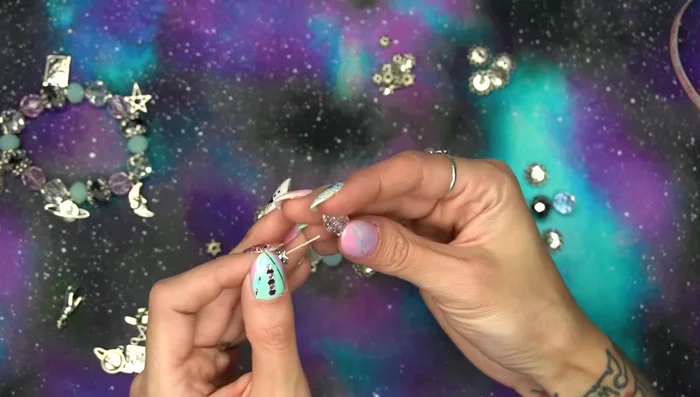
- Attach charms using jump rings. Open jump rings by gently pressing inwards, not outwards, to maintain their shape. Attach the charm, then close the jump ring.
- Repeat step 6 for all charms, placing them at even intervals (every 3 beads in this example).
Attach Charms Secure the Other End
- Tie a secure double knot at the other end. Add glue to secure the knot.
Secure the Other End
Read more: DIY Crystal Bracelet: Easy Square Knot Tutorial
Tips
- Use higher-quality elastic cord for better durability. Avoid cheap cords.
- Recycle charms from broken jewelry to save money.
- Pre-planning your bead pattern makes assembly easier.
- Use bead caps to add visual interest and texture to your bracelet.
- Always open jump rings inwards, not outwards, to prevent damage and maintain their shape.