The post-apocalyptic wasteland of Mad Max inspires more than just thrilling action sequences; its gritty aesthetic has permeated popular culture, influencing everything from fashion to crafting. And what better way to channel your inner Fury Road warrior than by creating your own durable, stylish Mad Max-inspired paracord bracelet? This tutorial focuses on a particularly strong and visually appealing design: the no-buckle cobra stitch. This technique eliminates the need for bulky clasps, mirroring the resourceful nature of survival in a harsh environment, resulting in a bracelet as tough and resilient as Max himself.
Forget flimsy, easily broken bracelets; the cobra stitch provides exceptional strength and a distinct, textured look perfect for embodying the film's iconic style. This detailed guide will walk you through each step, from gathering your materials to finishing your meticulously crafted paracord bracelet. Ready to unleash your inner survivalist and create a bracelet as impressive as the War Rig itself? Let's dive into the step-by-step process!
Preparation and Safety Guidelines
- 10.5-11 ft of OD Green paracord
- Scissors
- Lighter
- Paracord fid (optional)
- Needle-nose pliers (optional)
- Always use sharp scissors or a paracord cutter to prevent frayed ends and ensure clean cuts. Dull tools can lead to uneven cuts and potentially injure you.
- Maintain consistent tension throughout the braiding process. Inconsistent tension will result in a loose and uneven bracelet that may easily break.
- Before wearing, thoroughly check the bracelet for loose strands or weak points. A poorly constructed bracelet could break and potentially cause injury.
Step-by-Step Instructions
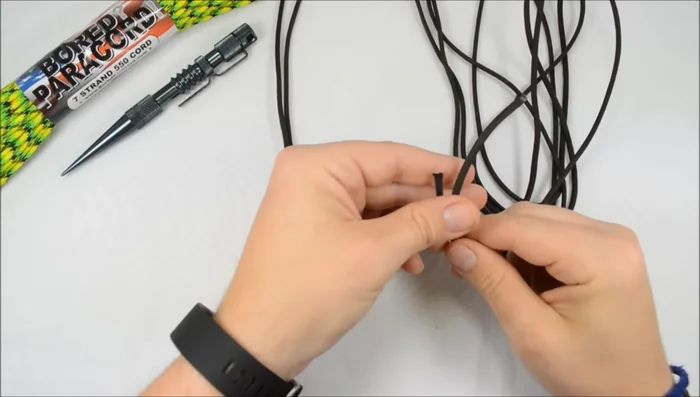
Prepare the Cord
- Fold the paracord in half, find the center point, and measure the bracelet length (wrist circumference + 1 inch).

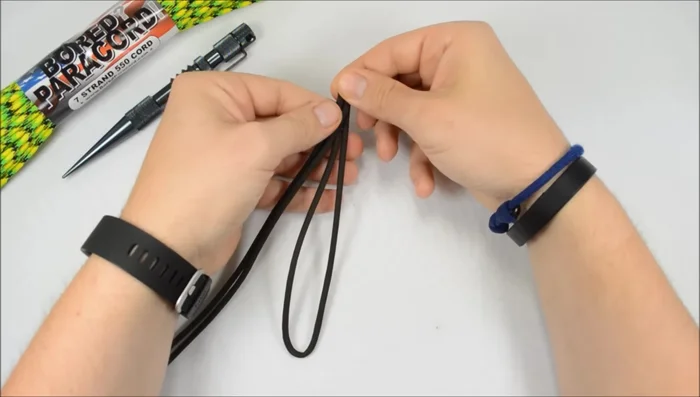
Prepare the Cord Create Initial Loop
- Fold the cord at the measured length, creating a loop for the bracelet closure. You will have two working ends.
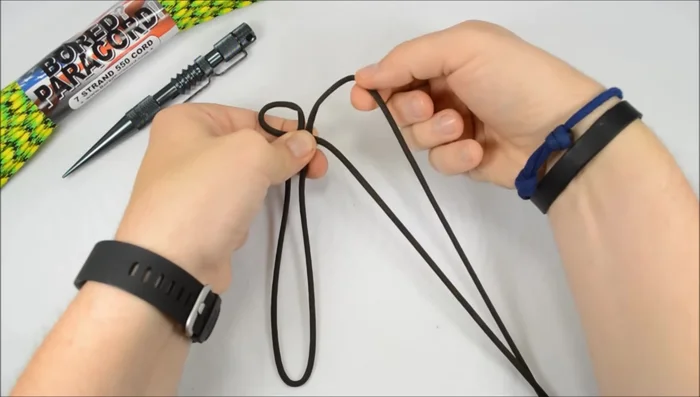
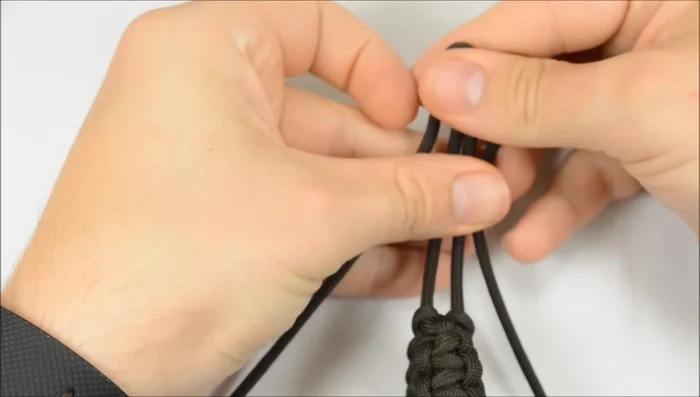
Create Initial Loop Begin Cobra Stitch
- Begin the Cobra stitch as you would with a regular cobra bracelet, but without a buckle.
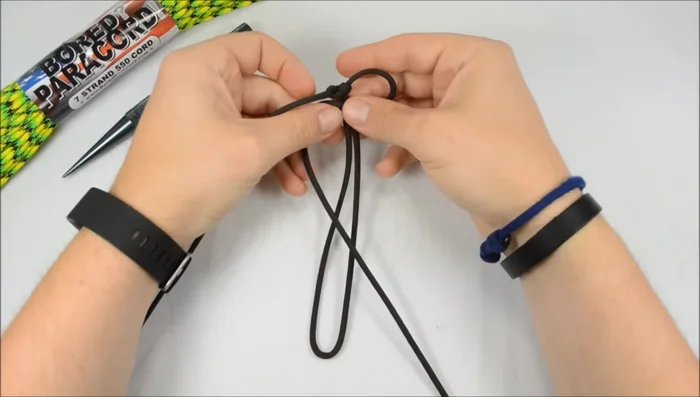
Begin Cobra Stitch Continue Cobra Stitch
- Continue the Cobra stitch down the length of the bracelet, ensuring the cord that went over the middle last time always goes over the middle again.
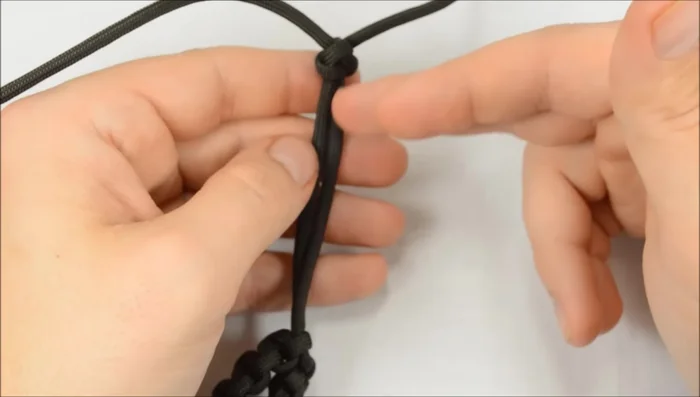
Continue Cobra Stitch Create and Secure End Loop
- Before finishing the last stitch, leave a small loop at the end to prevent the bracelet from sliding off.
- Run one cord through the final loop, then continue the stitch, bringing the other cord up through the loop and tightening the knot.
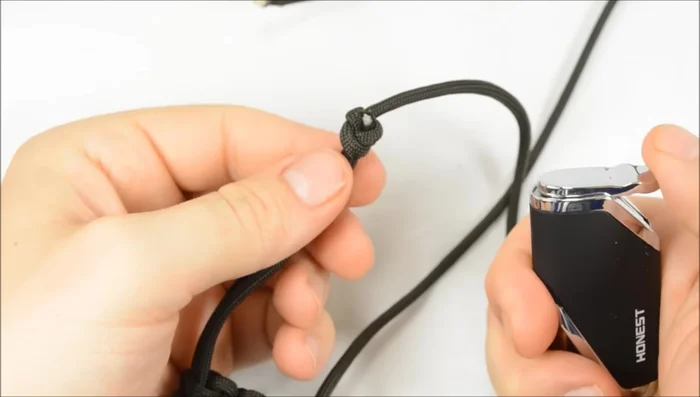
Create and Secure End Loop Create and Adjust Stopper Knot
- At the desired length (about 2.5 inches from the end), tie a stopper knot to secure the bracelet.
- If the stopper knot is too far out, loosen the bracelet and work the knot down to the desired position.
Create and Adjust Stopper Knot Finish Bracelet
- Cut and melt the ends of the paracord to finish.
Finish Bracelet


Read more: DIY Crystal Bracelet: Easy Square Knot Tutorial
Tips
- Use a fid or needle-nose pliers to help guide the cord through tight spaces.
- Keep the bracelet tight as you work to maintain its shape and prevent slipping.
- Experiment with the placement of the stopper knot to achieve the desired fit.