Do you have an old necklace gathering dust in your jewelry box? One that's perhaps slightly outdated or simply doesn't get worn anymore? Instead of letting it languish, consider transforming it into something fresh and stylish! This tutorial shows you how to easily upcycle a necklace into a delicate, eye-catching bracelet, breathing new life into a forgotten piece and adding a unique touch to your jewelry collection. It's a perfect project for beginners, requiring minimal tools and materials, and yielding maximum satisfaction.
Giving old jewelry a second life is not only environmentally friendly but also incredibly rewarding. This simple upcycling technique allows you to personalize your accessories and create a truly one-of-a-kind piece. From chunky statement necklaces to dainty chains, many necklace styles can be repurposed. Ready to get started on your transformation? Let's dive into the step-by-step process and learn how to craft a beautiful bracelet from your existing jewelry.
Preparation and Safety Guidelines
- Chain necklace
- Focal bead (5mm Prestige bicone in Pacific Opal is used in the example)
- Head pin or wire
- Wire cutters
- Ruler
- Wire looping pliers
- Always use sharp, clean jewelry-making tools to avoid injury and ensure clean cuts.
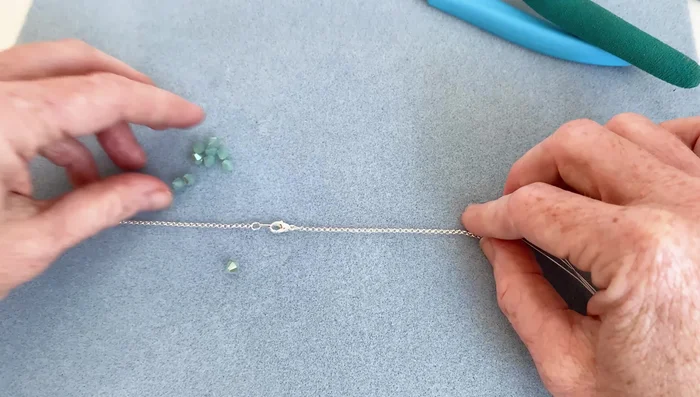
- Be mindful of the necklace's clasp. If reusing it, ensure it's secure and functions properly for a bracelet; otherwise, replace it with a suitable bracelet clasp.
- If working with metal, be aware of potential allergies. Wear gloves if necessary and wash your hands thoroughly afterward.
Step-by-Step Instructions
Measure and Prepare Necklace
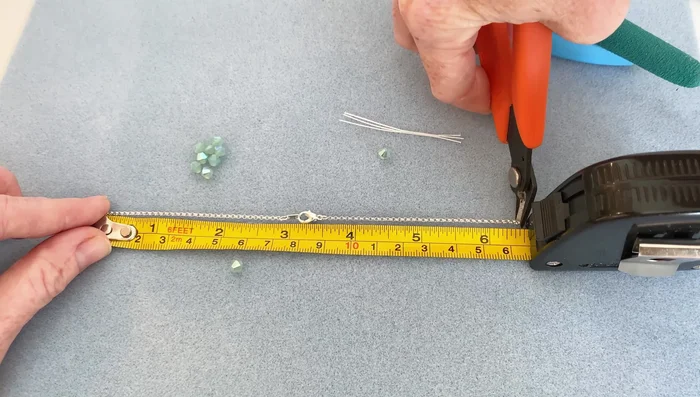
- Measure and cut the necklace:
- Determine desired bracelet length (e.g., 7 inches). Account for the focal bead's added length (approx. 0.5 inches). Divide the remaining length by two to find the length on each side of the clasp.
- Cut the necklace at the determined points, leaving the clasp in the center.

Measure and Prepare Necklace Create Focal Point
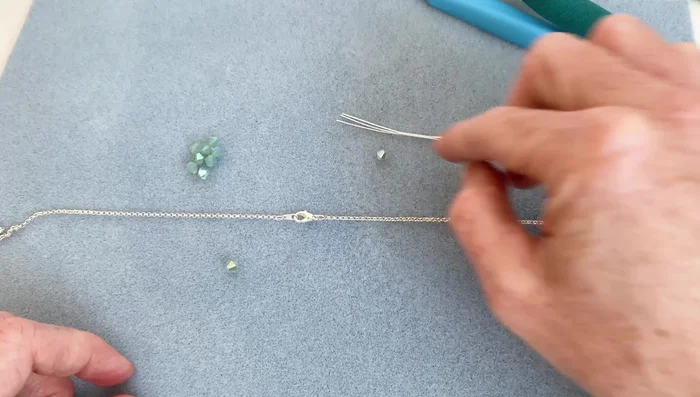
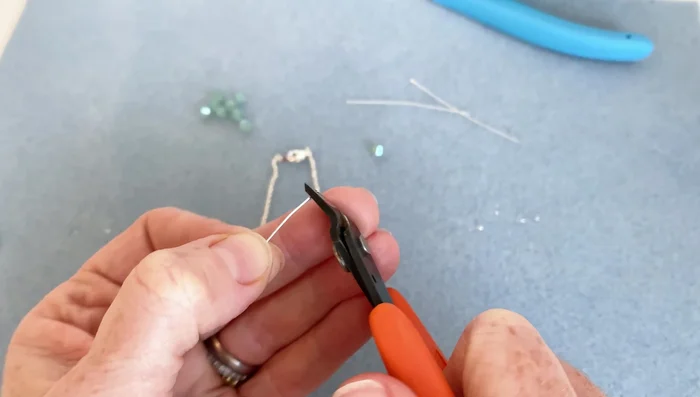
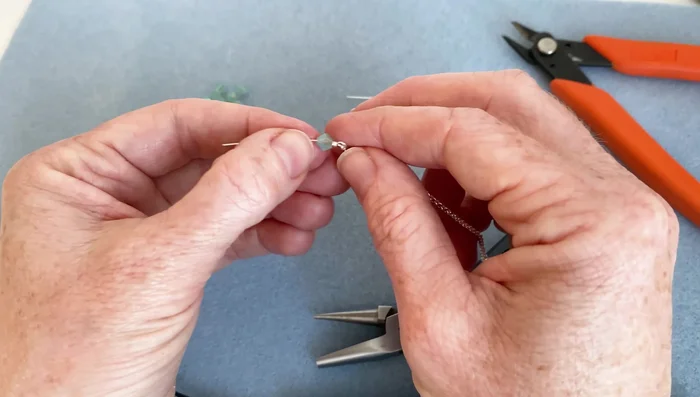
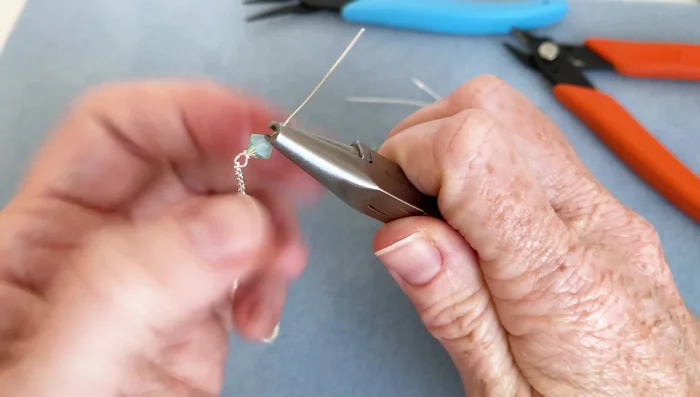
- Cut the head pin, leaving about ¾ inch for looping. Create a loop at the cut end using wire looping pliers.
- Attach your chosen bead(s) to the head pin above the loop.
Create Focal Point Attach Chain Ends to Focal Point
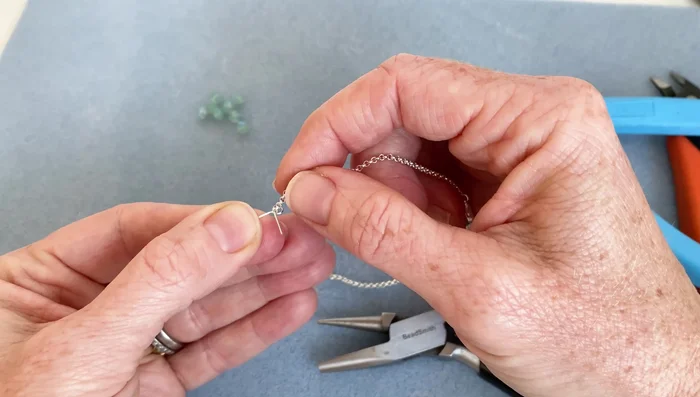
- Open the loop, slide one chain end onto it, and close securely with several wraps to prevent slippage.
- Repeat steps 4-5 for the other chain end, ensuring secure attachment.
Attach Chain Ends to Focal Point
Read more: Summer Bunting Anklet: Easy Beaded Anklet Tutorial
Tips
- Repurpose leftover chain for other projects.
- Use multiple wraps on the focal loop for extra security.
- Customize the number of beads for your desired aesthetic.