Creating beautiful, intricate bracelets is a rewarding craft, but achieving the perfect balance of strength and flexibility can be challenging. Stiff, uncomfortable bracelets are a common frustration for both beginners and experienced jewelry makers, often stemming from the inherent properties of the metal itself. Metal annealing, a heat-treating process, offers a solution to this problem, allowing you to manipulate your metal more easily and create flexible, wearable pieces without sacrificing durability. This gentle process softens the metal, making it more pliable and less prone to cracking or breaking during shaping and bending.
Annealing allows for intricate designs and comfortable wear, transforming your jewelry-making experience. This article will guide you through a step-by-step process of metal annealing, specifically tailored for achieving the desired flexibility in your bracelets. Learn how to safely heat-treat your metals to create stunning, comfortable, and long-lasting bracelets that your customers or yourself will adore.
Preparation and Safety Guidelines
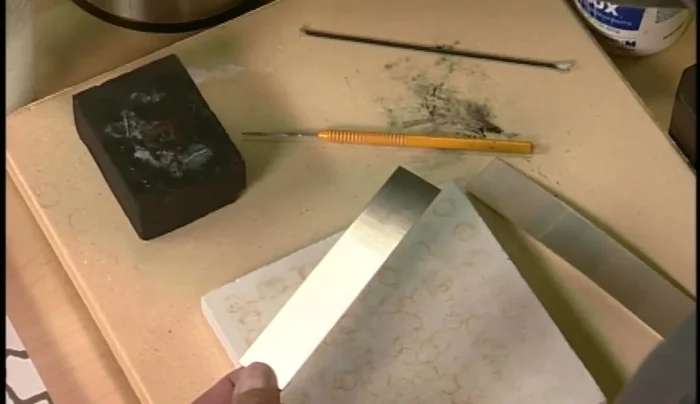
- sheet metal
- hammer
- torch
- flux
- pickle (mild acid solution)
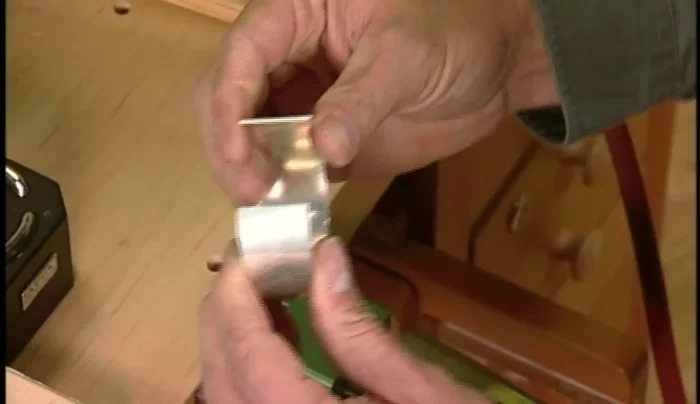
- bracelet mandrel
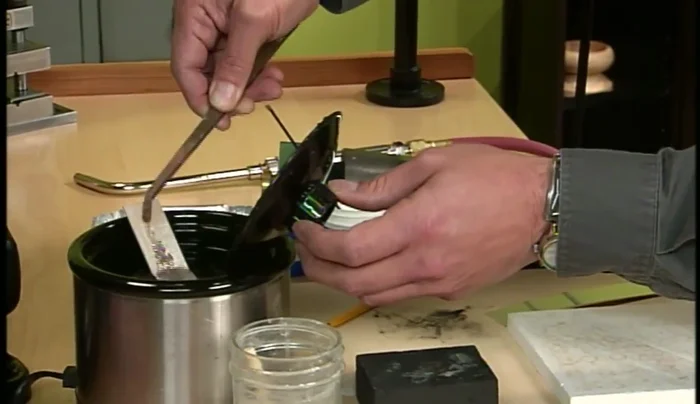
- heat-reflective block
- safety glasses
- Always wear appropriate safety glasses and a respirator mask when annealing metal. Metal dust and fumes can be harmful.
- Use proper ventilation. Annealing produces fumes and heat; work in a well-ventilated area or outside.
- Never quench hot metal in water unless specifically indicated in your metal's annealing instructions. Rapid quenching can warp or crack the metal.
Step-by-Step Instructions
Prepare for Annealing
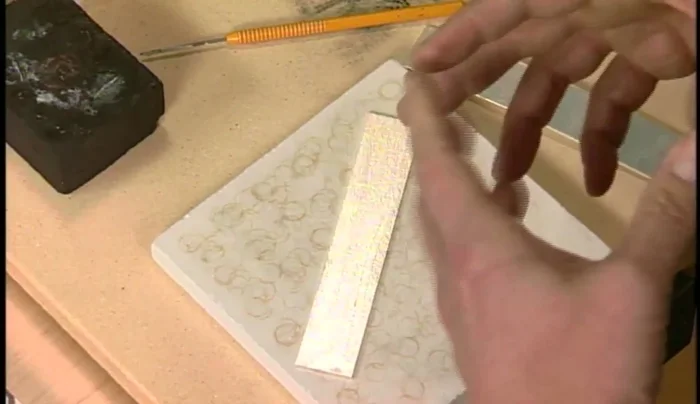
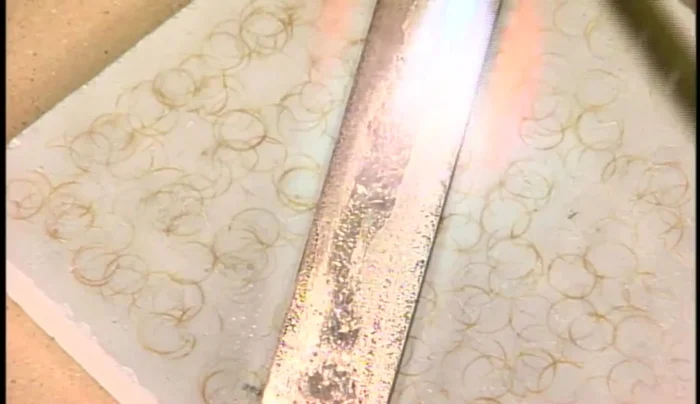
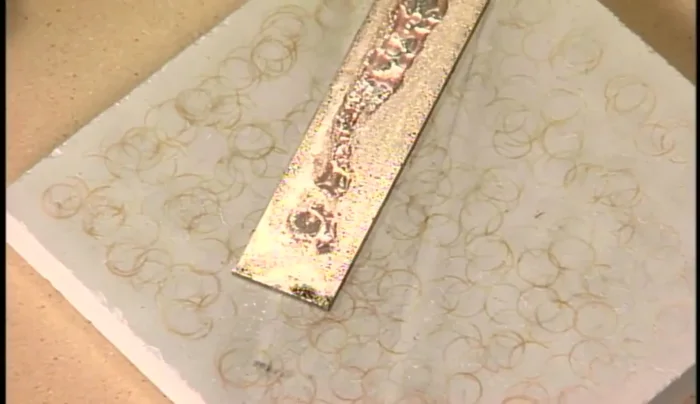
- Prepare the metal bracelet blank by coating it with barrier flux to prevent oxidation.

Prepare for Annealing Heat Treatment
- Heat the metal using a torch to approximately 1100° (use flux as a temperature indicator; it turns clear at the correct temperature).
- Maintain the temperature for about 30 seconds to a minute to allow the crystals to grow and soften the metal.
Heat Treatment Quench and Clean
- Quickly quench the heated metal in water to stop the heating process.
- Clean the metal in a pickle (mild acid solution) to remove flux and oxidation.
Quench and Clean Initial Shaping
- Bend and shape the softened metal using your hands and a bracelet mandrel.
Repeat Annealing (if needed)
- If the metal becomes too hard to shape, repeat the annealing process (heating, quenching, and pickling) to soften it again.
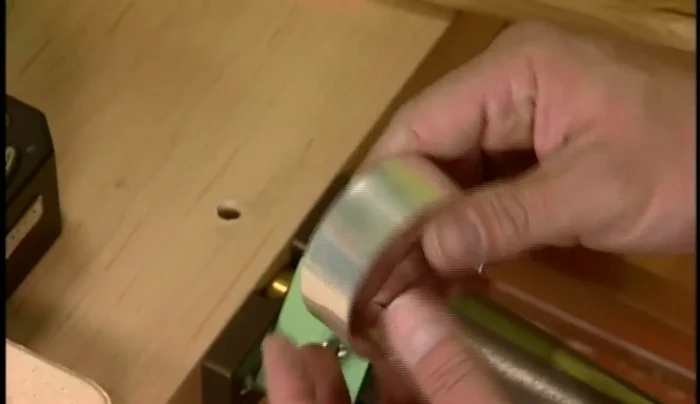
Repeat Annealing (if needed) Refine and Shape
- Refine the shape and size of the bracelet using a dead blow hammer on the mandrel.
Finishing Touches
- Finish the bracelet by filing, sanding, or polishing the edges.
Finishing Touches
Read more: DIY Crystal Bracelet: Easy Square Knot Tutorial
Tips
- Use a heat-reflective block as a work surface to prevent heat absorption and ensure even heating of the metal.
- The clarity of the flux serves as a reliable temperature indicator, more accurate than judging by color alone, especially in varying light conditions.
- You can't soften the metal too much; it has a limit before melting. Adjusting the annealing and shaping process allows for precise control.
- For a finished bracelet needing reshaping, annealing is possible as long as there are no heat-sensitive elements (e.g., stones).