Spring is in the air, and what better way to celebrate the season's vibrant blooms than by crafting your own beautiful flower bracelet? This tutorial will guide you through creating a delicate and charming spring seed bead flower bracelet using the easy-to-master herringbone stitch. Forget complicated patterns and intricate designs; this project is perfect for beginners and experienced crafters alike, offering a satisfying and rewarding crafting experience. The use of spring-inspired colors adds a touch of whimsy and personality, making it a perfect accessory for any spring outfit or a lovely handmade gift.
Learn to weave these stunning seed bead flowers with our detailed, step-by-step instructions and photos. This comprehensive tutorial will walk you through each stage of the process, from preparing your materials to finishing your beautiful bracelet, ensuring you create a piece you'll cherish for seasons to come. Get ready to unleash your creativity and enjoy the simple pleasure of making something beautiful with your own hands!
Preparation and Safety Guidelines
- 110 seed beads (light green, pink, dark green, yellow)
- Glass panel jump ring
- Monofilament (0.006 inches or 0.15 millimeters)
- Size 10 beading needle (Size 11 or 12 also works)
- Scissors
- Flat nose pliers (optional)
- Small seed beads pose a choking hazard. Keep them away from young children and pets.
- Use sharp scissors to cut beading wire. Always point the scissors away from yourself and others.
- If experiencing eye irritation from seed beads, immediately flush eyes with water and seek medical advice if necessary.
Step-by-Step Instructions
Starting the First Flower
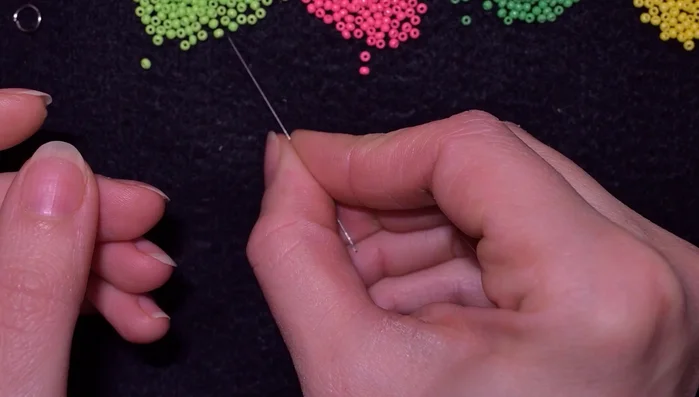
- Pick up two green beads and two pink beads. Slide them down the needle. Make a knot by looping the thread twice and pulling tight.

Starting the First Flower Creating the First Flower Circle
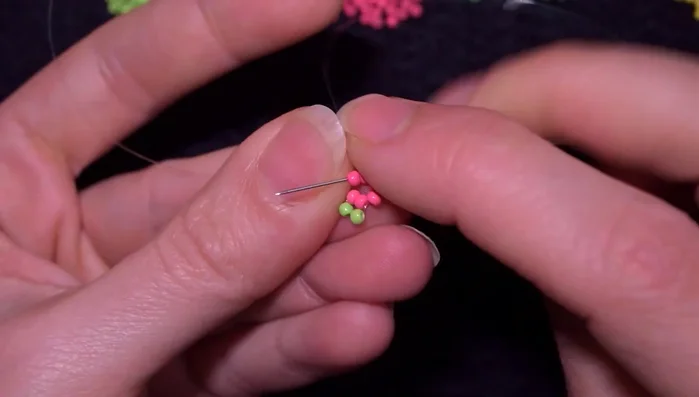
- Exit the needle through the two pink beads. Pick up four pink beads, and go back through the previous two pink beads to create a circle of six beads.
Adding the Center Bead and Reinforcing
- Reinforce the circle. Go through one pink bead, then a yellow bead, and then through the opposite pink bead (counting one, two, three from the first pink bead).
Adding the Center Bead and Reinforcing Completing the First Flower and Starting the Pattern
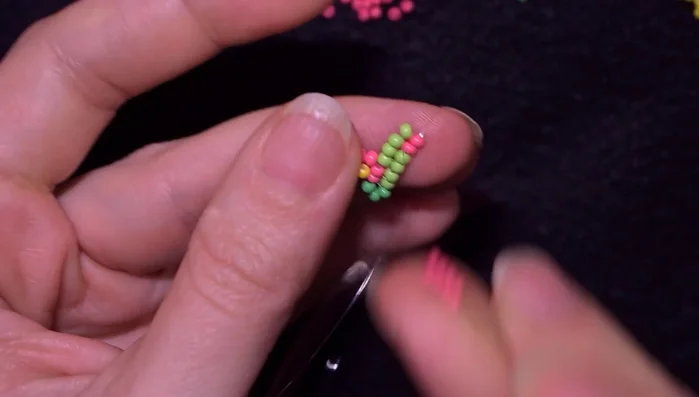
- Go around the flower again, exiting through the original two pink beads. Pick up three dark green beads, then two light pink beads, and continue following the pattern shown in the video.
Repeating the Flower and Herringbone Stitch
- Create another flower using four pink beads, reinforcing the joint and adding a yellow bead in the center as before. Continue beading, following the herringbone stitch pattern, for a total of six rows.
Repeating the Flower and Herringbone Stitch Finishing the Bracelet
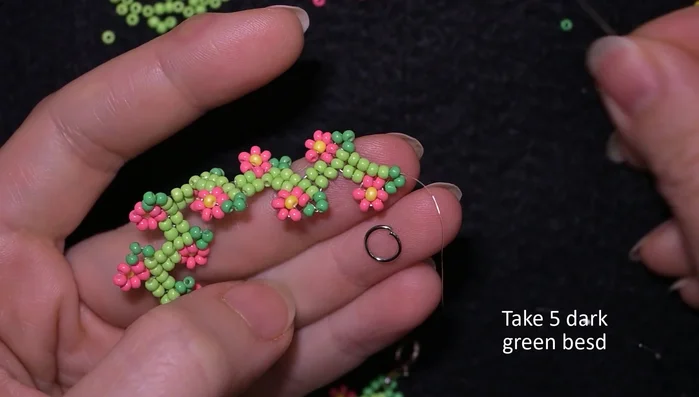
- Add a jump ring, followed by five green beads and thread through the two light green beads. Reinforce the joint. Make a knot and cut the thread to finish the bracelet.
Finishing the Bracelet
Read more: DIY Crystal Bracelet: Easy Square Knot Tutorial
Tips
- Ensure the beads in the center of the flowers pop up in one direction for a uniform look.
- When adding flowers, add them in the direction you started your bracelet from. Pink beads go on the side you started from.