The allure of handcrafted jewelry is undeniable, and few pieces possess the same timeless elegance and rugged beauty as a hammered gold ring. This unique texture, achieved through careful metalworking, elevates a simple band into a statement piece, reflecting both the artistry of the creator and the wearer's individual style. The process, while demanding precision and patience, is surprisingly accessible to those with a passion for crafting and an eye for detail. From choosing the perfect gold to the final polishing, creating a hammered textured gold ring is a rewarding journey.
This comprehensive guide will walk you through each stage of the creation process, from preparing the metal and designing your ring to the final hammering and finishing touches. We’ll cover essential tools, techniques, and safety precautions, ensuring you create a stunning, durable ring you’ll cherish for years to come. Let's begin the step-by-step process of forging your own unique piece of jewelry.
Preparation and Safety Guidelines
- Crucible
- Tiger torch
- Boric acid
- Ingot mold
- Olive oil
- Gloves
- Vernier calipers
- Rolling mill
- Files
- Sandpaper
- Hammer
- Pickle pot
- Ultrasonic cleaner
- Always wear safety glasses to protect your eyes from flying metal fragments during hammering.
- Use appropriate ventilation when working with soldering equipment and fluxes; fumes can be harmful.
- Ensure your work surface is stable and secure to prevent accidental injury from dropped tools or materials.
Step-by-Step Instructions
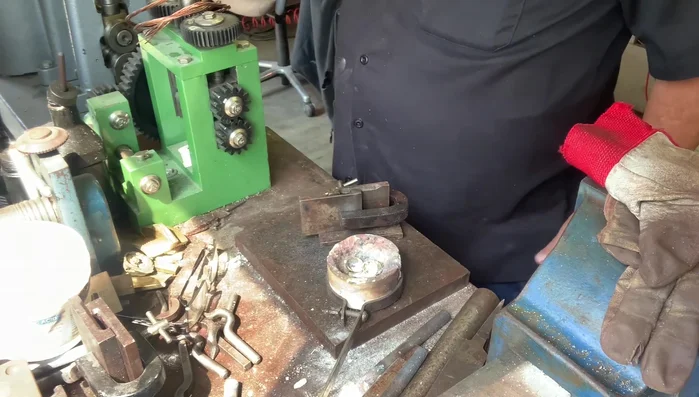
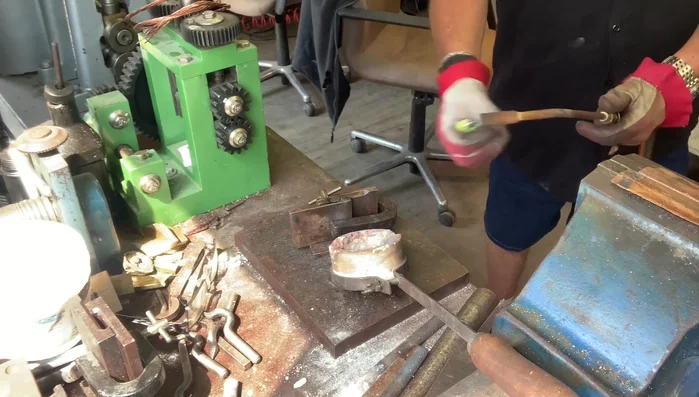
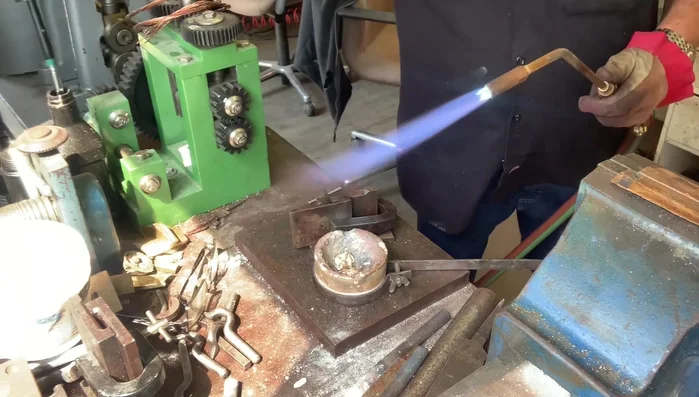
Gold Ingot Preparation
- Melt the measured gold in a crucible and pour it into an ingot mold.
- Lightly oil the ingot mold to prevent sticking.
- Use a torch to melt the gold in the crucible.
- Carefully pour the molten gold into the prepared ingot mold.

Gold Ingot Preparation - Clean the ingot using an ultrasonic cleaner to remove oil and debris.
Sizing and Shaping the Ingot
- Use ring size charts and calculations (circumference = diameter * π) to determine the required length of the ingot.
- Use a rolling mill to gradually reduce the thickness and increase the length of the ingot to the desired dimensions.
Sizing and Shaping the Ingot Annealing and Texturing
- Heat the ingot to a cherry red color to relieve stress and prevent brittleness. Quench to cool.
- File the ends of the ingot to square them. Use a hammer to create the hammered texture on the surface of the ring.
Annealing and Texturing Finishing
- Sand the ring to smooth the surface and anneal one last time for final shaping.
Finishing


Read more: Ultimate Guide to Making Inlay Rings with Bentwood Ring Supplies
Tips
- Use safety equipment (gloves) when handling hot materials.
- Work on a steel workbench to prevent fire hazards.
- Keep the mold hotter than colder during pouring.
- Clean work surface before annealing to avoid contamination.
- Dry the ingot thoroughly before returning it to the rolling mill to prevent damage.