Dive into the captivating world of fused glass jewelry making with this comprehensive tutorial on crafting your own stunning ring and pendant. Forget expensive and time-consuming trips to jewelry stores; this project empowers you to create unique, personalized pieces reflecting your individual style. Using readily available materials and simple techniques, you'll learn to fuse vibrant glass fragments into beautiful, wearable art. The process is surprisingly straightforward, even for beginners, allowing you to experiment with colors and designs to produce truly bespoke accessories.
This DIY project eliminates the need for cumbersome bail bonds, offering a clean and elegant finish. Ready to transform your creative vision into reality? Let's get started with the step-by-step instructions detailing the entire process, from selecting your glass to achieving a professional-looking final product.
Preparation and Safety Guidelines
- Fused glass pieces
- Ring setting
- No-Days Bail Bond
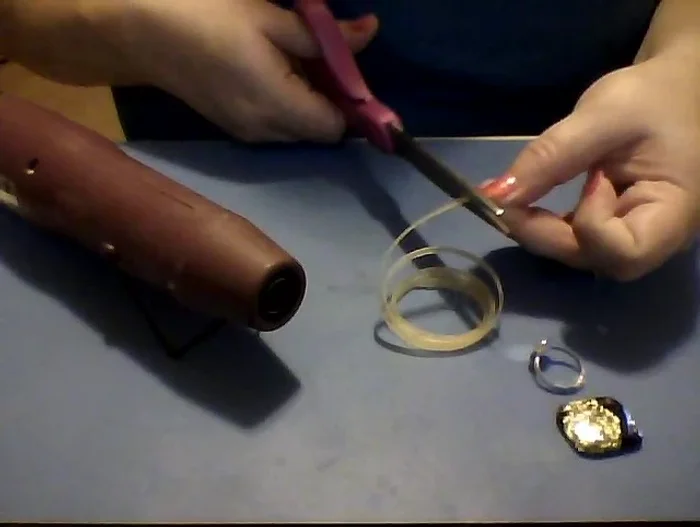
- Heat gun
- Cutting tool
- Always wear safety glasses to protect your eyes from flying glass fragments during cutting and fusing.
- Use well-ventilated area or a respirator mask when working with glass, especially during the firing process, to avoid inhaling fumes.
- Glass gets extremely hot during firing. Use appropriate heat-resistant gloves and tools to handle kiln shelves and fused pieces.
Step-by-Step Instructions
Prepare Materials
- Prepare your fused glass pieces. Cut pieces that will fit over your ring setting.

Prepare Materials Prepare Bail Bond
- Heat up the No-Days Bail Bond slightly on the glass (optional, but makes it easier).
Prepare Bail Bond Apply Bail Bond
- Place a small amount of the heated No-Days Bail Bond in the center of the ring setting.
Apply Bail Bond Melt Bail Bond
- Use the heat gun to melt the bail bond. Be careful not to melt your work surface!
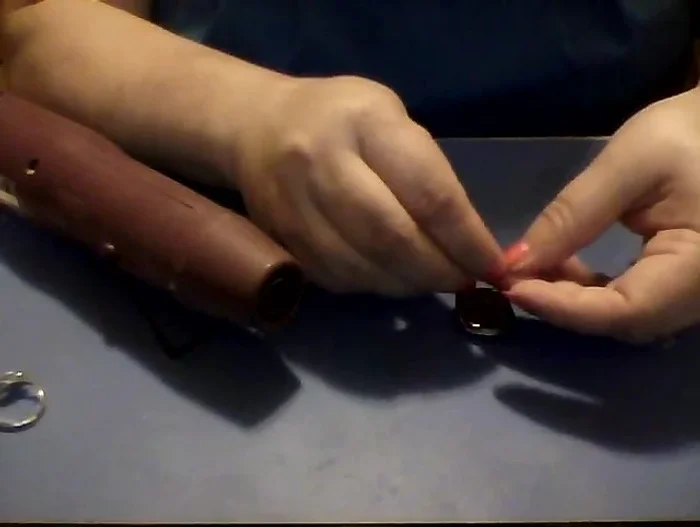
Melt Bail Bond Attach Glass
- Once melted, carefully press the glass piece onto the molten bail bond, ensuring it's centered.
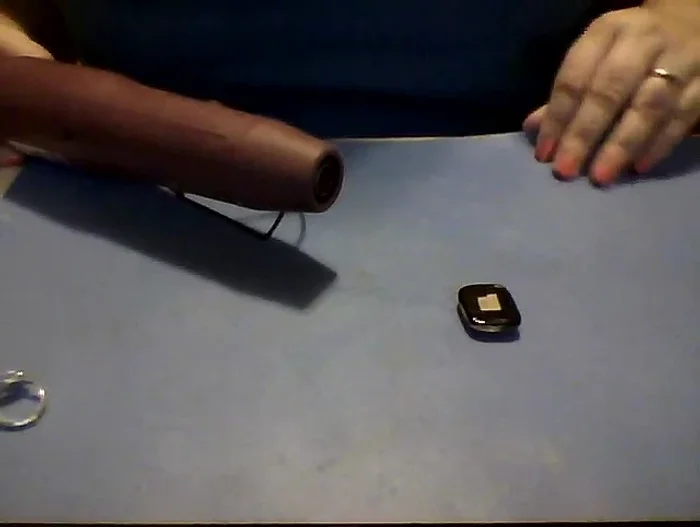
Attach Glass Cool and Set
- Allow the bail bond to cool and set. The bond will be very strong once cooled.
Cool and Set


Read more: Ultimate Guide to Making Inlay Rings with Bentwood Ring Supplies
Tips
- If you don't like the placement of the glass, reheat the bail bond and reposition.
- Work on a heat-resistant surface to avoid damaging your work area.
- Be careful when handling the hot bail bond; it gets very warm quickly.