Vintage buttons, with their unique colors, patterns, and textures, hold a nostalgic charm that's hard to resist. They whisper stories of bygone eras and offer a unique perspective on fashion history, making them perfect for crafting one-of-a-kind accessories. This irresistible allure is precisely what inspired this guide to creating your own stunning DIY vintage button bracelet. Imagine transforming a collection of forgotten treasures into a beautiful, personalized piece of jewelry that reflects your individual style and speaks volumes about your appreciation for the past. From quirky mismatched buttons to a coordinated selection of vintage finds, the possibilities are truly endless.
This step-by-step guide will walk you through the entire process, from gathering your materials to securing the final clasp, allowing you to create a unique and stylish bracelet in no time. Whether you're a seasoned crafter or a complete beginner, prepare to be amazed by how simple and rewarding it is to transform these small pieces of history into a wearable work of art. Let's get started!
Preparation and Safety Guidelines
- Pliers
- Wire Cutters
- Chain
- Jump Rings
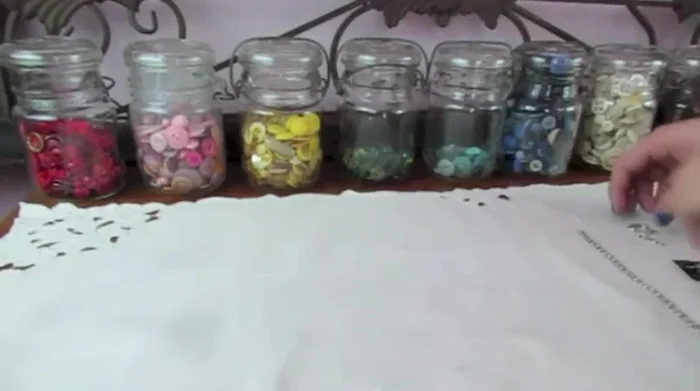
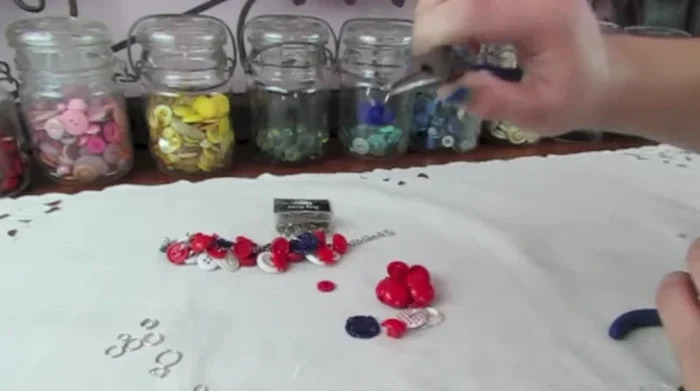
- Buttons
- Toggle Clasp
- Always supervise children during this craft. Small buttons present a choking hazard.
- Use strong, high-quality jewelry wire or cord to ensure the bracelet's durability and prevent breakage.
- If using vintage buttons, clean them gently before crafting to remove any potential dirt or grime. Avoid harsh chemicals.
Step-by-Step Instructions
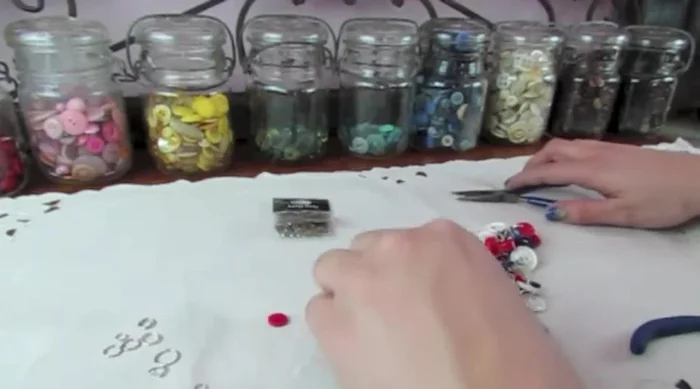
Prepare the Chain
- Measure your chain, keeping in mind extra length for the clasp.

Prepare the Chain Attach the Clasp
- Attach one end of the toggle clasp to the chain using a jump ring and pliers. Open the jump ring with pliers, attach it to both the chain and clasp, then close the jump ring securely.
- Repeat step 2 to attach the other end of the toggle clasp to the chain.
Attach the Clasp Attach the First Button
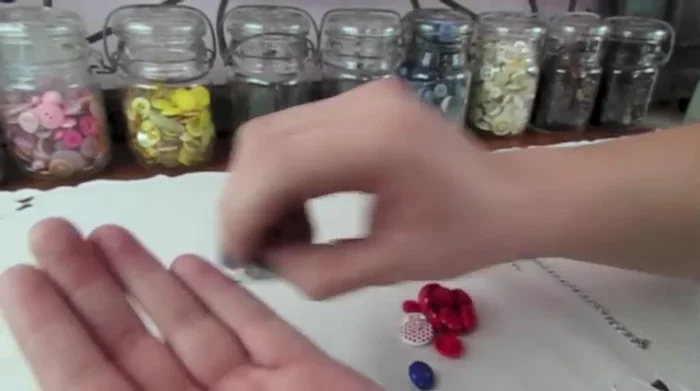
- Open a jump ring with pliers.
- Attach the jump ring to a button.
- Attach the button (with its jump ring) to the chain, spacing it appropriately from other buttons. Close the jump ring securely.
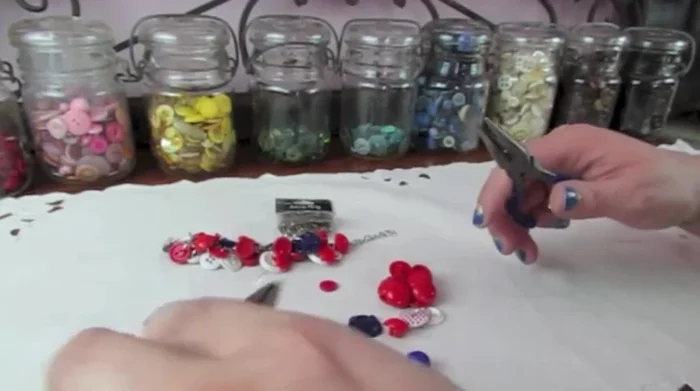
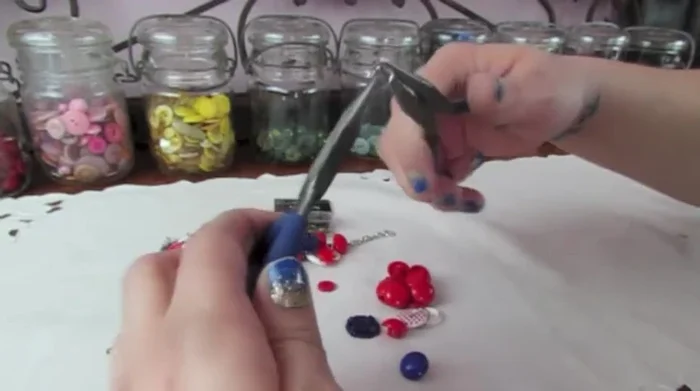
Attach the First Button Attach Remaining Buttons
- Repeat steps 4-6 for each button, spacing them evenly and filling in gaps with smaller buttons as needed.
Attach Remaining Buttons

Read more: DIY Crystal Bracelet: Easy Square Knot Tutorial
Tips
- Use a variety of buttons for a more interesting bracelet. Consider using a theme or color scheme.
- Space the buttons evenly along the chain for a balanced look. Fill in gaps with smaller buttons.
- Make sure all jump rings are closed securely to prevent the buttons from falling off.