Dive into the mesmerizing world of DIY UV resin jewelry crafting! Forget expensive, mass-produced rings – unleash your creativity and craft stunning, personalized pieces in the comfort of your own home. With the magic of UV resin, you can transform simple materials into breathtaking, wearable art in a fraction of the time it takes to order online. This incredible medium allows for endless customization, from incorporating delicate pressed flowers and shimmering glitter to embedding captivating charms and vibrant pigments. The possibilities are truly limitless, making this a rewarding and addictive hobby for beginners and experienced crafters alike.
This article showcases thirteen spectacular UV resin ring designs, each achievable in just minutes. Whether you're seeking elegant simplicity or bold statement pieces, you'll find inspiration and guidance within these pages. Ready to transform your crafting game? Let's jump into the easy, step-by-step instructions for each design!
Preparation and Safety Guidelines
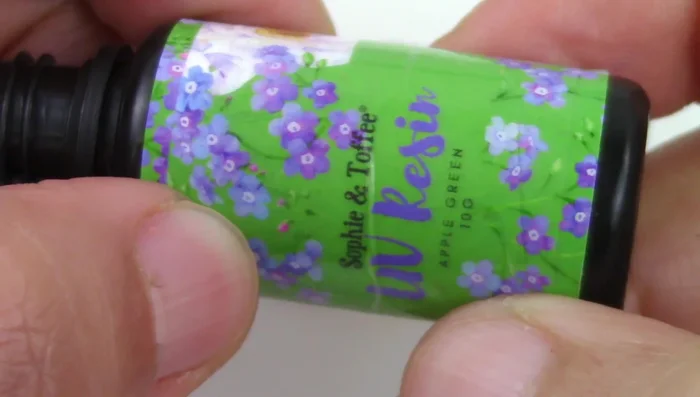
- UV resin
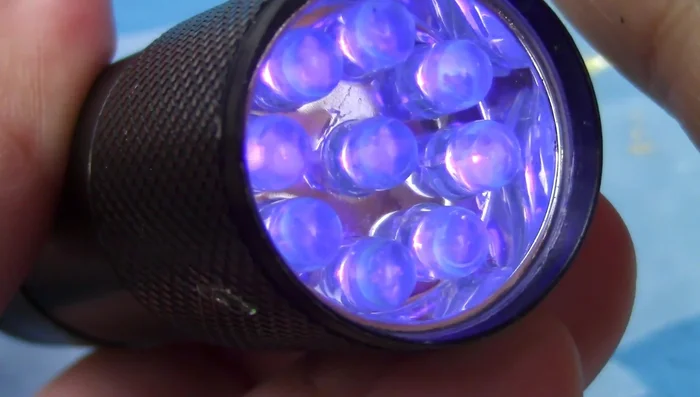
- UV lamp
- Ring molds
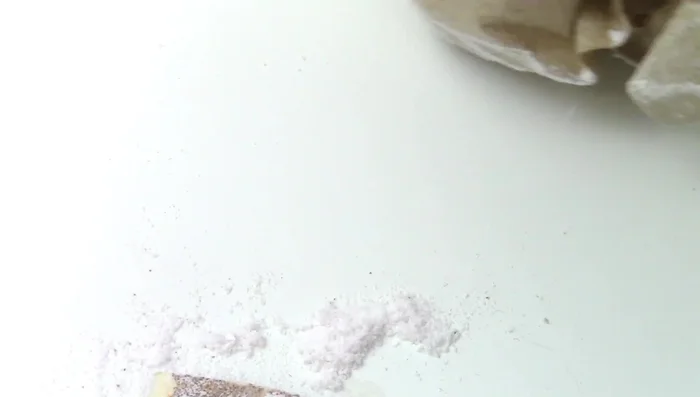
- Pigments (opaque UV pigments recommended)
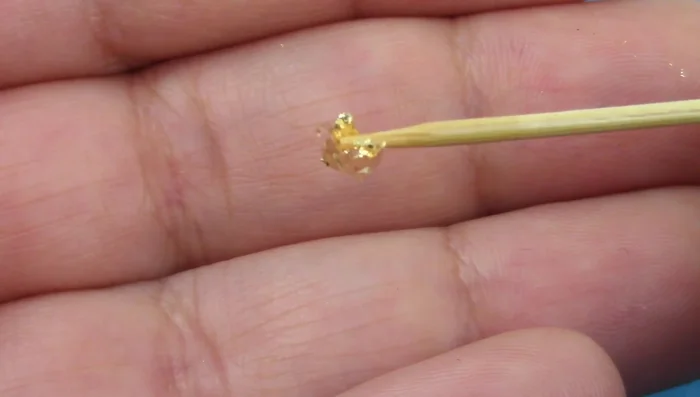
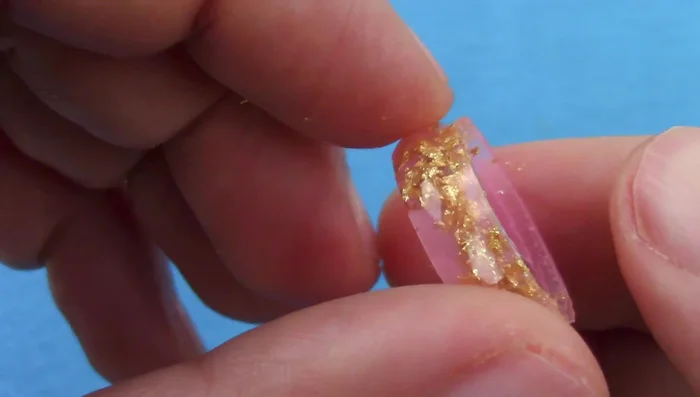
- Gold flakes (optional)
- Sandpaper
- Rubbing alcohol
- Q-tips
- Polymer clay (for some designs)
- Dried flowers/leaves (for some designs)
- Glitter (optional)
- UV resin is a powerful adhesive that cures quickly when exposed to UV light. Avoid prolonged skin contact. Wear gloves throughout the entire process.
- Always work in a well-ventilated area. UV resin fumes can be irritating to the eyes and respiratory system.
- UV resin can damage your eyes. Wear UV-protective eyewear when using a UV lamp and avoid looking directly at the light source.
Step-by-Step Instructions
Prepare Workspace and Resin
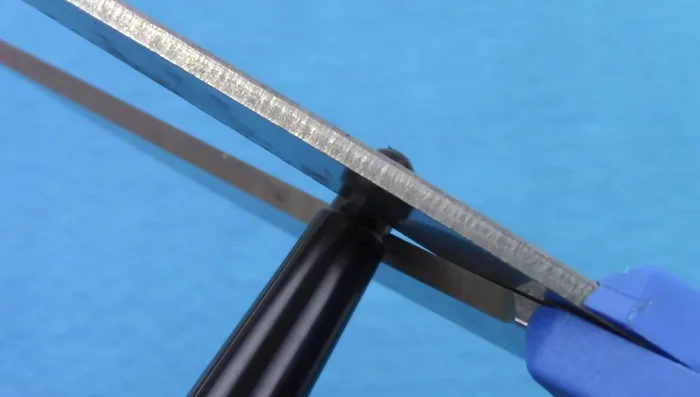
- Cut the nozzle of the UV resin bottle if necessary to widen it for easier pouring.
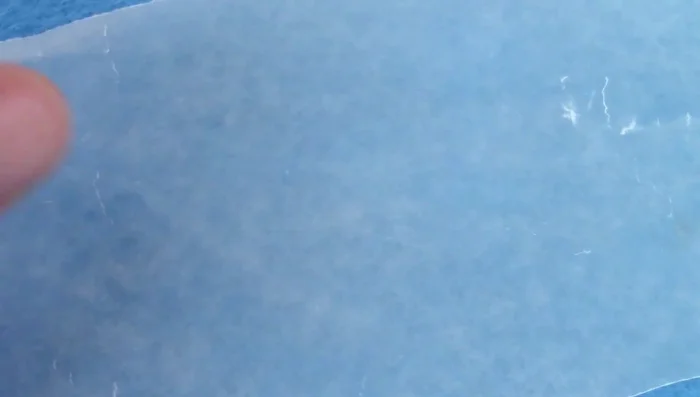
- Place wax paper down.

Prepare Workspace and Resin Fill and Decorate Mold
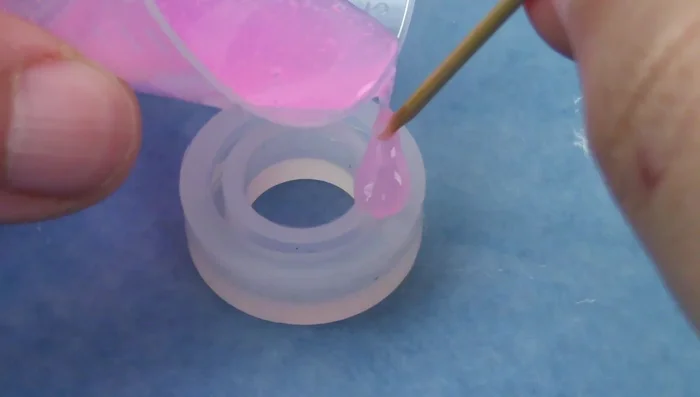
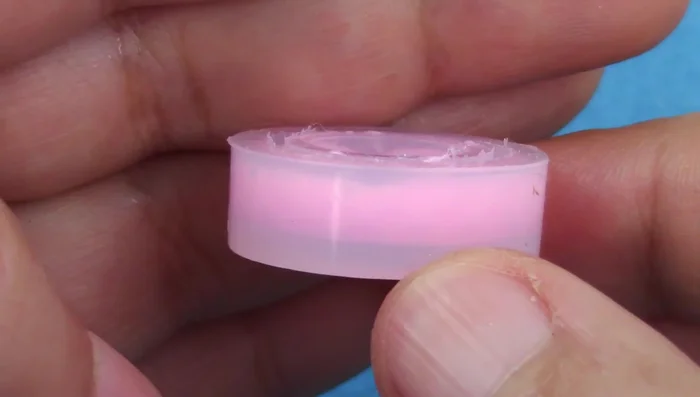
- Fill the mold, ensuring resin reaches the bottom to avoid air bubbles. Do not overfill.
- Incorporate gold flakes, glitter, dried flowers, or other desired elements.
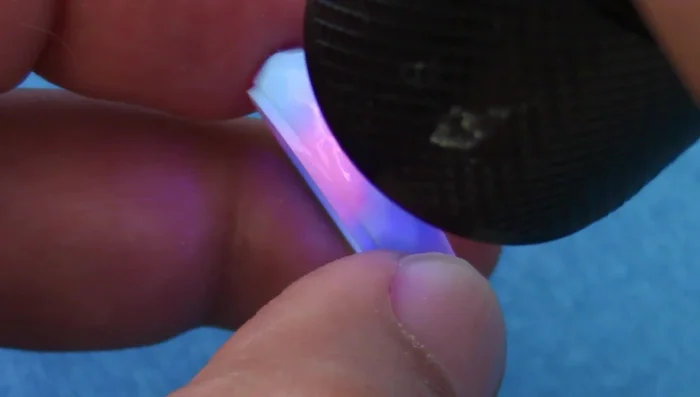
Fill and Decorate Mold Cure the Resin
- Expose the resin to a UV light for about two minutes, ensuring all sides are illuminated.
Cure the Resin Finish the Ring
- Gently sand down any excess resin that may have overflowed.
- Carefully remove the ring from the mold.
- Use opaque UV resin to fill any air bubbles that may have formed during the curing process, then cure again with UV light.
Finish the Ring Create Additional Rings
- Repeat steps 3-7 for other ring designs and colors. Use the same method for various designs, adding different colors and embellishments as desired.
Create Additional Rings Polymer Clay Rings (if applicable)
- Bake the polymer clay in the silicon mold for 25 minutes at 275 degrees Fahrenheit.
Polymer Clay Rings (if applicable)
Read more: Ultimate Guide to Making Inlay Rings with Bentwood Ring Supplies
Tips
- Use opaque UV pigments for vibrant and even color distribution.
- Don't overfill the molds. Leave space at the top to prevent overflow and the need for sanding.
- Clean the mold with rubbing alcohol and a Q-tip if it becomes sticky.