Looking for a unique and stylish accessory that won't break the bank? This DIY project combines the cool, industrial feel of silverware with the classic elegance of leather, resulting in a truly one-of-a-kind bracelet. Forget expensive jewelry stores – we're going to show you how easy it is to create your own personalized piece, perfect for adding a touch of edgy sophistication to any outfit. With just a few readily available materials and a little bit of patience, you can craft a bracelet that reflects your individual style.
Forget complicated techniques and time-consuming processes! This tutorial provides a quick and easy guide to making your own silverware and leather bracelet, perfect for beginners. We’ll walk you through each step, from preparing your materials to securing the final touches, ensuring you end up with a stunning piece of wearable art. Let's dive into the step-by-step instructions and begin crafting your beautiful new bracelet!
Preparation and Safety Guidelines
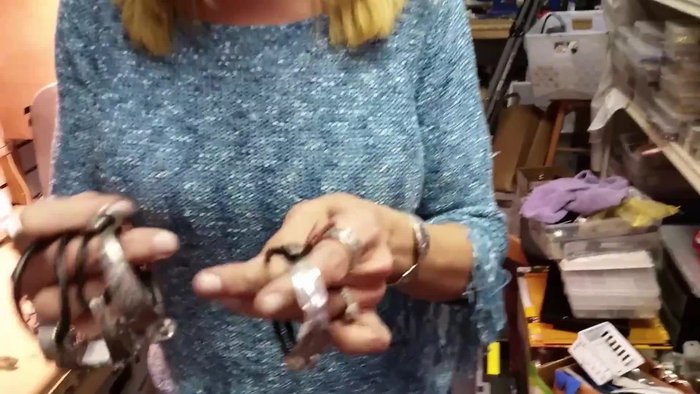
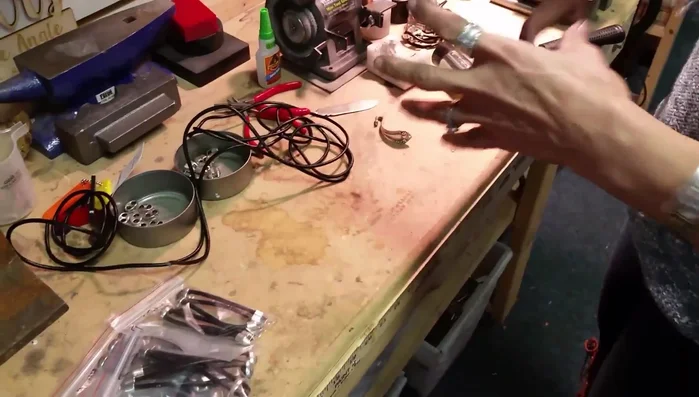
- Silverware (butter knife)
- Leather cord
- Roller
- Leather belt (optional)
- Cutting tool
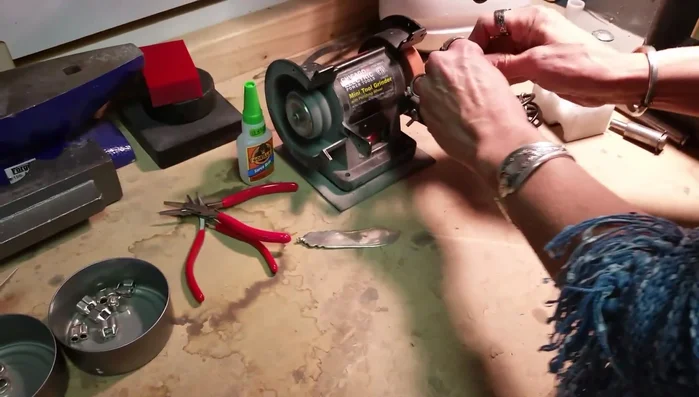
- Grinding tool
- Mini pin
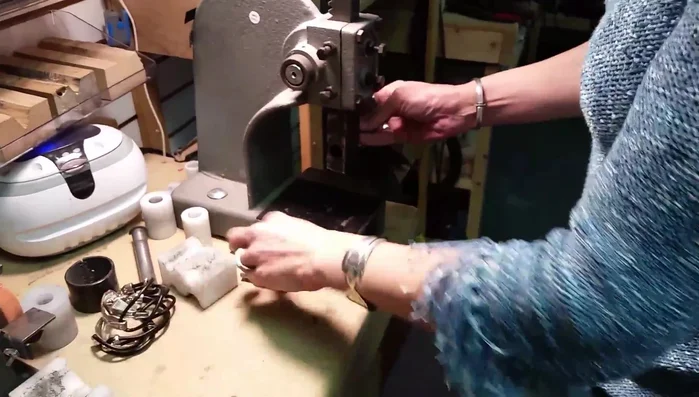
- Ring forming block
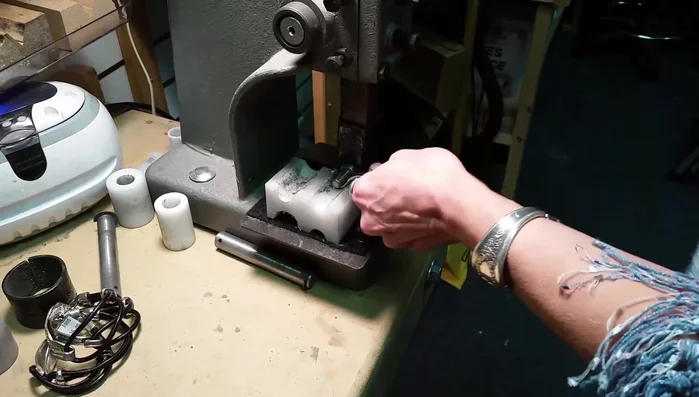
- Rubber mallet
- Anvil
- Drill
- Slider
- Double end cap
- Gorilla super glue gel
- Oval jump ring
- Always supervise children when working with sharp objects like scissors or jewelry pliers.
- Leather can be sensitive to certain chemicals. Avoid contact with harsh cleaners or solvents.
- If using vintage silverware, be mindful of potential tarnish and wear – this might impact the final look of the bracelet.
Step-by-Step Instructions
Prepare Silverware
- Cut a 3 1/2 inch piece of a silverware handle (butter knife used in the example).
- Use a roller and optionally a piece of leather belt to gently bend the larger portion of the bracelet to create an initial curve. Avoid bending it too deeply.
- Grind the tip of the bent silverware to make it smooth and visually appealing.
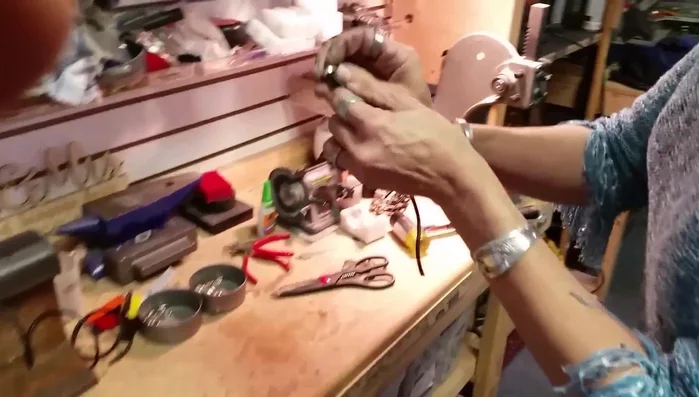
- Use a mini pin and ring forming block to bend the other end of the silverware backward, ensuring the decorative side faces up.

Prepare Silverware - Use a rubber mallet on an anvil to further shape the bend. Check that the leather cord fits snugly with a slight pull.
- Drill a hole in the end of the bent silverware.
Prepare Silverware Prepare Leather Cord
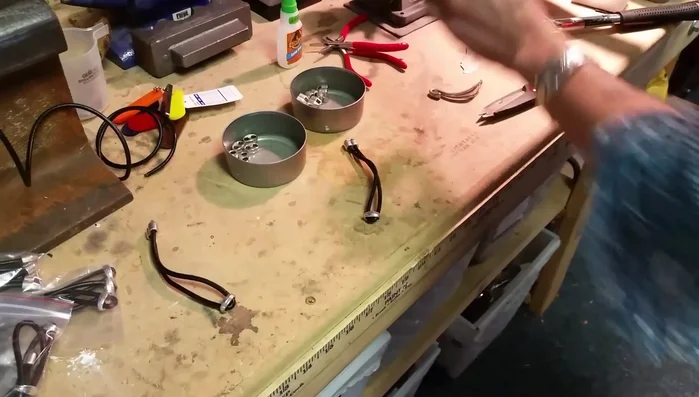
- Cut a piece of leather cord to your desired length (7-11 inches suggested, varying sizes for different wrist sizes).
- Attach sliders to both ends of the leather cord, ensuring even length.
- Apply a small drop of Gorilla Super Glue Gel to each side of the double end cap and insert the leather cords. Wiggle the cords to spread the glue.
Prepare Leather Cord Assemble Bracelet
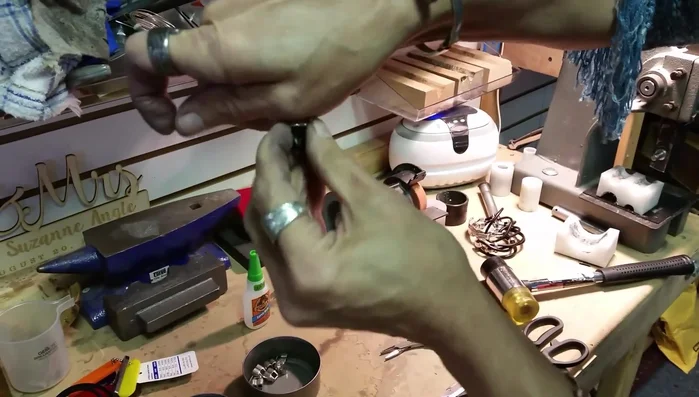
- Attach one end of the leather cord to the silverware using an oval jump ring. Close the jump ring and spin it to hide the seam.
Assemble Bracelet Wear Bracelet
- Slide the leather cord through the slider, hook it onto the other end of the silverware, and push the slider back up.
Wear Bracelet


Read more: DIY Crystal Bracelet: Easy Square Knot Tutorial
Tips
- Use a leather belt for a more gentle curve when bending the silverware.
- Ensure the leather cord fits snugly but not too tightly.
- Gorilla Super Glue Gel is recommended for attaching the double end caps. Use only a small drop on each side.
- Spin the jump ring to hide the seam for a cleaner look.