Adorable ruffle anklets are the perfect finishing touch for your little one's summer outfit, adding a touch of whimsy and charm to their tiny feet. Forget expensive boutique buys; creating these delightful accessories is surprisingly simple and quick, making them a perfect project for even the busiest parent or crafter. These DIY ruffle anklets require minimal materials and surprisingly few steps, resulting in a beautiful handmade keepsake that you’ll cherish. They're incredibly versatile too – easily customizable with different colors and ribbon types to match any outfit or occasion.
This tutorial provides the fastest and easiest method for making gorgeous ruffle anklets suitable for babies and children of all ages. Whether you're a seasoned crafter or a complete beginner, you'll be amazed at how quickly you can create these sweet little additions to your child's wardrobe. Ready to get started and create some adorable anklets? Let's dive into the step-by-step instructions below!
Preparation and Safety Guidelines
- White glossy tulle (Walmart)
- Satin ribbon (Amazon)
- Sewing machine
- Tape measure
- Safety pin
- Clothing pin
- Scissors (zigzag preferred), Lighter (if using straight scissors)
- Elastic (1/4 inch knit elastic)
- Adult supervision is required at all times, especially with young children. Small items like beads or elastics pose a choking hazard.
- Use soft, stretchy elastic cord that is specifically designed for jewelry making and avoid anything that could easily break or snap, potentially causing injury.
- Ensure all knots are secure to prevent the anklet from coming undone and potentially becoming a strangulation hazard. Avoid overly tight anklets.
Step-by-Step Instructions
Prepare Materials
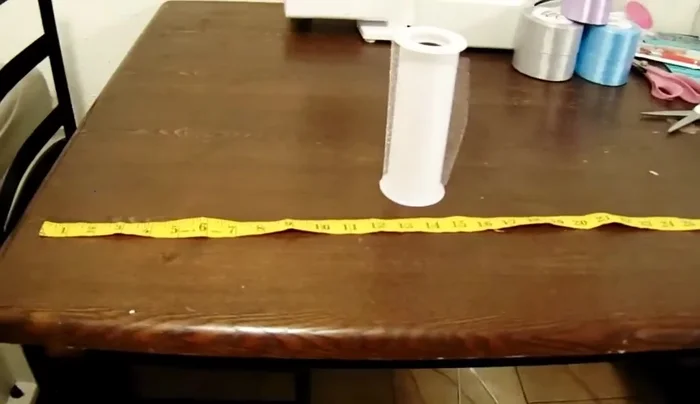
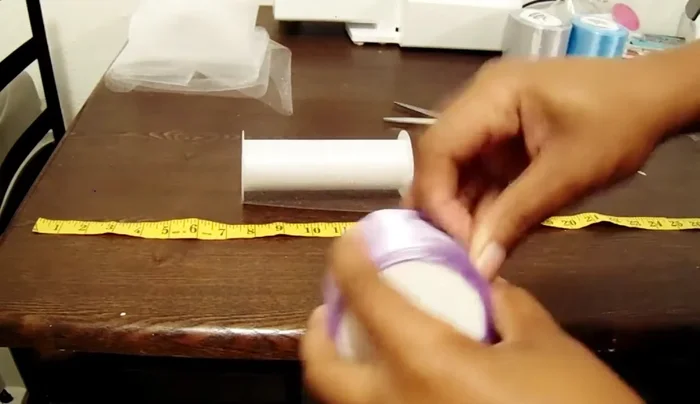
- Cut three yards of tulle for anklets suitable for newborns to 5-year-olds (four yards for older children).
- Cut one yard of each ribbon color you've chosen. Repeat for the second anklet.

Prepare Materials Create Tulle Casing
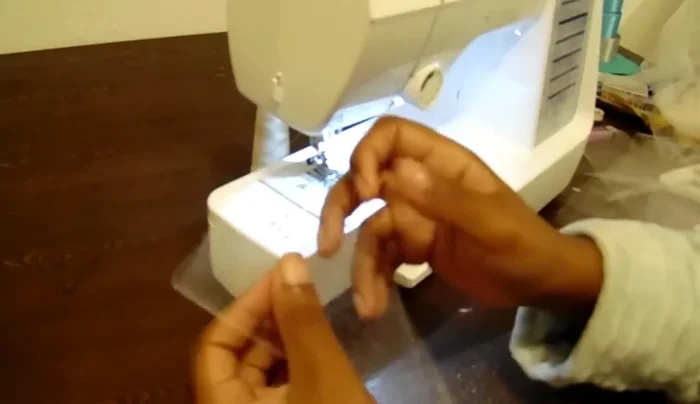
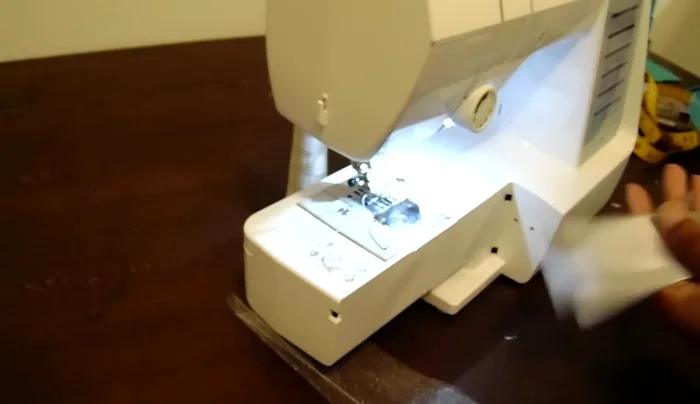
- Fold the tulle lengthwise and sew down about 0.5 inches from the edge, creating a casing for the elastic.
Create Tulle Casing Attach Ribbons
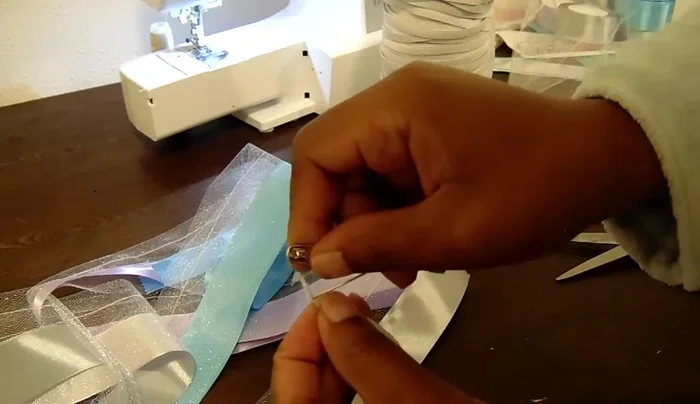
- Sew the ribbons to the edge of the tulle, one color at a time, about a half-inch to an inch below the casing stitch.
Attach Ribbons Insert and Secure Elastic
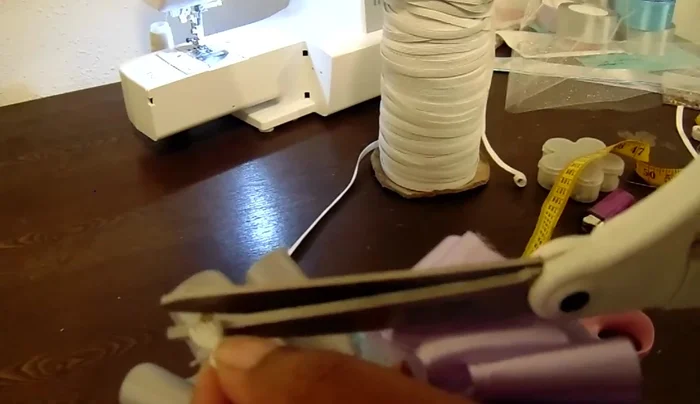
- Insert a safety pin into one end of a 7.5-inch piece of 1/4-inch knit elastic (adjust length as needed for age), and thread it through the tulle casing. Secure the other end with a clothing pin to prevent it from going all the way through.
Insert and Secure Elastic Gather, Tie, and Seal Elastic
- Pull both ends of the elastic until the ruffles form. Tie the elastic ends tightly in a knot and melt the ends with a lighter to secure.
Gather, Tie, and Seal Elastic Finish and Adjust
- Tuck the knot and excess elastic into the tulle casing and adjust the ruffles to evenly distribute them around the anklet.
Finish and Adjust

Read more: Summer Bunting Anklet: Easy Beaded Anklet Tutorial
Tips
- Use zigzag scissors to prevent ribbon fraying. If using straight scissors, seal the cut ends with a lighter.
- Take your time and keep the tulle folded while sewing the casing.
- Use a soft, knit elastic for comfort and a better ruffle effect.
- Adjust elastic length according to age. 7.5 inches is suitable for newborns to 5-year-olds.