Ever wished you could create stunning jewelry without spending a fortune? This article will show you how to transform ordinary backyard rocks into extraordinary, one-of-a-kind rock rings. Forget mass-produced accessories; let's unleash your creativity and craft a piece that reflects your unique style and connection to nature. Imagine the satisfaction of wearing a ring crafted entirely from materials you discovered yourself, a tangible reminder of your ingenuity and the beauty hidden in the commonplace. We'll be using readily accessible materials and simple techniques, perfect for beginners and experienced crafters alike.
Forget expensive gemstone rings; this DIY project offers a budget-friendly and environmentally conscious alternative. This guide will transform your ordinary backyard stones into beautiful and personalized rings that you can wear with pride. From gathering the perfect rock to achieving a polished finish, we’ll walk you through each step of the process, equipping you with the knowledge and confidence to create your own unique rock ring. Ready to get started? Let’s dive into the step-by-step instructions.
Preparation and Safety Guidelines
- Air-dry clay
- Two-part epoxy resin
- Heat gun
- UV resin
- UV light
- Ring mold
- Sandpaper
- Polishing paste
- Always wash and thoroughly clean rocks before handling or working with them. Rocks can harbor bacteria and parasites.
- Wear safety glasses when drilling or grinding rocks to protect your eyes from flying debris.
- Use appropriate safety equipment (gloves, dust mask) when working with potentially abrasive or dusty materials like rocks and adhesives.
Step-by-Step Instructions
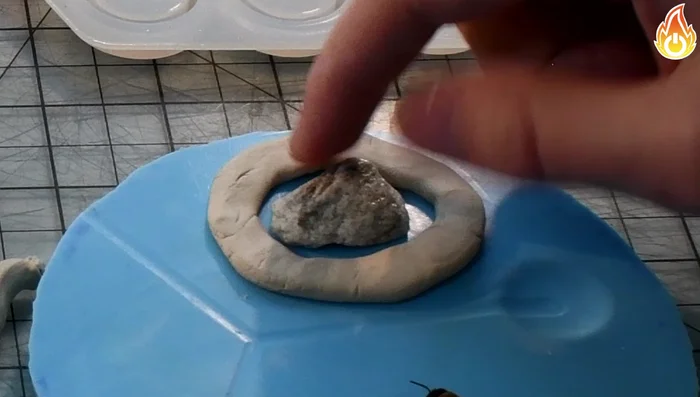
Prepare the Rock
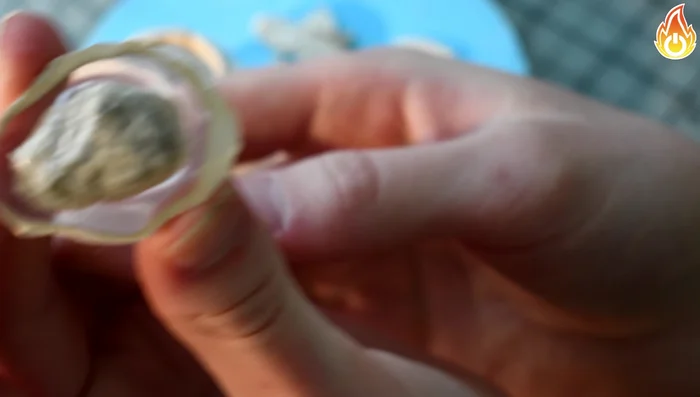
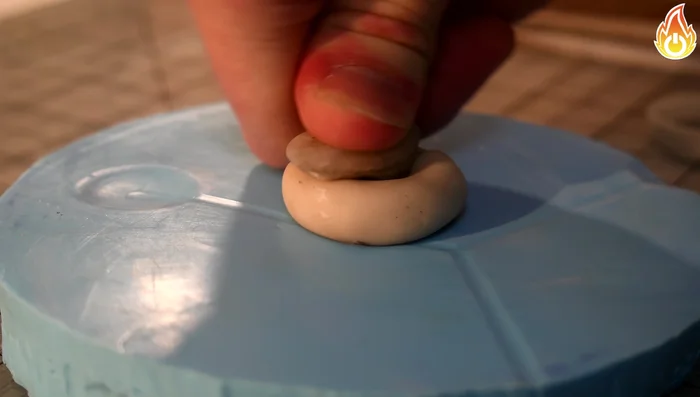
- Create a border around the rock using air-dry clay.
- Apply a two-part epoxy resin to the rock, using a heat gun to remove any trapped bubbles.

Prepare the Rock Create the Ring Band
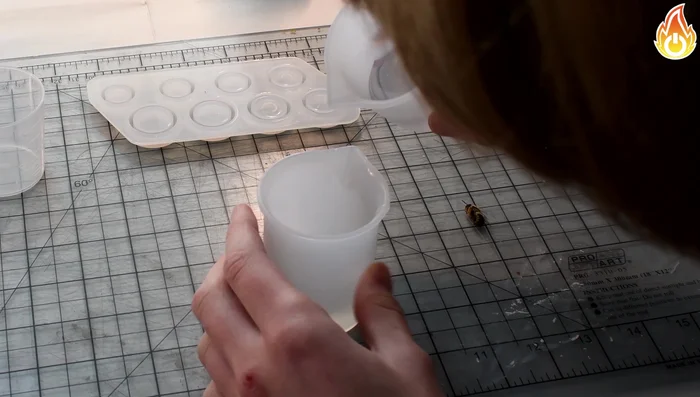
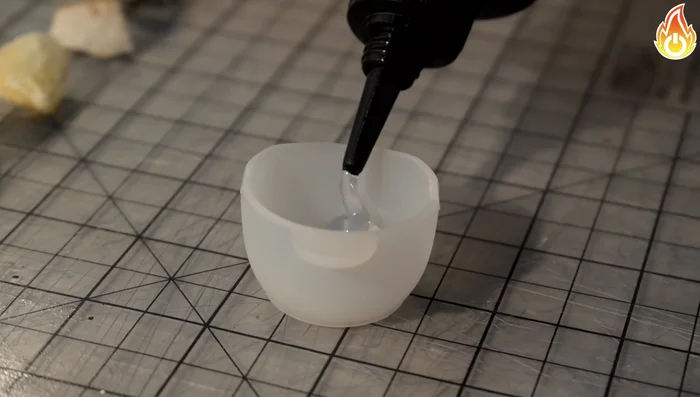
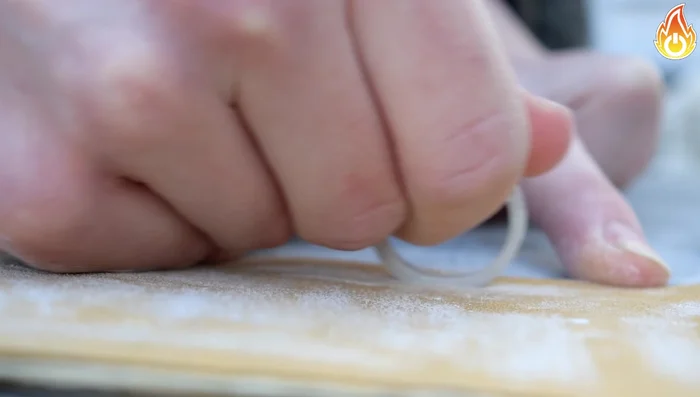
- Make the ring band using UV resin and pour it into a ring mold.
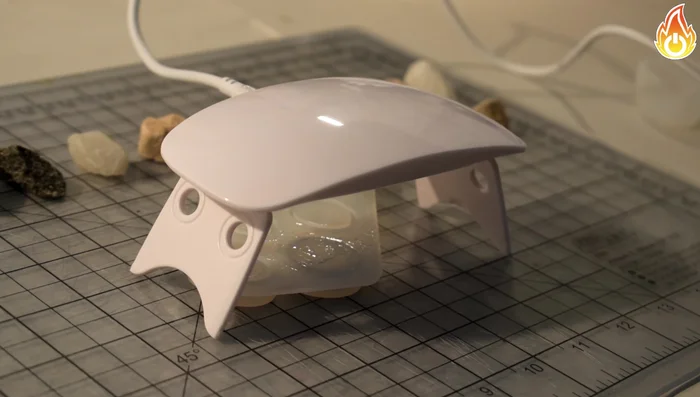
- Cure the ring under a UV light.
- Fill any small holes in the ring with leftover resin.
Create the Ring Band Assemble the Ring
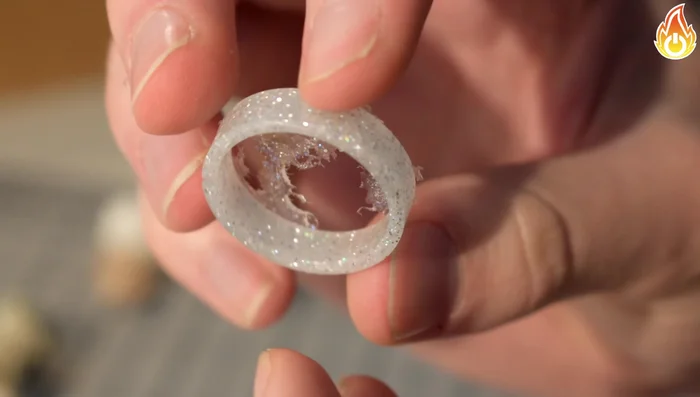
- Unmold the rock and sand off excess resin.
- Make one side of the ring band flat to fit flush against the rock.
- Glue the ring band to the rock using a small amount of UV resin and cure it under a UV light.
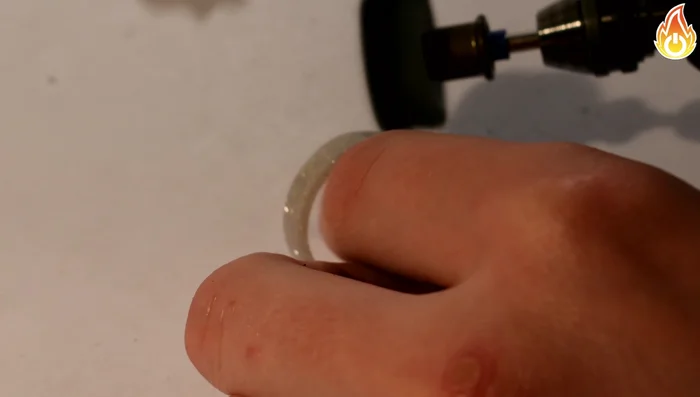
Assemble the Ring Finish and Polish
- Polish the ring using a fine polishing paste.
Finish and Polish
Read more: Ultimate Guide to Making Inlay Rings with Bentwood Ring Supplies
Tips
- Use a heat gun to remove bubbles from the epoxy resin.
- UV light can cause resin to harden prematurely, making pouring more difficult.