Have you ever admired the mesmerizing beauty of rippling water, its surface a captivating dance of light and shadow? Now you can capture that stunning effect in your own home with this easy DIY resin craft project. Imagine the elegant, shimmering pieces you can create – coasters, jewelry dishes, even unique wall art – all showcasing the realistic allure of flowing water. This technique is surprisingly simple, perfect for both beginners and experienced crafters seeking a new creative challenge. The unique visual depth and captivating texture are far more impressive than they sound, and the satisfaction of creating such a beautiful piece yourself is immeasurable.
Forget expensive, complicated techniques; this tutorial breaks down the process into easily manageable steps, using readily available materials. Prepare to be amazed by how effortlessly you can achieve a professional-looking, mesmerizing water effect. Let's dive in and discover how to create your own stunning rippling water resin art; follow the detailed step-by-step instructions below to begin your creative journey.
Preparation and Safety Guidelines
- UV resin
- Mold
- Hand cream
- UV light
- Mica powder
- White epoxy resin
- White pigment
- Brush
- Resin is a chemical and can cause skin irritation or allergic reactions. Always wear gloves, eye protection, and a respirator mask in a well-ventilated area.
- Work in a designated area away from children and pets. Spilled resin can be difficult to clean and may damage surfaces. Cover your work surface with a protective material like plastic sheeting.
- Dispose of resin and hardeners properly according to local regulations. Never pour resin down the drain.
Step-by-Step Instructions
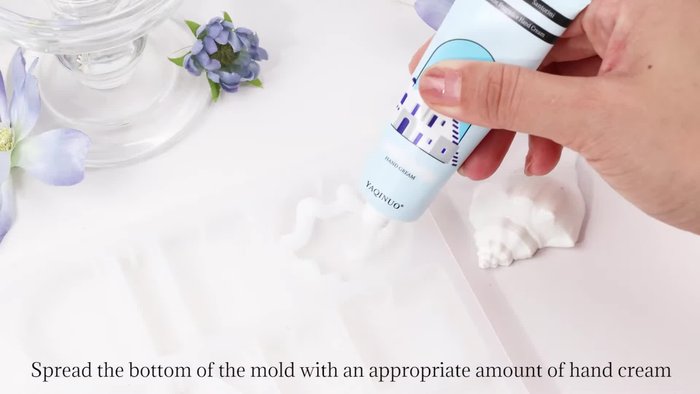
Prepare the Mold
- Spread an appropriate amount of hand cream evenly on the bottom of the mold, paying attention to the corners to create natural concave and convex textures.

Prepare the Mold Pour and Cure the Base Resin
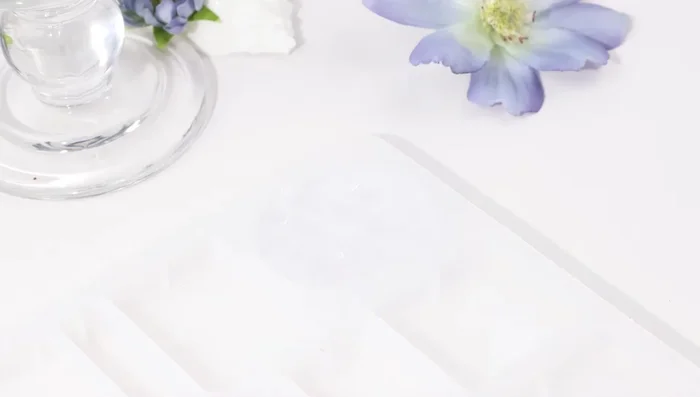
- Slowly fill the mold with UV resin to avoid damaging the texture.
- Fully cure the resin with UV light (this may take a while).
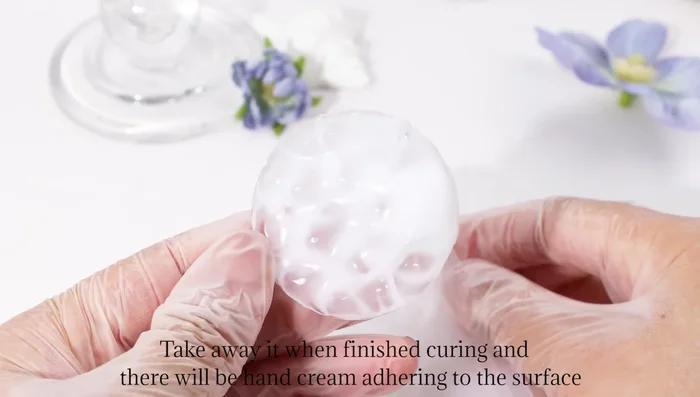
Pour and Cure the Base Resin Remove and Clean
- Remove the cured resin from the mold. Wash off any adhering hand cream with water.
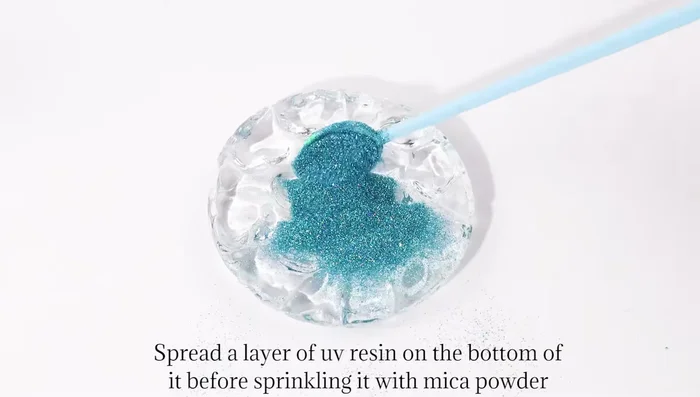
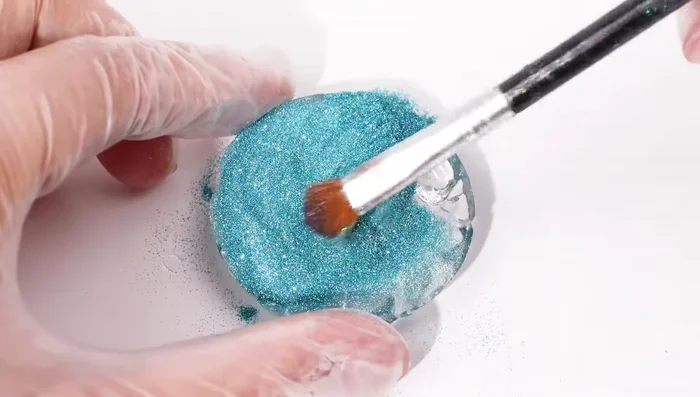
Remove and Clean Add Mica Powder Layer
- Spread a layer of UV resin on the bottom of the craft.
- Sprinkle mica powder evenly across the bottom.
- Fix the mica powder with another layer of white epoxy resin (mixed with ocean white pigment). Carefully control the edges to maintain the beauty of the front.
Add Mica Powder Layer


Read more: Ultimate Guide to Making Inlay Rings with Bentwood Ring Supplies
Tips
- Pay close attention to the corners when spreading the hand cream to create a more realistic texture.
- Ensure the UV resin cures completely for optimal results.
- Carefully control the edges of the epoxy resin layer to avoid spoiling the appearance.