Resin jewelry has exploded in popularity, offering a unique and customizable way to express personal style. The captivating depth and luminous quality of resin, combined with endless possibilities for embedding materials like dried flowers, glitter, or even small photographs, make it a truly versatile crafting medium. Creating your own resin pieces, however, can seem daunting for beginners. Fear not! Resin jewelry making is more accessible than you think, particularly when focusing on the relatively simple, yet stunning, art of crafting resin rings.
This guide will demystify the process, walking you through each step with clear instructions and helpful tips. From selecting the right materials and preparing your workspace to achieving a perfectly smooth, bubble-free finish, we’ll cover everything you need to know to confidently create your own beautiful and unique resin rings. Ready to get started? Let's dive into the step-by-step process.
Preparation and Safety Guidelines
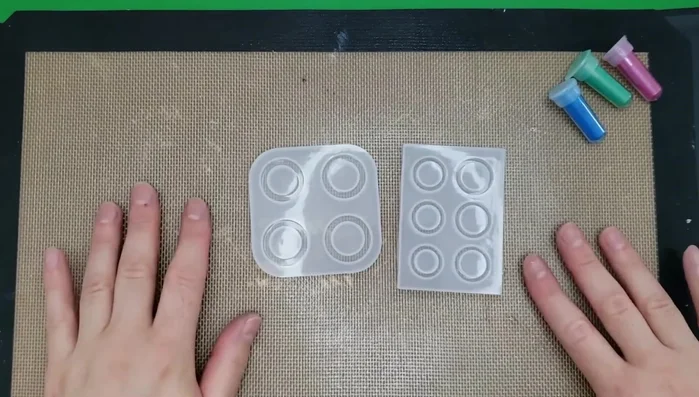
- Silicone ring molds
- Resin
- Mixing sticks
- Sandpaper
- Gold foil leaves
- Mica powders
- Measuring cups
- Silicone mat
- Gloves (optional)
- Well-ventilated area
- Mask (optional)
- Resin is a chemical and can cause skin irritation or allergic reactions. Always wear gloves and work in a well-ventilated area.
- Avoid contact with eyes. If resin gets in your eyes, flush immediately with plenty of water and seek medical attention.
- Resin can be flammable. Keep away from open flames and heat sources. Dispose of resin and its containers properly according to local regulations.
Step-by-Step Instructions
Prepare Workspace
- Protect your surface with a silicone mat. Wear gloves and a mask if desired. Work in a well-ventilated area.

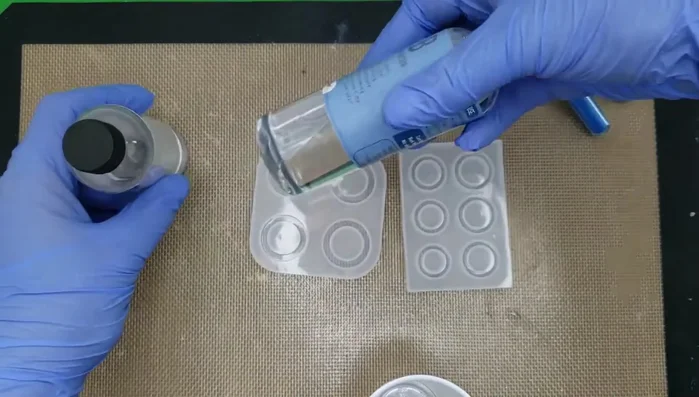
Prepare Workspace Measure Resin
- Measure equal parts of resin A and resin B using marked cups or by creating your own measurements.
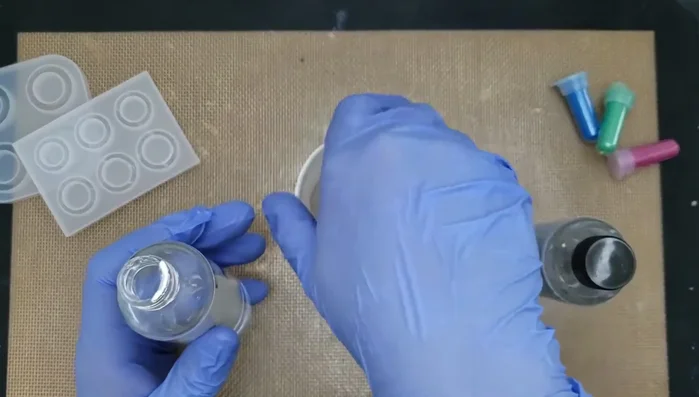
Measure Resin Mix Resin and Colorants
- Slowly mix the resin A and B until completely clear and swirl-free (approx. 3-5 minutes). If using mica powders, mix small amounts in separate cups for different colors.
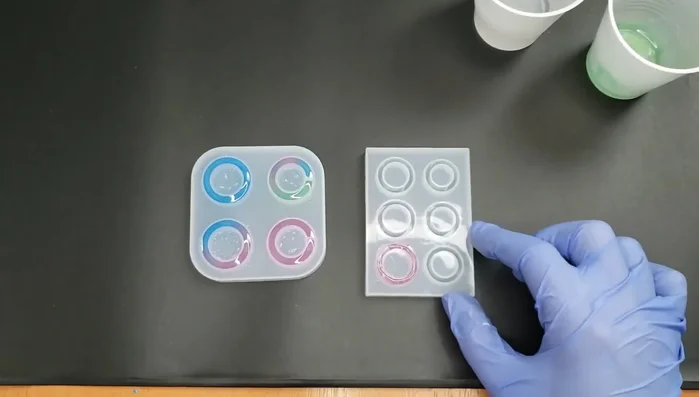
Mix Resin and Colorants Pour into Molds
- Gently pour the resin mixture into the silicone ring molds. Avoid overfilling. If necessary, use a craft stick to remove excess resin from the top.
Pour into Molds Add Decorations (Optional)
- Carefully add gold foil leaves or other desired decorations to the resin while it's still wet.
Add Decorations (Optional) Cure Resin
- Allow the resin rings to cure completely, undisturbed, for approximately 24 hours.
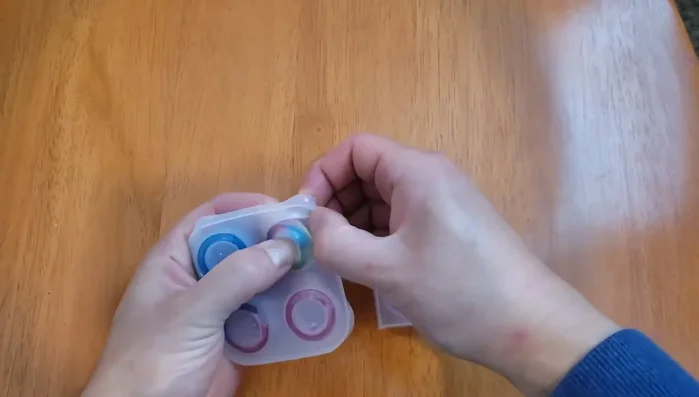
Cure Resin Remove from Molds
- Once cured, gently remove the rings from the silicone molds.
Remove from Molds Sand (Optional)
- If necessary, lightly sand any sharp edges using the provided sandpaper.
Sand (Optional)


Read more: Ultimate Guide to Making Inlay Rings with Bentwood Ring Supplies
Tips
- Mix the resin slowly to avoid air bubbles.
- Don't move the molds after pouring the resin to prevent spilling and imperfections.
- Gold foil is delicate; handle it carefully.