Embrace your inner artisan and create stunning, one-of-a-kind jewelry with this easy DIY resin nature ring tutorial! Resin crafts are incredibly popular right now, offering a fantastic way to capture the beauty of the natural world and transform it into wearable art. Whether you're a seasoned crafter or a complete beginner, this project is surprisingly simple and yields breathtaking results. Imagine showcasing delicate pressed flowers, vibrant leaves, or even tiny shells, all encased in a glossy, protective resin. The possibilities are truly endless, limited only by your imagination and the treasures you find in nature.
This beginner-friendly guide will walk you through each step of the process, from gathering your materials to achieving a flawlessly smooth, professional finish. Let's dive into the detailed instructions and create your very own exquisite nature ring – prepare to be amazed by how easy it is to turn natural elements into beautiful, wearable masterpieces!
Preparation and Safety Guidelines
- Ring with an open bezel
- Acrylic paint or epoxy appliance touch-up paint
- Epoxy resin
- Dried flowers or crystals
- Torch lighter
- Resin is a strong irritant. Always wear gloves and eye protection when handling resin and hardener.
- Work in a well-ventilated area. Resin fumes can be harmful if inhaled.
- Keep resin away from children and pets. Ingesting resin can be toxic.
Step-by-Step Instructions
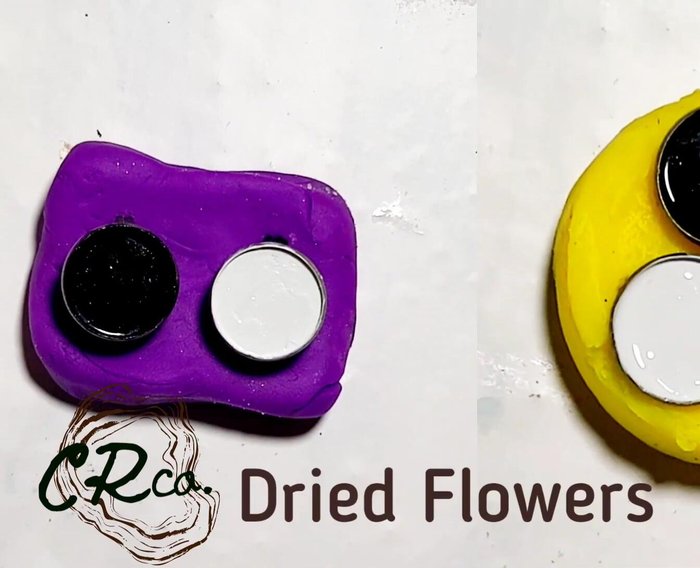
Prepare the Ring Bezel
- Prepare the ring bezel by painting the background with acrylic paint or touch-up epoxy paint and let it dry.

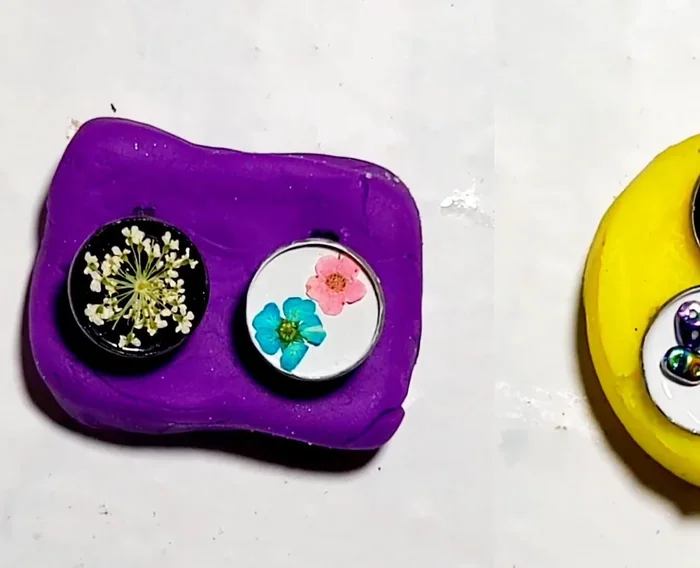
Prepare the Ring Bezel Position Embellishments
- Position your embellishments (dried flowers or crystals) inside the bezel.
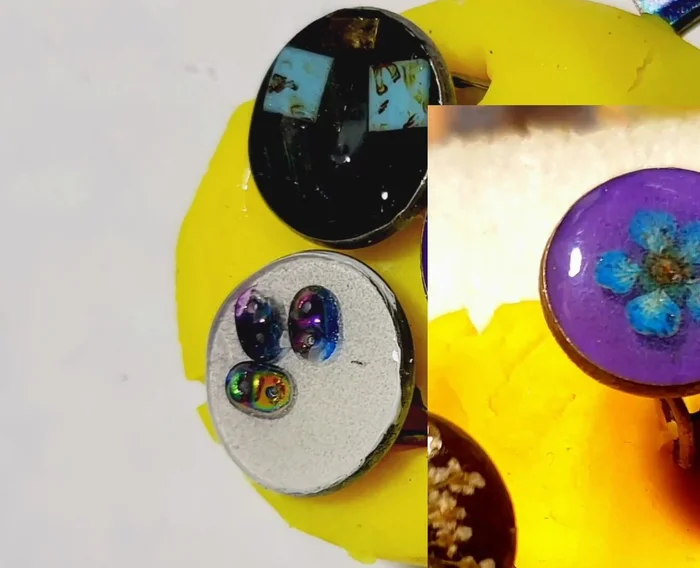
Position Embellishments Pour Resin
- Pour epoxy resin into the bezels, being careful not to overflow.
Pour Resin Add More Embellishments (Optional)
- Add more embellishments if desired.
Add More Embellishments (Optional) Remove Air Bubbles
- Use a torch lighter to quickly skim across the surface to remove air bubbles.
Remove Air Bubbles Cure Resin
- Let the resin cure completely.
Cure Resin


Read more: Ultimate Guide to Making Inlay Rings with Bentwood Ring Supplies
Tips
- Choose a color for your background paint that complements your embellishments.