Summer is the perfect time to embrace vibrant colors and playful accessories, and what's more cheerful than a handmade pom-pom anklet? These adorable little additions instantly elevate your summer wardrobe, adding a touch of bohemian charm to your sandals or bare feet. Whether you're heading to the beach, a summer festival, or simply want to add a pop of personality to your everyday look, a DIY pom-pom anklet is a fantastic project that's both fun and easy. Forget expensive jewelry stores – creating your own unique anklet is surprisingly simple and allows you to personalize it exactly to your taste, using your favorite colors and materials.
This tutorial will guide you through the simple steps of making your very own eye-catching pom-pom anklet, perfect for adding a whimsical touch to your summer style. Ready to get crafting? Let's dive into the step-by-step process and create a stunning summer accessory in just a few minutes!
Preparation and Safety Guidelines
- Pom pom fringe
- Nylon cord
- Lighter
- Tape
- Always supervise young children if they are making pom-poms or wearing anklets to prevent choking hazards from small pom-pom parts or entanglement.
- Ensure the yarn used is soft and doesn't contain any sharp or irritating fibers to avoid skin irritation or allergic reactions. Check for any loose threads that could unravel and cause discomfort.
- Don't tie the anklet too tightly. It should be comfortable and not restrict blood flow. Remove the anklet before swimming or sleeping.
Step-by-Step Instructions
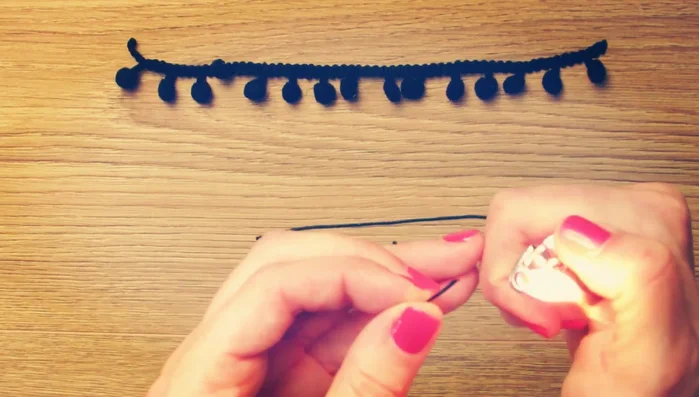
Prepare the Fringe
- Measure and cut the pom pom fringe to your desired size.
- Burn the tips of the fringe to prevent fraying.

Prepare the Fringe Prepare the Cords
- Burn the tips of two pieces of nylon cord to create sharp points.
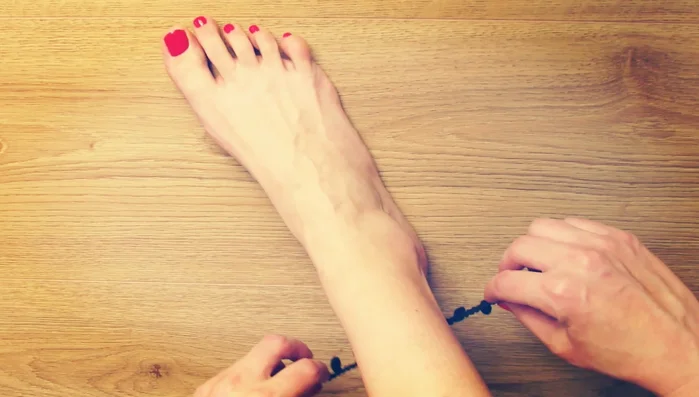
Prepare the Cords Attach the Fringe to the Cords
- Thread the nylon cords through the fringe.
- Tie a simple knot with both cords at the end and burn the excess.
- Repeat step 4 and 5 on the other side.
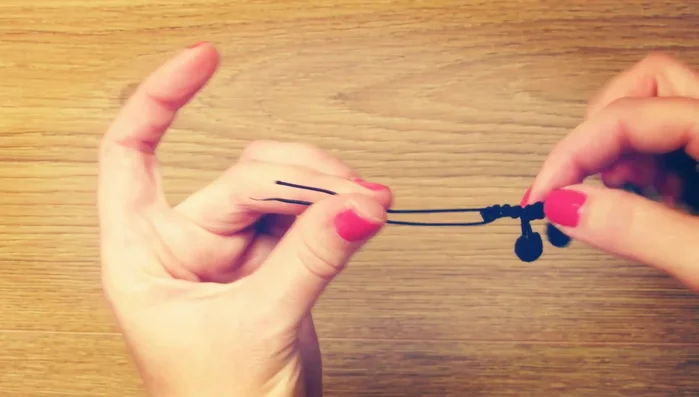
Attach the Fringe to the Cords Secure and Prepare for Knotting
- Place the anklet with four cords parallel and secure with tape.
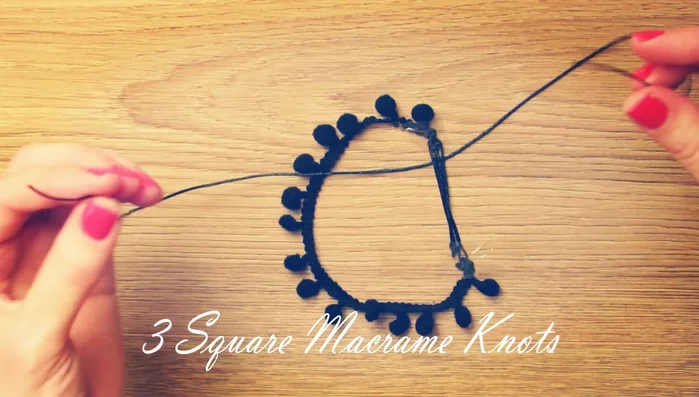
Secure and Prepare for Knotting Create the Knots
- Create three square knots using the cords, following the described technique (creating loops and passing cords over and under).
Create the Knots Finish the Anklet
- Cut off the excess cord and burn the ends.
- Open the sliding knots, adjust the anklet on your ankle, and tighten.
Finish the Anklet


Read more: Summer Bunting Anklet: Easy Beaded Anklet Tutorial
Tips
- Be careful not to burn your fingers when using the lighter.