Dive into the world of handcrafted jewelry with this guide to creating a stunning DIY beaded hemp bracelet featuring intricate macrame square knots. This project is perfect for both beginners and experienced crafters, offering a satisfying blend of simple techniques and visually impressive results. The earthy texture of hemp cord, coupled with the vibrant pops of color from your chosen beads, will create a unique and stylish accessory you'll be proud to wear, or even gift to a friend. The combination of macrame knotting and beading adds a beautiful textural element, elevating this simple bracelet beyond the ordinary.
This tutorial will walk you through each step, from gathering your materials to securing the final knot, ensuring you achieve a perfectly finished bracelet. Prepare to be amazed at how easily you can transform humble materials into a piece of wearable art. Let's get started with a detailed, step-by-step process that will guide you through the creation of your very own beaded hemp bracelet.
Preparation and Safety Guidelines
- Hemp cord
- 20 Matubo beads
- Scissors
- Ruler
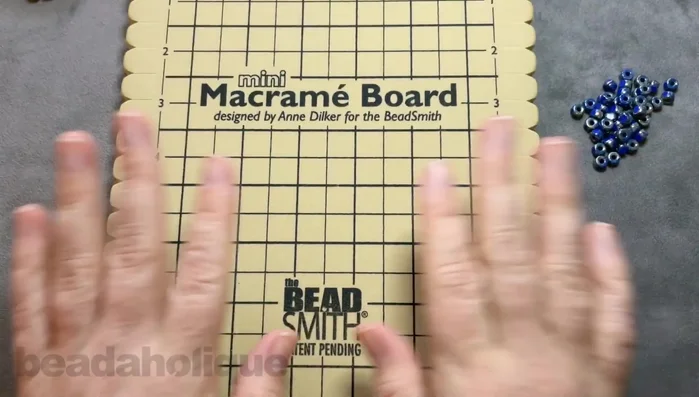
- Mini macrame board
- Always use sharp scissors to cut hemp cord. Dull scissors can cause the cord to fray or slip, leading to uneven knots and potential injury.
- Avoid pulling the hemp cord too tightly while knotting, as this can damage the cord and make it difficult to work with. Aim for a consistent, comfortable tension.
- Keep small beads and cord pieces out of reach of children and pets to prevent accidental ingestion or choking hazards.
Step-by-Step Instructions
Prepare Materials
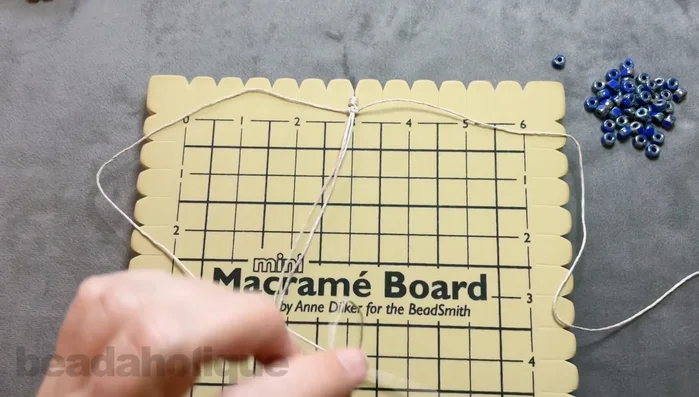
- one 3 feet long and another 5 feet long.
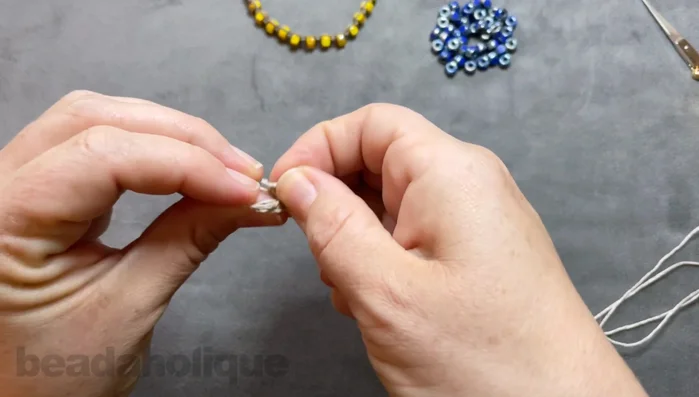
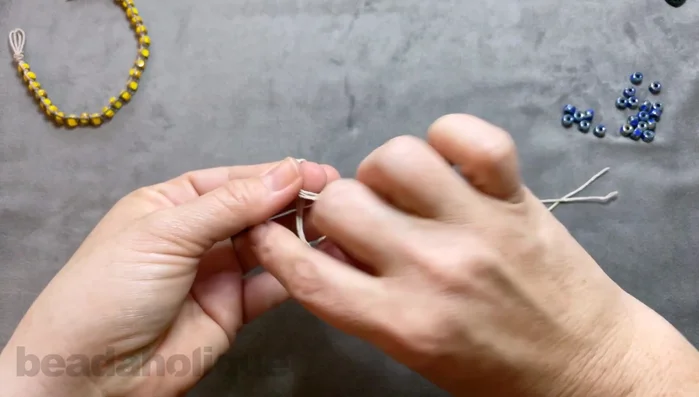
Create Initial Knot and Secure
- Create an overhand knot using the two cords, ensuring loops are even.
- Secure the knot to the macrame board.

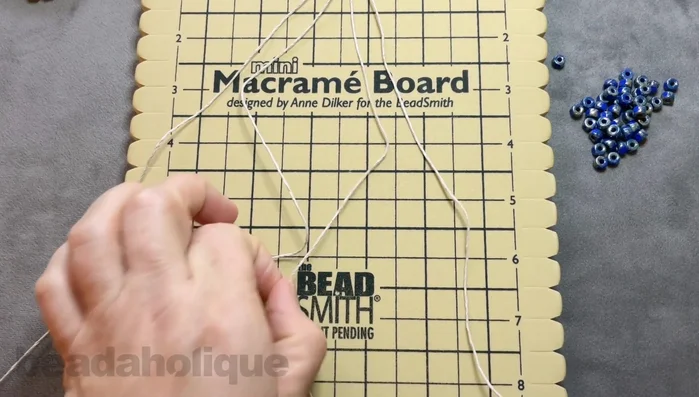
Create Initial Knot and Secure Separate Cords
- two shorter cords in the center, two longer cords on the sides.
Separate Cords Add Beads and Square Knots
- bring the right cord over, around the back, and through the loop; repeat with the left cord.
- Slide a Matubo bead onto both cords and up to the knot. Repeat steps 5 and 6 until desired bracelet length is reached.
Add Beads and Square Knots Finish and Secure Bracelet
- Gather all four cords and tie an overhand knot, leaving a small gap for the clasp.
- Tie another overhand knot to secure the first one. Trim the excess cord, leaving about an inch.
Finish and Secure Bracelet
Read more: DIY Crystal Bracelet: Easy Square Knot Tutorial
Tips
- Use generous cord lengths to account for fraying and potential adjustments.
- Check the bracelet length frequently by wrapping it around your wrist.
- Leave extra cord length for adding beads or making adjustments.