Unleash your inner artisan and create a stunning, personalized expandable charm bangle! This tutorial guides you through the process of crafting a beautiful 3D bracelet using artistic wire and a handy jig. Forget mass-produced jewelry; this project allows for complete creative control, enabling you to design a unique piece perfectly tailored to your style and preferences. Imagine the possibilities – dazzling gemstone charms, delicate floral accents, or even miniature sculpted figures, all elegantly showcased on your bespoke bangle. The expandable design ensures a comfortable fit for any wrist.
This DIY project is surprisingly straightforward, even for beginners. We'll walk you through each step, from preparing your materials to the final polishing, ensuring you achieve a professional-looking result. Ready to transform simple wire into a wearable work of art? Let's dive into the detailed, step-by-step instructions below and begin crafting your expandable charm bangle!
Preparation and Safety Guidelines
- Artistic Wire 3D Bracelet Jig
- 18 gauge craft wire
- Mandrel or household bending tool
- Nylon tip pliers
- Wire rounder tool
- Bent chain nose pliers
- Flush Cutters
- Always use appropriate safety glasses when working with artistic wire. Sharp ends and flying pieces can cause eye injuries.
- Be mindful of the wire's sharpness. Handle it carefully to avoid cuts and scratches. Use pliers to manipulate the wire whenever possible.
- Ensure your workspace is well-lit and clutter-free to prevent accidents.
Step-by-Step Instructions
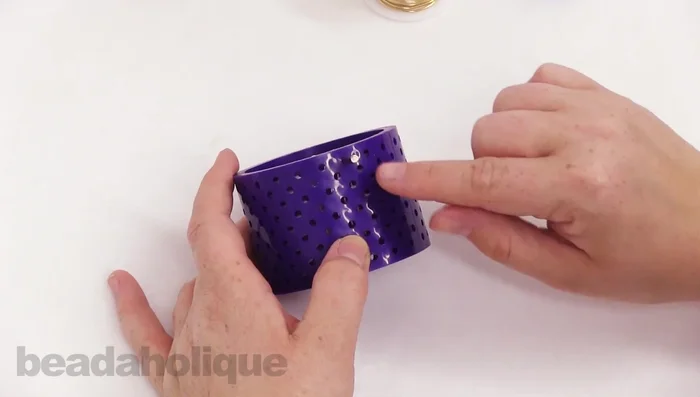
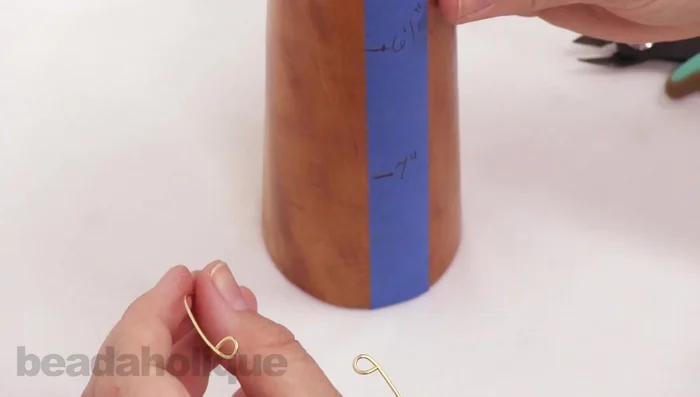
Set up the Jig
- Set up the Artistic Wire 3D Bracelet Jig using only two pegs and backers. Adjust the distance between pegs to determine bangle size.

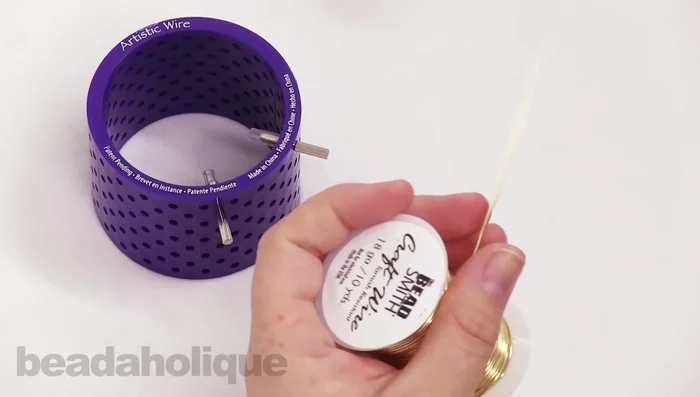
Set up the Jig Prepare the Wire
- Prepare approximately 15 inches of 18-gauge wire. Straighten the wire.
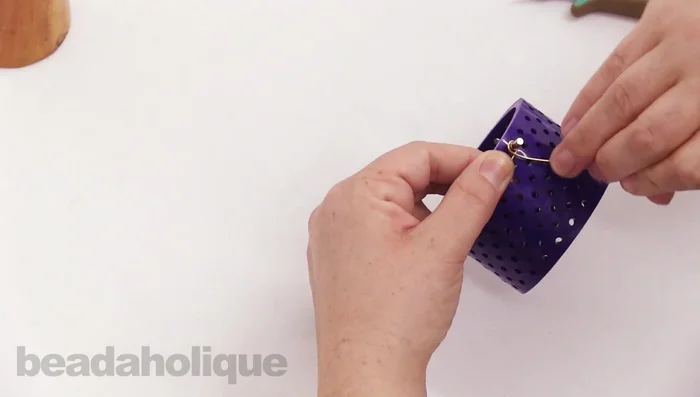
Prepare the Wire Form the Bangle on the Jig
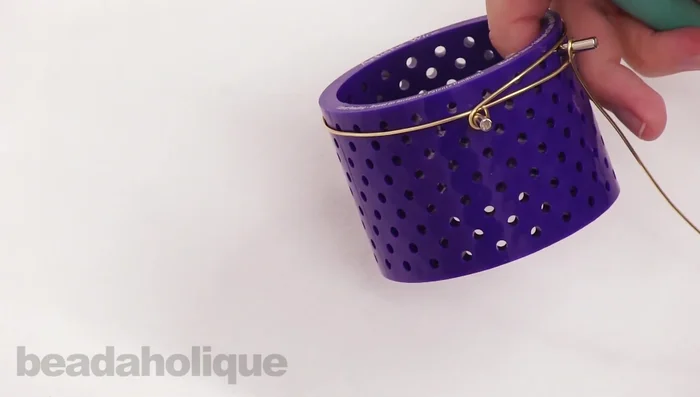
- Loop the wire around one of the pegs on the jig, keeping it tight. Bend the wire up and over the top peg, then down and around the second peg.
Form the Bangle on the Jig Remove from Jig and Initial Shaping
- Use flush cutters to trim excess wire near the pegs. Remove the bangle from the jig.
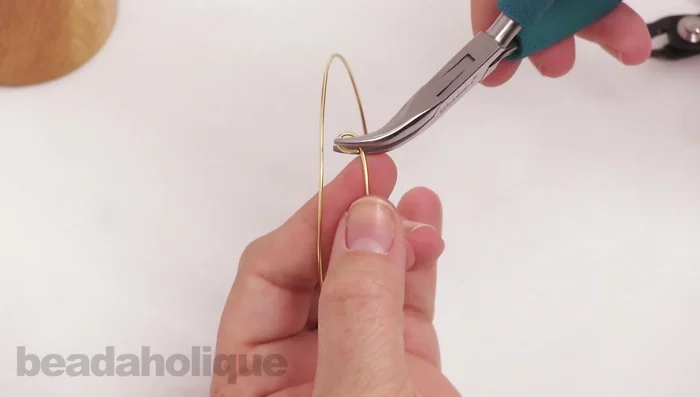
- Using a mandrel or household item (approx. 6-6.5 inches in circumference), carefully bend the wire into a bangle shape. Use your wire rounder tool to smooth the ends.
Remove from Jig and Initial Shaping Refine Bangle Shape
- Use bent chain nose pliers to refine the bangle's shape, creating sharper angles at the ends.
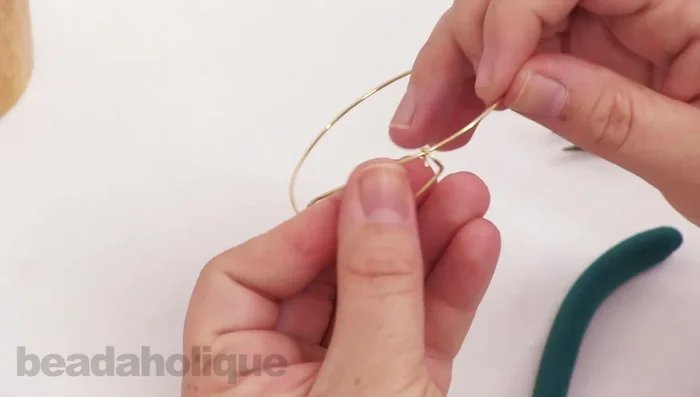
Refine Bangle Shape Attach Jump Rings and Charms
- Open the loops at both ends of the bangle. Attach jump rings to the bangle and attach the charms.
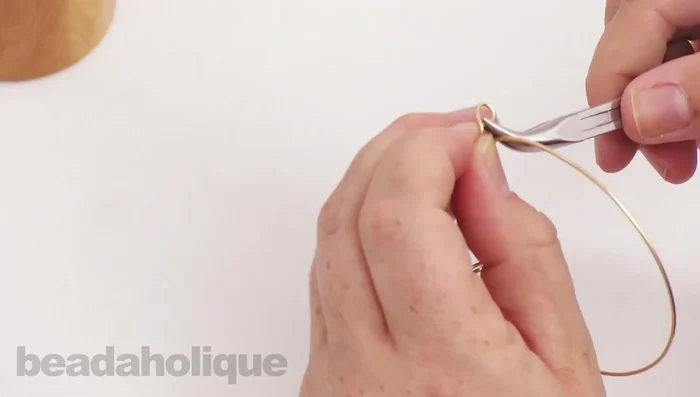
Attach Jump Rings and Charms Final Adjustments and Finishing
- Close the loops. Use nylon pliers to adjust any kinks or imperfections, and to harden the wire.
Final Adjustments and Finishing
Read more: DIY Crystal Bracelet: Easy Square Knot Tutorial
Tips
- Keep most of the wire on the spool for better grip during shaping.
- When wire wrapping, it's better to use more wire than needed.
- The 18-gauge wire will spring out slightly; this is what gives the bangle its expandable nature.
- The expandable bangle allows for adjustability in size and shape.