Earth tones are experiencing a major resurgence in fashion, and what better way to embrace this trend than with a stylish, handcrafted bracelet? This DIY project shows you how to create a stunning earthtone leather knitted chain bracelet – a beautiful accessory that perfectly blends natural aesthetics with a touch of bohemian flair. Forget complicated techniques and time-consuming processes; this method prioritizes speed and simplicity, making it ideal for both beginners and experienced crafters alike. We'll be using readily available materials, ensuring accessibility and minimizing project costs.
Forget struggling with complex knots and intricate weaving patterns. This guide offers the fastest and easiest method for creating a gorgeous earthtone leather knitted chain bracelet. Prepare to be amazed at how quickly you can transform simple leather cords into a sophisticated and eye-catching piece of jewelry. Let's dive into the step-by-step instructions and get crafting!
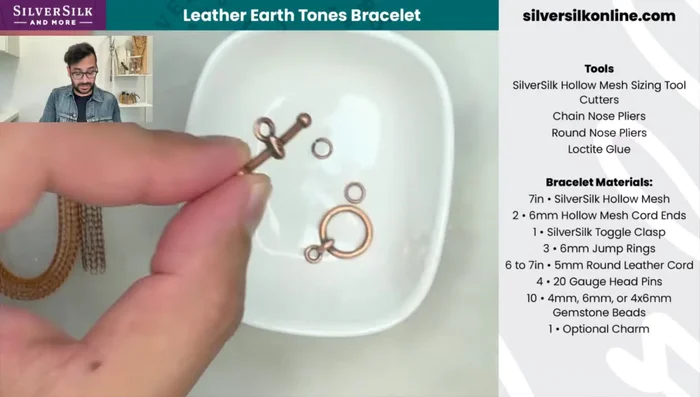
Preparation and Safety Guidelines
- Hollow mesh
- 5mm Hollow mesh sizing tool
- Leather cord (4mm)
- Chain nose pliers
- Round nose pliers
- Loctite glue
- Linstrom cutters
- Cord ends
- Head pins
- Jump rings
- Toggle clasp
- Gemstone beads
- Charms
- Always use sharp scissors when cutting leather cords to avoid injury. Keep fingers clear of the blades.
- If using any adhesives, ensure adequate ventilation and follow the manufacturer's safety instructions. Some adhesives are flammable or contain harmful chemicals.
- Leather can be prone to staining. Avoid contact with harsh chemicals and take precautions to protect your work surface and clothing during crafting.
Step-by-Step Instructions
Prepare the Hollow Mesh
- Cut the hollow mesh to the desired bracelet length (approximately 7 inches, adding extra for safety). Cut each knit individually to avoid crimping.
- Use the 5mm hollow mesh sizing tool to ensure consistent diameter and remove kinks.

Prepare the Hollow Mesh Fill and Secure the Mesh
- Fill the hollow mesh with the leather cord. Cut the cord at an angle, leaving extra length.
- Apply glue to the inside of the cord ends, insert the ends of the leather cord and hollow mesh, and press firmly. Trim excess cord.
Fill and Secure the Mesh Add Embellishments
- Add beads and charms to the bracelet.
Add Embellishments Create End Loops
- Create wire-wrapped loops at each end of the bracelet using head pins and chain nose pliers.
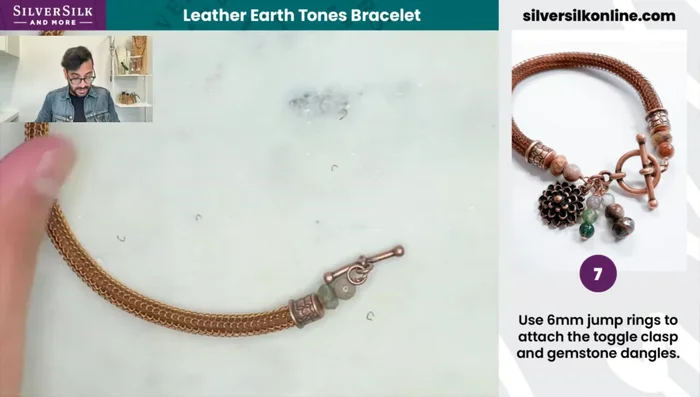
Create End Loops Attach Clasp
- Attach jump rings to the loops.
- Attach the toggle clasp using jump rings.
Attach Clasp


Read more: DIY Crystal Bracelet: Easy Square Knot Tutorial
Tips
- Using the sizing tool for the hollow mesh ensures consistent size and shape.
- Cut each knit of the hollow mesh individually to prevent crimping.
- Use Loctite glue for a quick and secure bond with the leather cord.
- Practice making wire-wrapped loops with spare head pins before working on the bracelet.