Friendship bracelets are a timeless symbol of connection and friendship, and their intricate designs offer a rewarding crafting experience. Whether you're a seasoned crafter or a complete beginner, the thrill of creating a unique piece to share with a loved one remains the same. But what if you wanted to speed up the process without sacrificing the visual appeal? This guide will introduce you to the surprisingly quick and easy method of creating a diagonal friendship bracelet, a design that’s both visually stunning and surprisingly simple to master. Forget hours of painstaking knotting – this technique will have you crafting beautiful bracelets in a fraction of the time.
This beginner-friendly guide will walk you through each step of the process, providing clear instructions and helpful tips to ensure your success. Prepare to be amazed at how quickly you can create a beautiful, diagonal friendship bracelet, perfect for sharing with friends, family, or even treating yourself! Let's get started with the step-by-step instructions below.
Preparation and Safety Guidelines
- Embroidery floss (3 colors)
- Safety pin
- Button or bead (optional)
- Always use sharp scissors to cut the embroidery floss. Dull scissors can cause frayed ends and make knotting difficult.
- Keep your tension consistent throughout the braiding process. Inconsistent tension will lead to an uneven and potentially weak bracelet.
- If using a knotting board, ensure the pegs are securely in place to avoid accidental slippage and lost work.
Step-by-Step Instructions
Prepare Materials
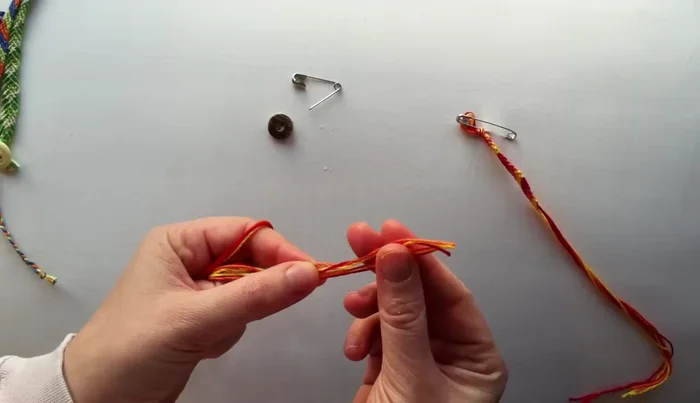
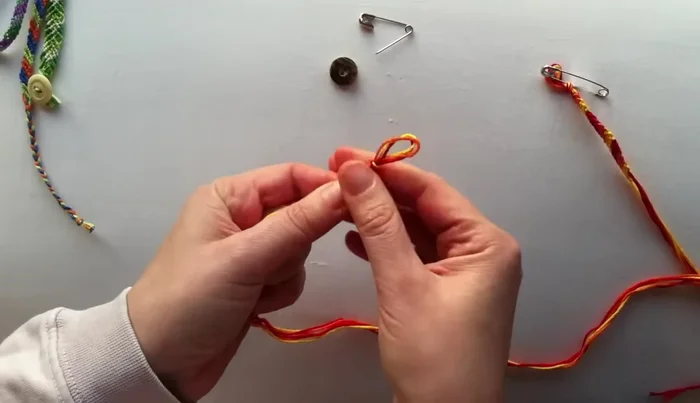
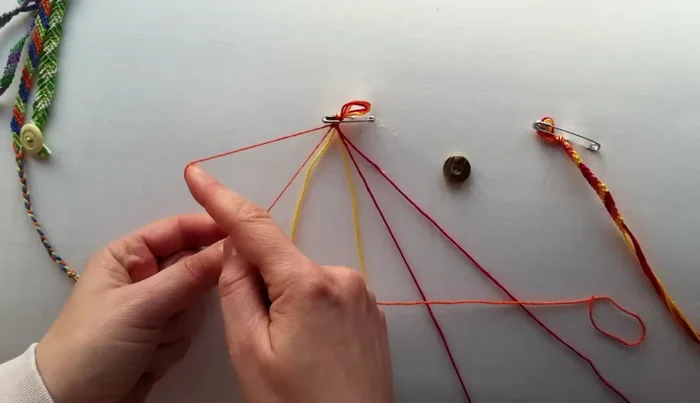
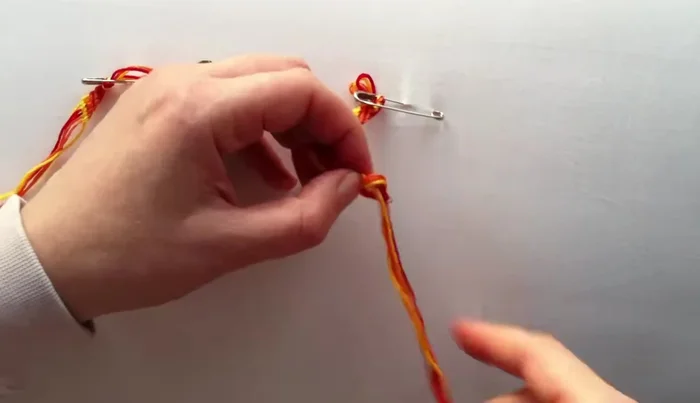
- Line up the ends of three embroidery floss strands. Create a small loop at one end.
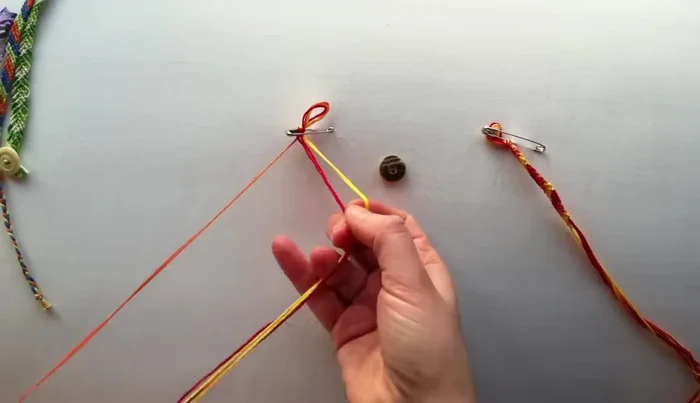
- Pin the floss to a surface (jeans, pillow, etc.) for easier knotting.
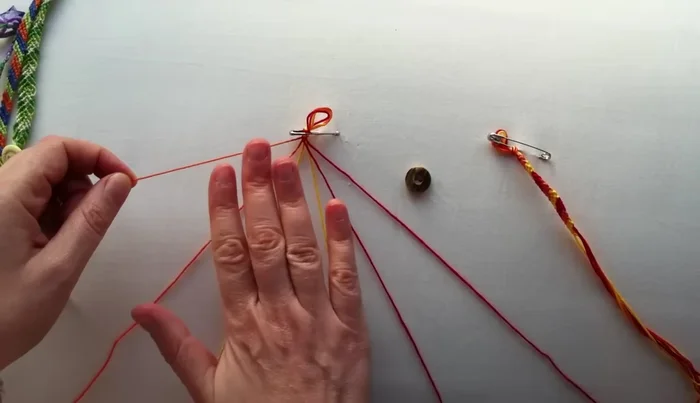
- Arrange the three strands neatly. The order doesn't matter initially.

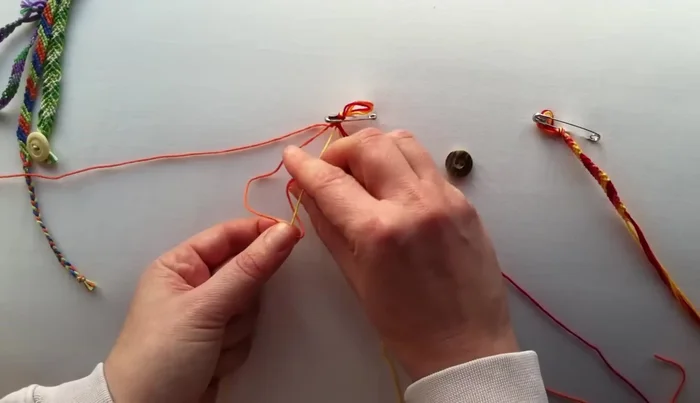
Prepare Materials Learn the Basic Knot
- Work from left to right. Keep the strands you're knotting *over* tight, and the strand you're knotting *under* loose. Form a '4' with the top strands, then wrap the loose strand under and through.
- Repeat the knotting step twice for each knot to secure it.
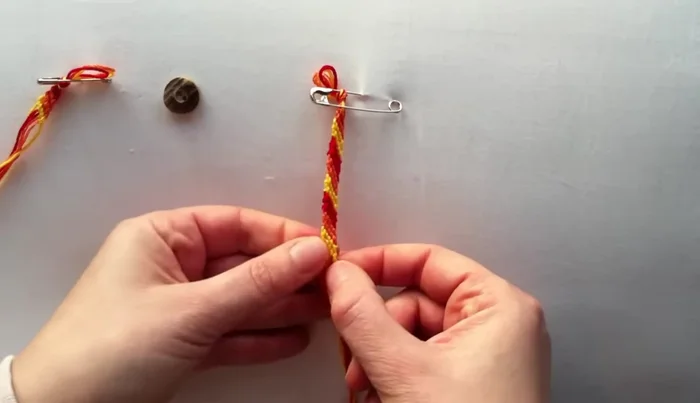
Learn the Basic Knot Create the Bracelet
- Repeat steps 4 and 5, working across your strands and creating rows. Always keep the strands you are knotting *over* tight.
- Push up the knots as you go to keep the bracelet neat and tight.
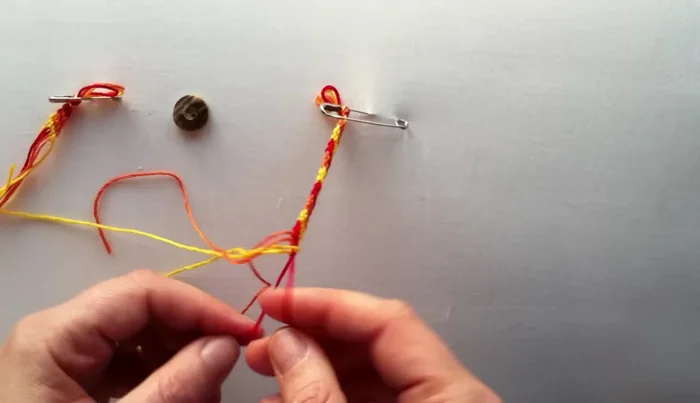
Create the Bracelet Finish and Decorate
- Once you have reached your desired length, braid the ends of the bracelet to finish quickly.
- Tie a knot to secure the bracelet. Add a button or bead for extra flair.
Finish and Decorate
Read more: DIY Crystal Bracelet: Easy Square Knot Tutorial
Tips
- Practice makes perfect: The beginning is a little tricky, but it gets easier with practice.
- Work in short bursts: You don't have to finish the bracelet in one sitting. Make it portable and work on it whenever you have free time.
- Braid the ends: Braiding the ends is a quick way to finish, especially when learning.
- Tighten as you go: Regularly push up and tighten knots to create a neat, even bracelet.