Indulge your creativity with this captivating crochet project! Learn how to craft a stunning ring featuring the rich, deep hues of hematite and the delicate, calming purple of lavender. This tutorial guides you through the creation of a unique accessory, perfect for adding a touch of handcrafted elegance to any outfit or for gifting to a loved one. The combination of these two earthy yet vibrant colors creates a truly mesmerizing effect, transforming simple crochet stitches into a piece of wearable art.
Prepare to be amazed by how easily you can transform humble yarn into a beautiful, eye-catching ring! This easy-to-follow, step-by-step guide will walk you through each stage of the process, from the initial foundation chain to the final finishing touches, ensuring a successful and enjoyable crafting experience. Get ready to discover the simple joy of creating something beautiful with your own two hands.
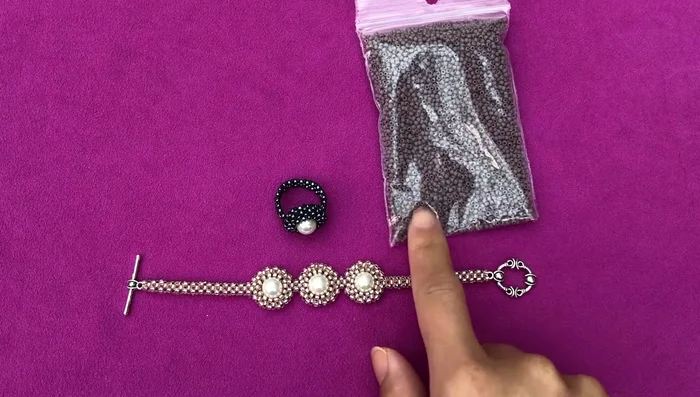
Preparation and Safety Guidelines
- Seed beads (size 11/0 and size 15/0)
- 8mm Czech glass pearls
- Size D gray Nymo thread
- Size 10 beading needles
- Scissors
- Use sharp scissors to avoid snagging the yarn and causing fraying. Trim ends carefully.
- Always check your tension regularly to ensure consistent ring size and appearance. Loose tension can lead to a floppy ring, while tight tension can make it difficult to wear.
- Hematite beads can be brittle. Handle them gently to avoid chipping or breakage. If using wire, ensure it's securely fastened to prevent beads from falling off.
Step-by-Step Instructions
Prepare Materials
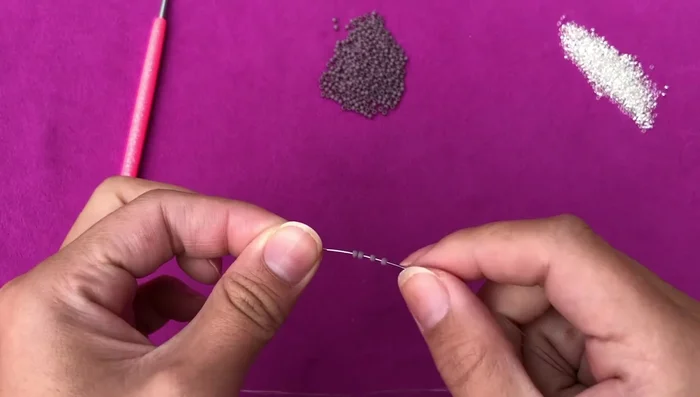
- Gather seed beads, pearls, thread, needles, and scissors.

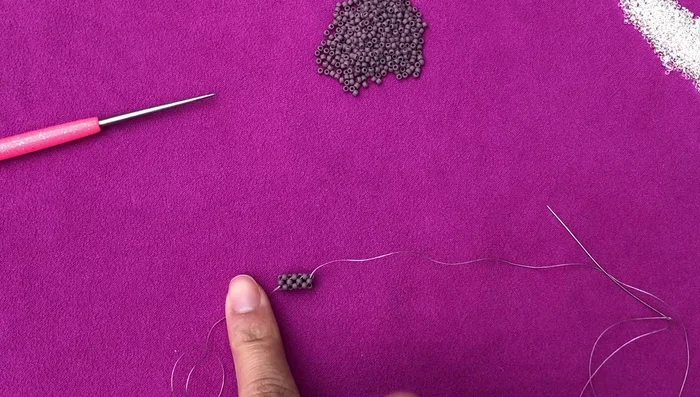
Prepare Materials Start Focal Unit
- String 4 size 11/0 seed beads onto the thread, leaving a tail for knotting later. Create 2 overhand knots.
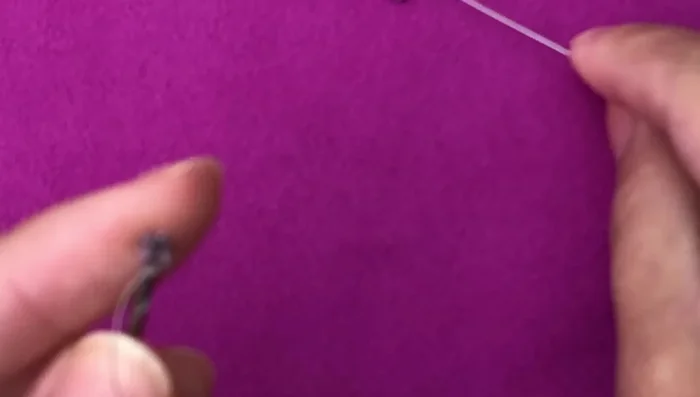
Start Focal Unit Build First Cube
- This involves a unique beading technique. The video skips ahead to the step where three beads are added, then passed through the same bead from the other side, establishing the foundation of the cube.
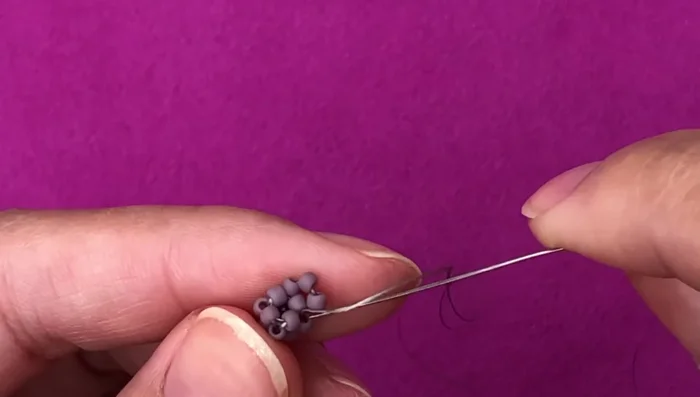
Build First Cube Continue Building Cubes
- Repeat the process of adding beads and weaving them to build successive cubes atop the first. The video provides detailed step-by-step instructions (picking up 2 or 3 beads, passing through specific beads, etc.) for creating each cube face, building layer by layer.
Continue Building Cubes Complete Focal Units
- Build a total of 13 cubic units following the pattern.
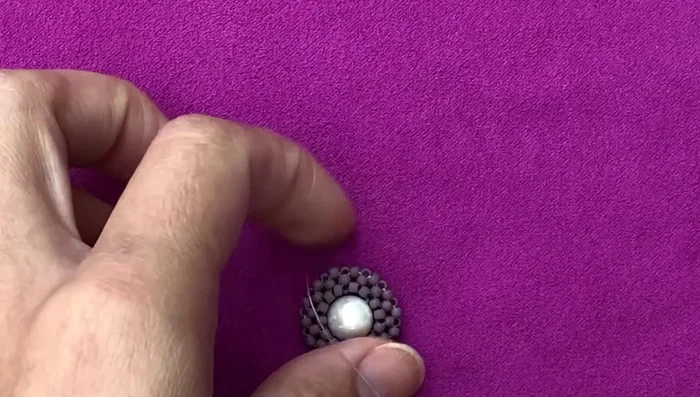
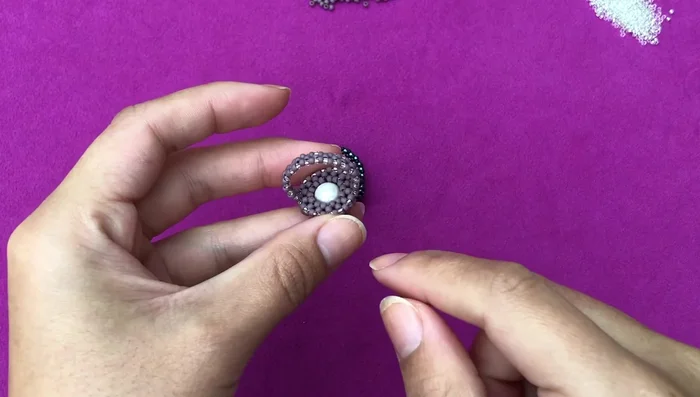
Complete Focal Units Add Pearl
- Attach the pearl between parallel beads within the crocheted unit.
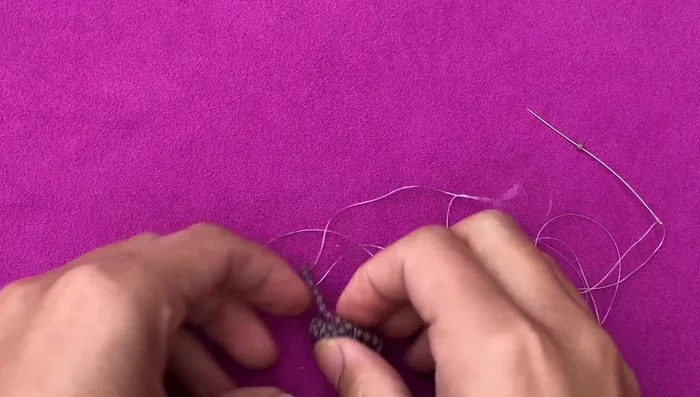
Add Pearl Connect Focal Units
- Join the units together using additional beads, maintaining a straight, even arrangement.
Connect Focal Units Create Ring Band
- This uses a right-angle weave technique, constructing squares of beads.
Create Ring Band Measure and Adjust Band Length
- Make the band longer than needed for your finger because the addition of size 15/0 seed beads will shorten it.
Measure and Adjust Band Length Connect Band Ends
- Join the ends of the band, making sure to choose the correct beads for a clean join.
Connect Band Ends Add Size 15/0 Seed Beads to Band
- Embellish the ring band by adding size 15/0 seed beads all around the band. This step shrinks and tightens the band.
Add Size 15/0 Seed Beads to Band Add Bottom Embellishment
- Add more size 15/0 seed beads to the bottom of the ring for extra detail.
Add Bottom Embellishment Finish Ring
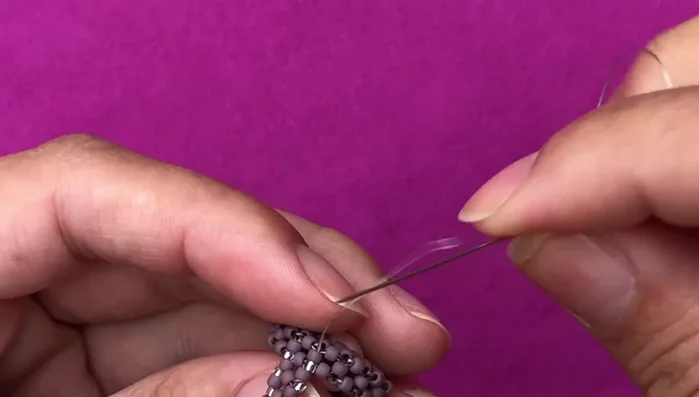
- Secure the thread with knots and trim excess.
Finish Ring


Read more: Ultimate Guide to Making Inlay Rings with Bentwood Ring Supplies
Tips
- When working with long threads, consider adding more if needed (link to additional tutorial provided).
- Hold beads in place with your fingers when pulling threads tight, especially during right angle weaving, to prevent them from coming apart.
- Ensure that all units in the focal unit are facing in the same direction for a neat look.
- Make the ring band slightly longer than your finger's circumference to account for the shrinking effect of adding the 15/0 beads.