Friendship bracelets are a timeless symbol of connection and a fun, creative outlet. They're also a fantastic way to personalize gifts or simply express your style. Chevron patterns, with their bold zig-zag design, add a touch of sophisticated flair to this classic craft, making them even more appealing. Whether you're a seasoned crafter or a complete beginner, the chevron design is surprisingly approachable, offering a satisfying challenge without being overly complex. Making them is a relaxing and rewarding activity that can be enjoyed solo or with friends.
This easy-to-follow tutorial will guide you step-by-step through the process of creating your own stunning chevron friendship bracelet. Prepare to be amazed at how quickly you can master this beautiful pattern and create a unique keepsake to share with someone special, or keep for yourself! Let's get started!
Preparation and Safety Guidelines
- Embroidery floss (at least four colors)
- Tape or safety pin
- Scissors
- Optional: Pony bead or button
- Always supervise young children when making bracelets to prevent choking hazards from small beads or accidental entanglement with the string.
- Use sharp scissors carefully to avoid cuts. Keep scissors away from children when not in use.
- If using embroidery floss or other non-washable materials, be aware that the bracelet may not be suitable for swimming or prolonged water exposure.
Step-by-Step Instructions
Prepare the Strings
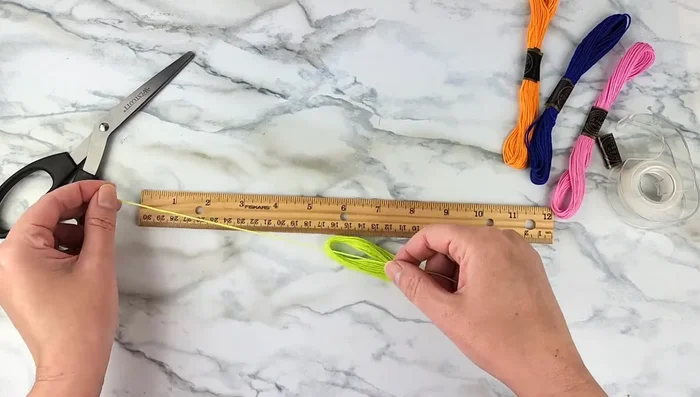
- Measure and cut your string. For an 8-strand bracelet (as wide as the one in the video), use four 60-inch strands and fold them in half. Adjust the length and number of strands based on your desired bracelet width (see details in the video for different strand counts and lengths).

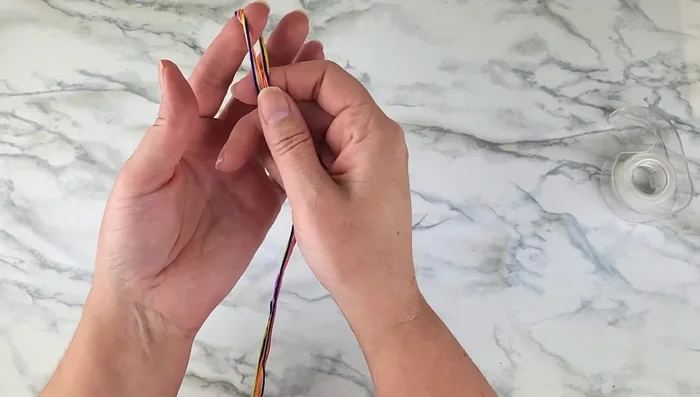
Prepare the Strings Create the Starting Loop
- Gather all strands, fold in half, make a loop, and tie a knot. This loop will be used to fasten the bracelet.
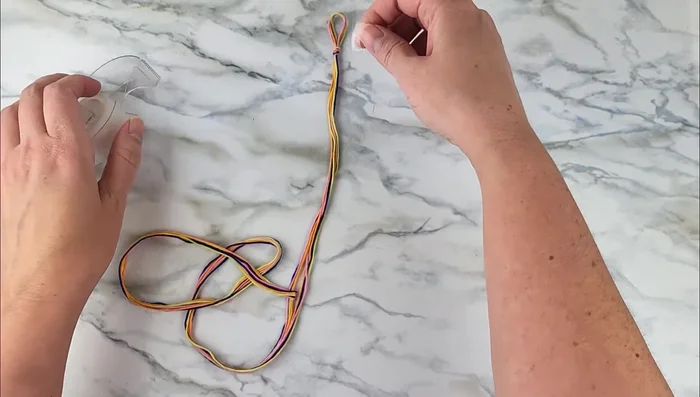
Create the Starting Loop Secure the Loop
- Tape or pin the loop to a flat surface to keep it stable.
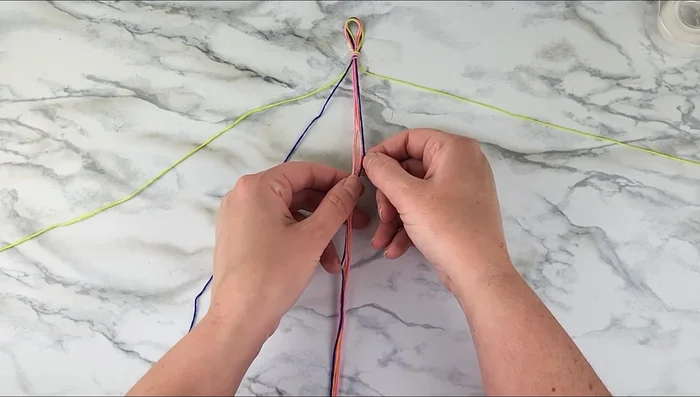
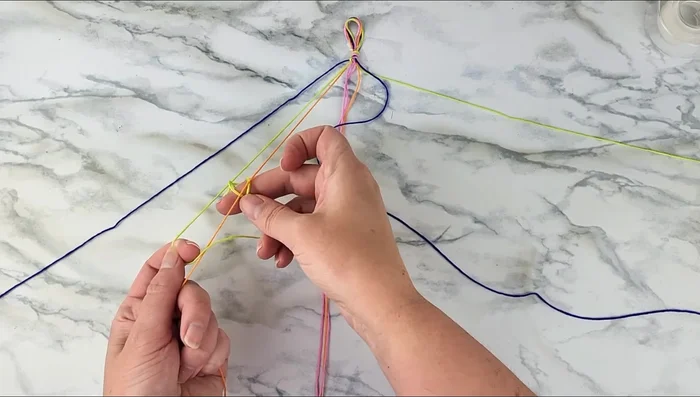
Secure the Loop Start the Chevron Pattern (Left Side)
- Separate the strands, mirroring colors on the right and left. Start with the leftmost strand and tie a forward knot (resembling a number 4) around the second strand. Repeat twice.
- Repeat step 4, using the first strand to tie forward knots around the next color strands (orange then pink), twice for each color.
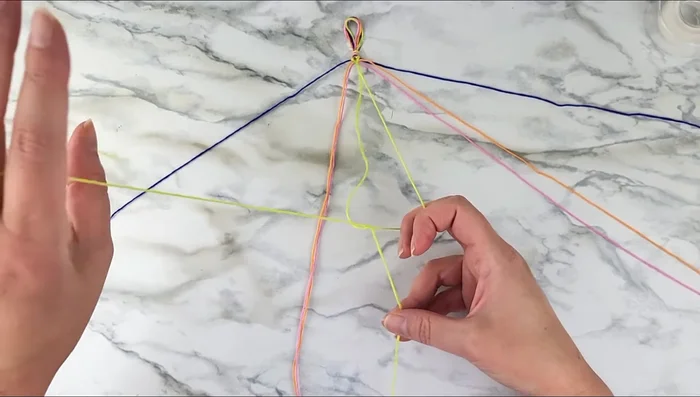
Start the Chevron Pattern (Left Side) Complete the Chevron Pattern (Right Side)
- Once the first strand reaches the middle, repeat the process from the right-hand side using backward knots (mirrored number 4) instead of forward knots. Tie two backward knots for each color until both starting strands meet in the middle.
Complete the Chevron Pattern (Right Side) Create the First Chevron 'V'
- Tie two backward knots with the two middle strands to form the first chevron 'V'.
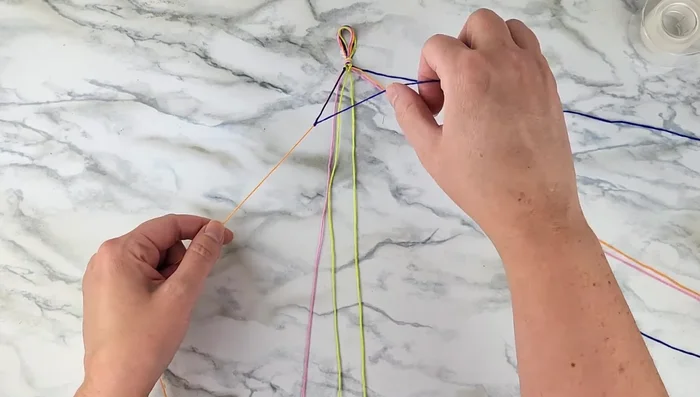
Create the First Chevron 'V' Repeat Chevron Pattern
- Repeat steps 4-7 with the remaining strands to continue creating the chevron pattern until the desired length is achieved.
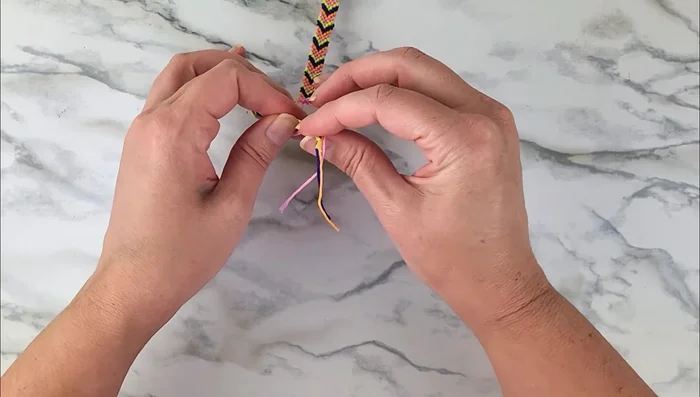
Repeat Chevron Pattern Finish and Secure
- Tie a knot at the end to secure the bracelet, and use the initial loop to fasten it around your wrist or add a bead/button for extra security.
Finish and Secure

Read more: DIY Crystal Bracelet: Easy Square Knot Tutorial
Tips
- Using a flat surface (taped down or clipboard) makes the process easier.
- Remember the number 4 analogy for forward and backward knots to easily remember the technique.