Learn how to craft a beautiful and personalized braided stitch bracelet with this easy-to-follow tutorial! Braided bracelets are a timeless accessory, perfect for adding a touch of handmade charm to any outfit. Whether you're a seasoned crafter or a complete beginner, this project is designed to be accessible and enjoyable. The simple technique allows for complete customization, letting you experiment with different colors and materials to create a truly unique piece. You can easily adjust the bracelet's length to fit your wrist perfectly, making it a practical and versatile gift or a delightful treat for yourself.
This tutorial will guide you through each step of the process, from gathering your supplies to securing the finished bracelet. Get ready to unleash your creativity and discover the satisfying simplicity of creating your own stylish braided masterpiece. Let's dive into the step-by-step instructions!
Preparation and Safety Guidelines
- Embroidery floss
- Always supervise children when using sharp objects like scissors or needles.
- Be mindful of your fingers and avoid pulling the braid too tightly to prevent injury.
- If using beads, ensure they are appropriately sized and secure to prevent choking hazards (especially for children).
Step-by-Step Instructions
Prepare the Strings
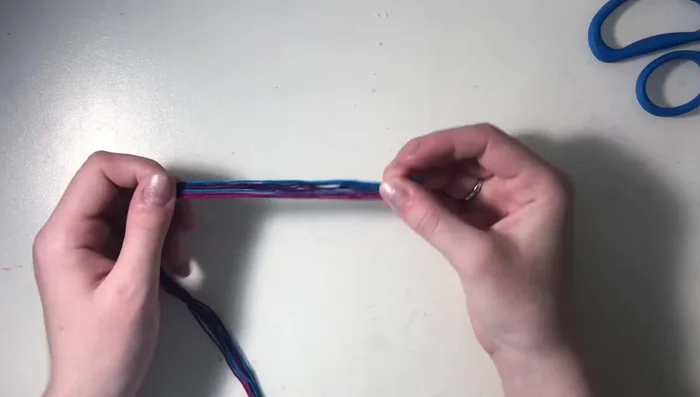
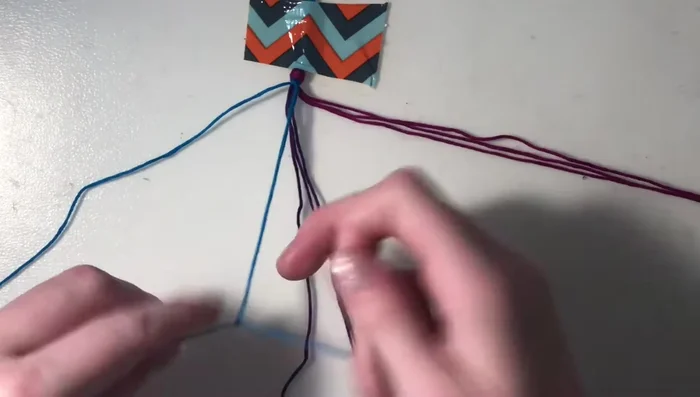
- Cut three strings of each of your three chosen colors. The length should be from your arm to the center of your chest.

Prepare the Strings Initial Knot and Closure
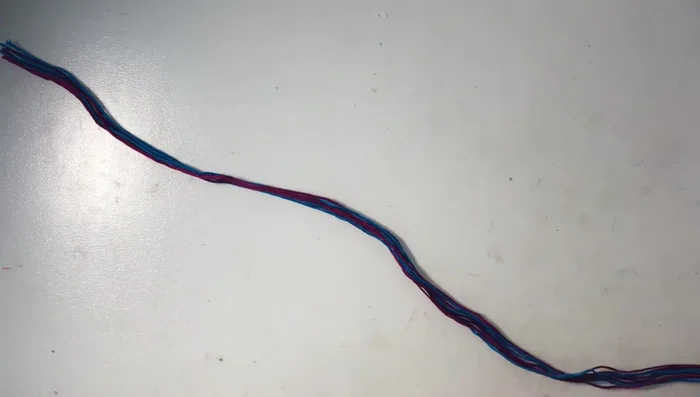
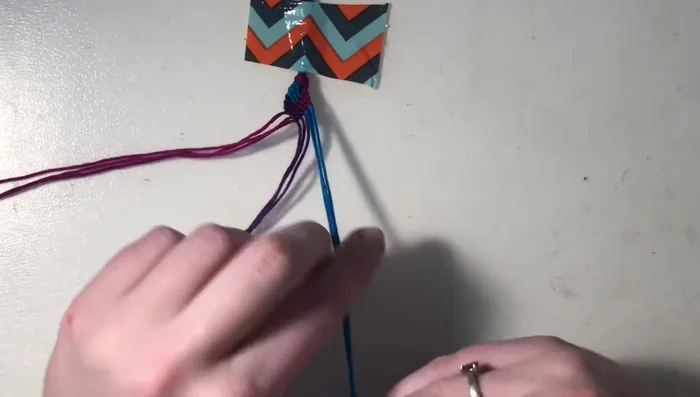
- Tie a knot at one end of all nine strings, braid them, then tie another knot to create an adjustable closure.
Initial Knot and Closure First Braid Section (Forward Knots)
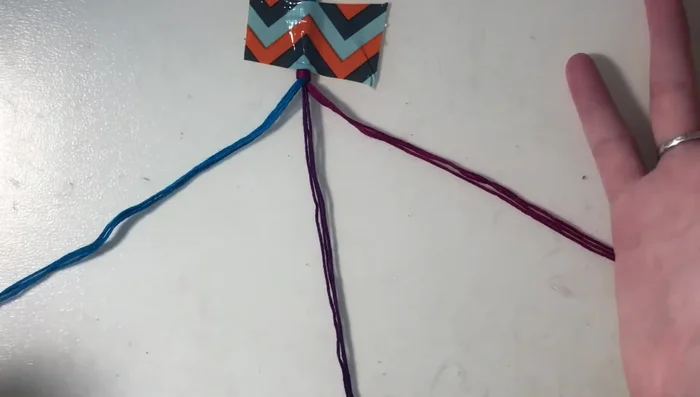
- Separate your strings into three groups by color. Start on the left side, focusing on the first two color sections (e.g., blue and purple, ignoring pink for now).
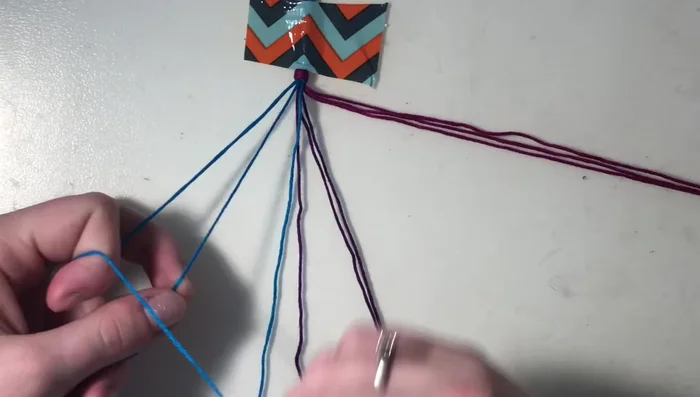
- Take the outer string (e.g., blue) and cross it over the second string (e.g., blue) to create a 'four' shape. Wrap the tail underneath the second string and pull it through to the top. Repeat this twice.
- Repeat step 4 on the remaining strings in that color group (blue, in this example). Then repeat step 4 on all three strings of the next color group (purple, in this example).
- Return to the next outer string of the first color (blue). Create forward knots (as in step 4) on the remaining strings of this color and the other color group (purple), but not the string you just worked with.
First Braid Section (Forward Knots) - Repeat step 6 until all strings of the first two color groups have been incorporated.
Second Braid Section (Backward Knots)
- Repeat steps 3-7 on the other side of the bracelet, focusing on the next two color groups (e.g., pink and blue), using backward knots instead of forward knots. A backward knot is creating a backward 'four' shape (opposite to step 4).
Third Braid Section (Forward Knots)
- Repeat steps 3-7 again, starting with the first two color groups from the beginning (e.g. blue and purple), using forward knots.
Fourth Braid Section (Backward Knots)
- Repeat steps 3-7 one final time, starting with the remaining two color groups and using backward knots.
Fourth Braid Section (Backward Knots) Final Knot and Closure
- Braid the ends and tie a knot to create an adjustable closure.
Read more: DIY Crystal Bracelet: Easy Square Knot Tutorial
Tips
- You can adjust the length of the bracelet by changing the initial length of the floss.
- If you don't want an adjustable bracelet, you can tie a knot at the end and leave excess string or add a button or clasp.