Creating beautiful and unique jewelry is a rewarding hobby, and beaded rings offer a fantastic entry point. Among the many beading techniques, Peyote stitch stands out for its versatility and the stunning results it produces. This guide focuses specifically on even count Peyote stitch, a technique ideal for crafting sturdy and aesthetically pleasing rings. The even count method provides a symmetrical and stable base for your designs, making it perfect for beginners wanting to master this classic technique.
This beginner-friendly tutorial will walk you through the process of creating your very own even count Peyote stitch beaded ring, from selecting materials to finishing your creation. Get ready to learn the fundamental steps involved, from starting your piece to securing the final bead, and soon you'll be confidently crafting your own dazzling designs. Let's dive into the step-by-step instructions now!
Preparation and Safety Guidelines
- Size 12 beading needle
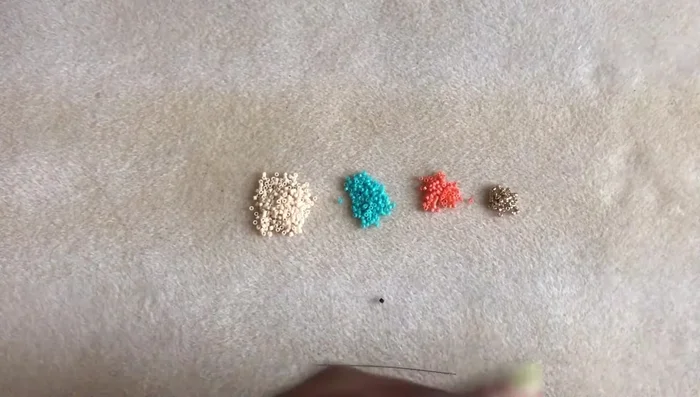
- Size 11 Miyuki Delica seed beads (or similar)
- Fireline beading line (6lb)
- Clippers
- Stop bead (contrasting color)
- Use sharp, high-quality beading needles to prevent breakage and ensure smooth beading. Dull needles can snag threads and damage beads.
- Always maintain consistent tension on your thread to avoid loose or uneven stitching. This is crucial for a well-formed ring and to prevent gaps or bead slippage.
- Before starting, measure your finger carefully to determine the appropriate length of your ring. It's difficult to adjust the size once you have completed the peyote stitch.
Step-by-Step Instructions
Prepare Materials
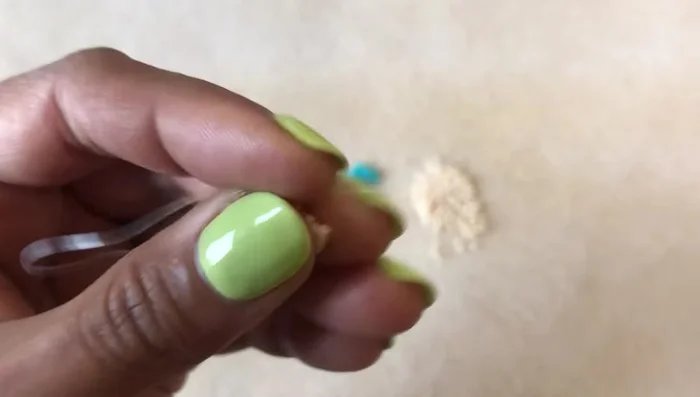
- Cut 4-5 ft of Fireline and attach a stop bead.

Prepare Materials Create the Ring Base
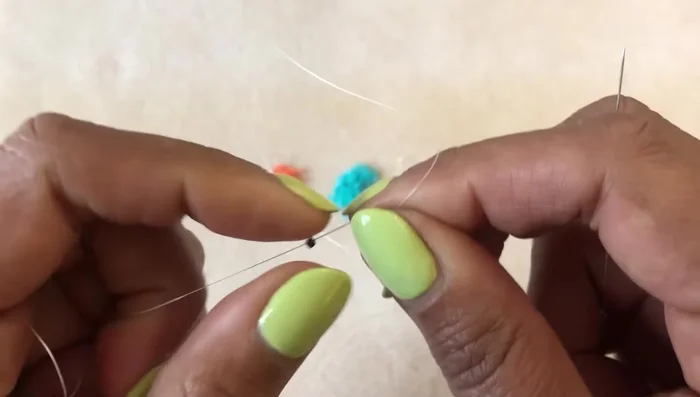
- Pick up 8 beads in your primary color, slide them down to the stop bead, and leave a 4-inch tail.
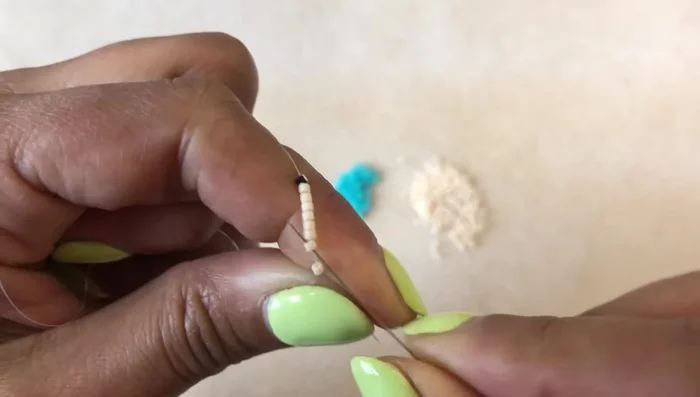
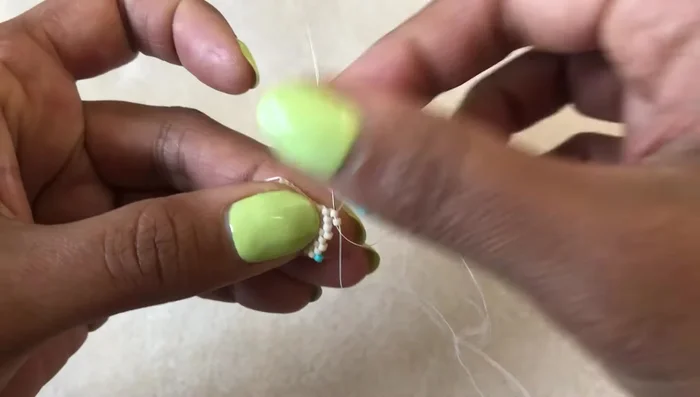
- Go through the second bead from the stop bead, then pick up a new bead and go through the fourth bead, and continue this pattern.
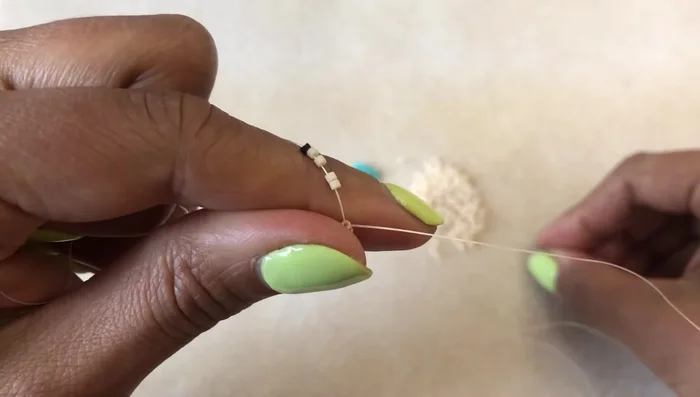
- Continue adding beads in every other bead for this row, creating small triangles.
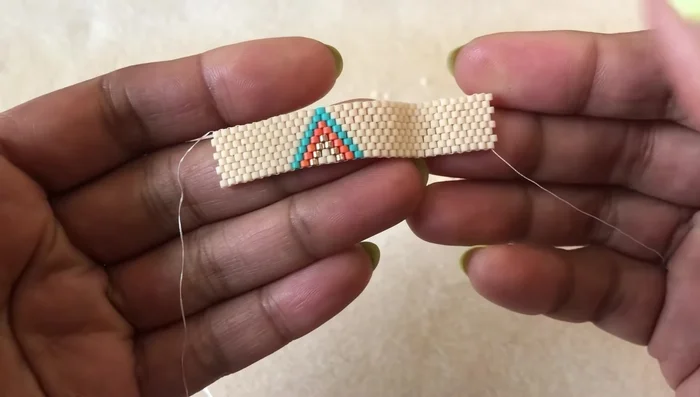
- Complete 16 rows using the even count Peyote stitch.
Create the Ring Base Add Design Elements
- Begin adding colored beads to create a design (e.g., a triangle).
Add Design Elements Size and Adjust
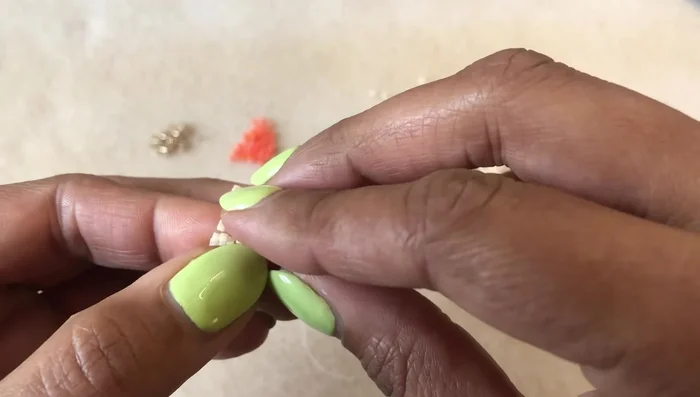
- Wrap the ring around your finger to check the size. Add more rows if needed to ensure a comfortable fit and that the up beads on one end fit snugly into the down beads on the other.
Size and Adjust Close the Ring
- Use the up and down beads to connect the ends like a zipper. Weave the needle back and forth through the up beads in a zig-zag pattern to securely join the ends.
Close the Ring Secure the Seam
- Weave your needle back through the seam several times to reinforce the connection. Anchor your thread by looping it around two neighboring beads two or three times.
Finish and Secure Ends
- Weave the original tail back into the work, securing it in the same manner as the closing seam.
Read more: Ultimate Guide to Making Inlay Rings with Bentwood Ring Supplies
Tips
- Use a strong beading line like Fireline for durability.
- A stop bead helps prevent beads from falling off during the first row.
- Experiment with different designs once you master the basic stitch.
- Secure the ring's seam thoroughly, especially for added strength and longevity.