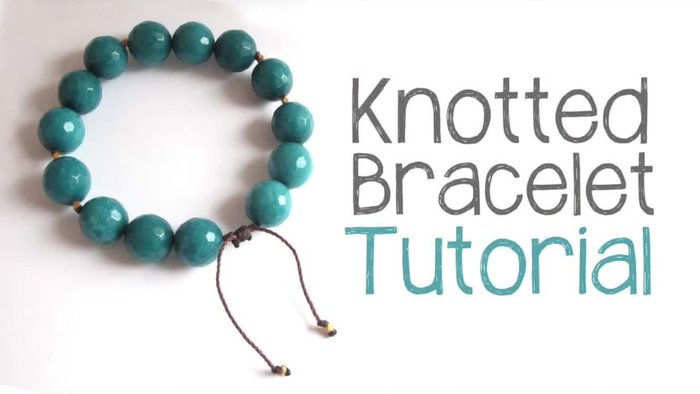
Adjustable knotted cord bracelets are a fantastic way to express your personal style, offering a simple yet elegant accessory easily customizable to your wrist size. They're also a surprisingly satisfying project for beginners, requiring only a few basic materials and a little patience. The beauty of these bracelets lies in their adaptability; you can experiment with different cord colors, add charms, and create a unique piece that perfectly reflects your taste. Whether you’re looking for a new hobby or a thoughtful handmade gift, this craft is both rewarding and accessible.
This guide will walk you through each step of creating your own adjustable knotted cord bracelet, from selecting materials to securing the finished product. Get ready to learn the techniques needed to create a beautiful, personalized bracelet that you'll cherish for years to come, and let's dive into the detailed step-by-step instructions below.
Preparation and Safety Guidelines
- 24 inches of waxed linen cord
- Spacer beads
- 12 mm beads
- Awl
- Beeswax
- Sharp scissors
- Ruler
- Always supervise children when making or wearing these bracelets. Small parts pose a choking hazard.
- Avoid pulling the cord too tightly while knotting, as this can damage the cord and make the bracelet difficult to adjust.
- Use strong, high-quality cord that is appropriate for the intended use. Avoid using cords that might fray or break easily.
Step-by-Step Instructions
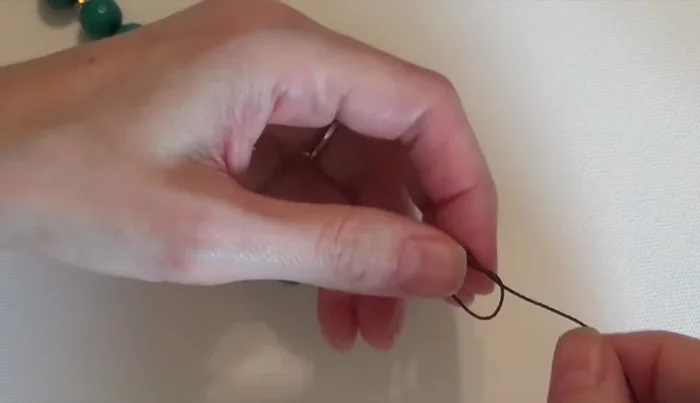
Prepare the Cord
- Tie a knot at one end of the cord, apply beeswax, and twist the cord in the direction of the threads to prevent fraying.

Prepare the Cord Add Initial Beads and Knots
- Add the first spacer bead and tie a single knot using an awl to precisely position the knot.
- Add three 12mm beads and tie a single knot.
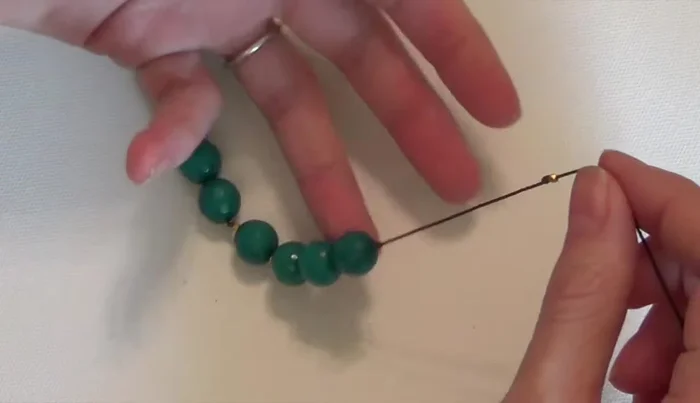
Add Initial Beads and Knots Create the Main Bracelet Pattern
- one spacer bead, one 12mm bead, one spacer bead, knot; three 12mm beads, spacer bead, three 12mm beads, knot; spacer bead, 12mm bead, spacer bead, knot; three 12mm beads, double knot.
Create the Main Bracelet Pattern Add Final Beads and Knots
- Make a single knot approximately 2 inches from the last double knot.
- Add the final spacer bead and tie a knot.
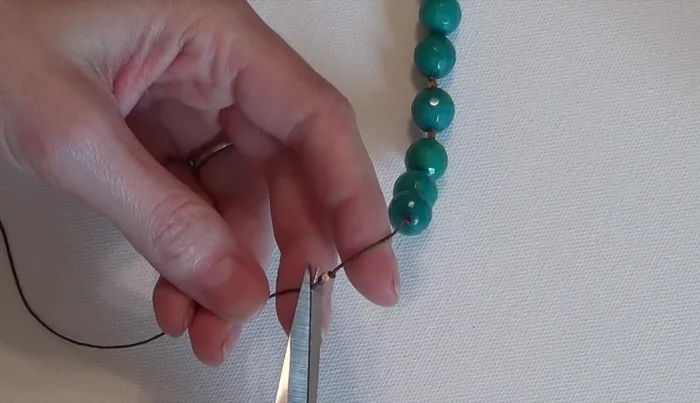
Add Final Beads and Knots Trim Excess Cord
- Trim the excess cord.
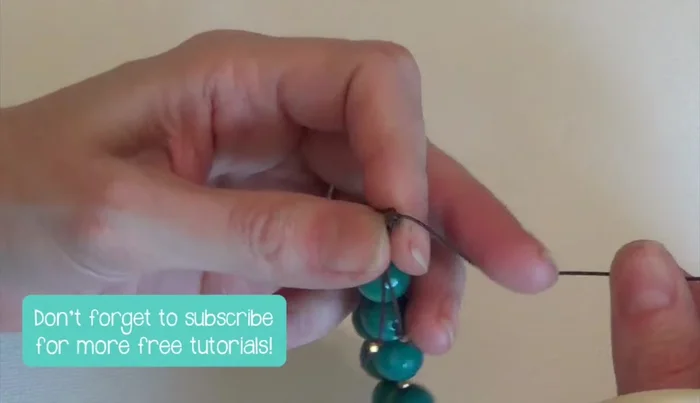
Trim Excess Cord Create and Secure the Sliding Knot
- Use a 6-inch piece of cord to make a loop, wrap the longer end around the bracelet cords three or four times, then thread the longer end back through each loop and tighten.
- Trim the excess cord from the sliding knot.
Create and Secure the Sliding Knot

Read more: DIY Crystal Bracelet: Easy Square Knot Tutorial
Tips
- For bracelets with more knots, start with a longer cord.
- Use an awl to help position knots precisely.
- Use a ruler to ensure even spacing and cord length.
- Watch the separate video on how to make the sliding knot if needed.