Metallic accents are incredibly popular in jewelry design right now, adding a touch of modern edge to any outfit. This tutorial will guide you through creating a stunning four-strand metallic ridge bracelet, perfect for adding a sophisticated yet simple statement piece to your collection. Whether you're a seasoned beading expert or a complete beginner, this project is designed to be accessible and rewarding, showcasing the beauty of simple, impactful design. The sleek, metallic finish offers a versatile look that complements a wide range of styles.
This easy-to-follow guide will walk you through each step, from gathering your supplies to securing the final knot. Get ready to learn how to effortlessly create this stylish bracelet using a straightforward technique that emphasizes clean lines and a modern aesthetic. Let’s dive into the detailed, step-by-step instructions below and begin crafting your own beautiful metallic ridge bracelet!
Preparation and Safety Guidelines
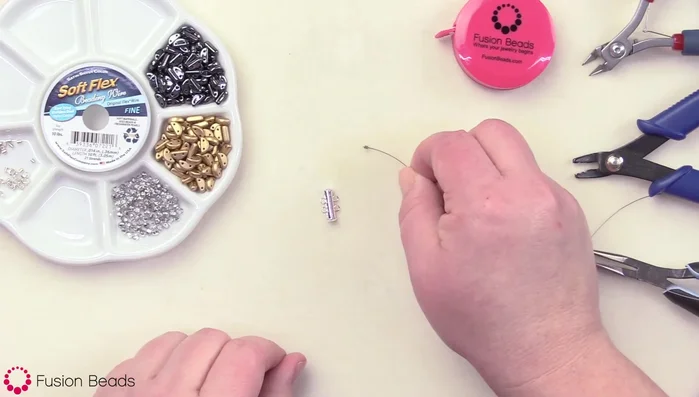
- 3mm silver fire polish beads
- 2-hole half moon Czech glass beads (bronze, pale gold, hematite)
- 2-strand 2-bar clasp
- crimp beads
- crimp bead covers
- fine soft luxe beading wire
- Lindstrom economic long chain nose pliers
- Tronics organ AMA craze or flush cutters
- crimping pliers
- bead stoppers
- tape measure
- Always use sharp, high-quality wire cutters to prevent bending or damaging the wire. Dull cutters can crush the wire, making it difficult to work with and potentially causing injury.
- Be mindful of the wire's sharpness. Handle the wire carefully to avoid scratching your skin. Consider wearing gloves if you have sensitive skin.
- If working with small beads, ensure your workspace is well-lit and clutter-free to prevent accidental ingestion or eye injury. Supervise children closely if they are assisting.
Step-by-Step Instructions
Prepare Clasp
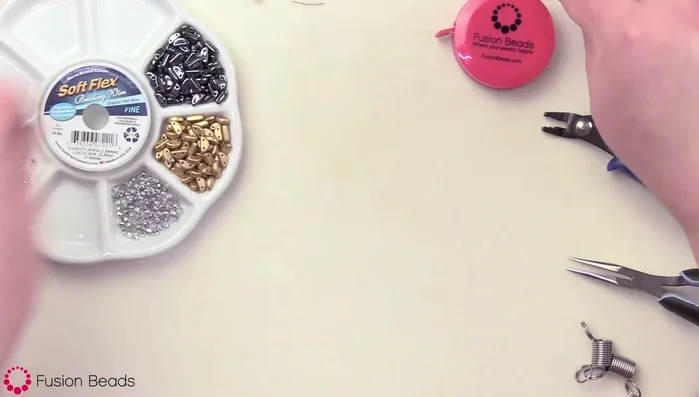
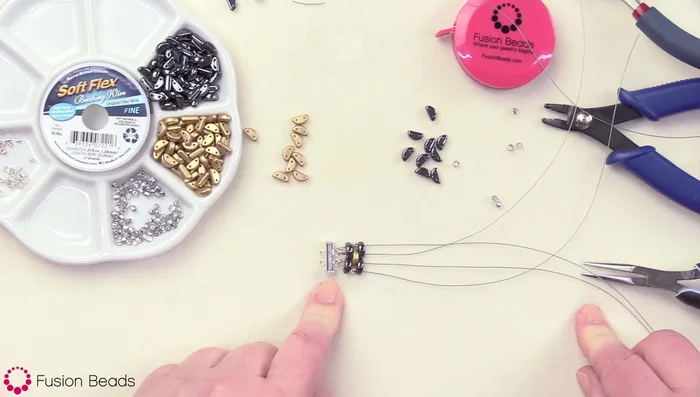
- Cut 10 inches of beading wire. Attach one crimp bead to one loop of the 2-bar clasp, going through the loop and back through the crimp bead. Crimp securely using crimping pliers.

Prepare Clasp Prepare Wire Strands
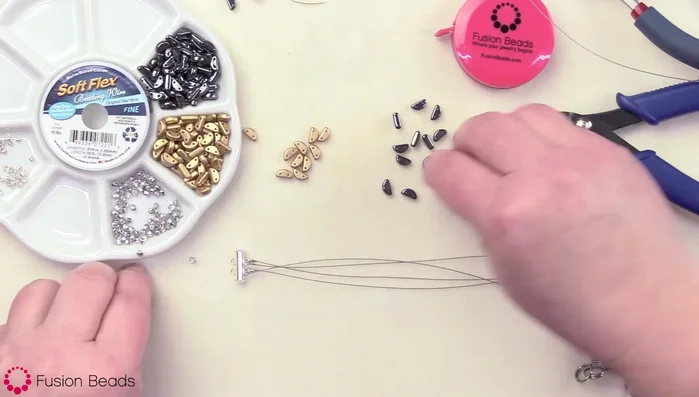
- Prepare four 10-inch strands of beading wire. Attach two strands to each loop of the clasp.
Prepare Wire Strands Begin Beading Pattern
- String all four strands simultaneously. Begin the pattern with a hematite half-moon bead, ensuring the half-moon faces upwards consistently. Thread each strand through alternating holes of the bead.
Begin Beading Pattern Continue Beading Pattern
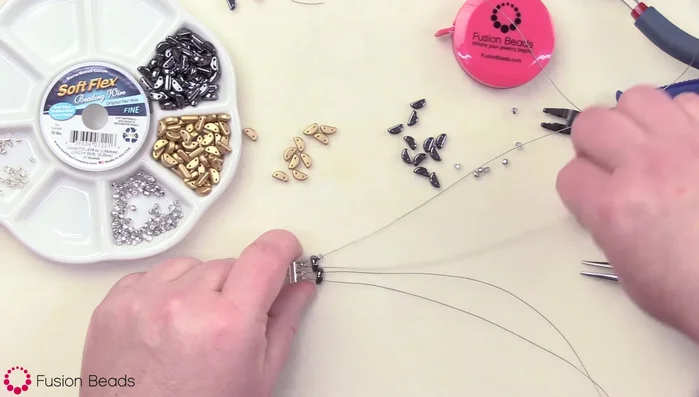
- 1 fire polish bead on the first strand, bronze/gold half-moon on strands 2 & 3 (alternating holes), 1 fire polish bead on strand 4. Repeat with hematite, then fire polish, etc.
Continue Beading Pattern Complete Bracelet Length
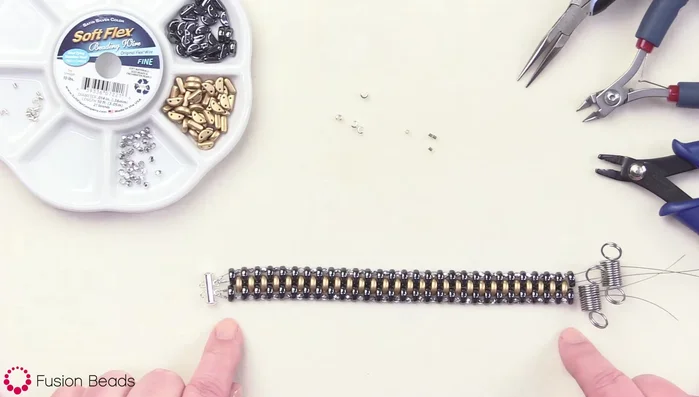
- String beads until the desired bracelet length (approximately 7 3/4 inches of beadwork, plus clasp) is reached.
Complete Bracelet Length Attach to Clasp
- Attach the open ends to the other end of the 2-bar clasp. Use a bead stopper on each end to keep the wires separated while attaching.
Attach to Clasp Secure Ends with Crimp Beads
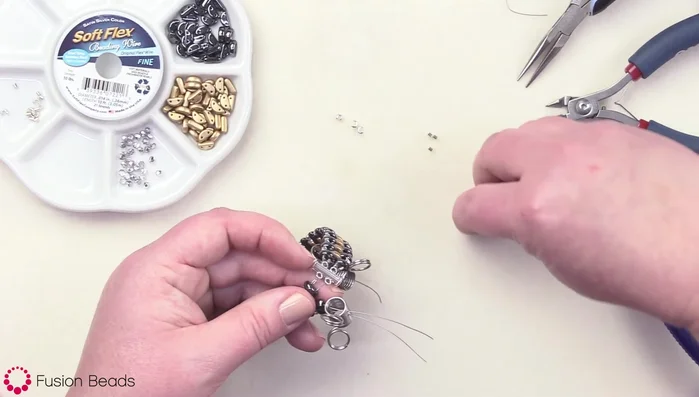
- Add a crimp bead to each end, threading through the loop and back through the crimp bead. Crimp securely.
Secure Ends with Crimp Beads Finish with Crimp Covers
- Cover the crimp beads with crimp bead covers and crimp to secure.
Finish with Crimp Covers

Read more: DIY Crystal Bracelet: Easy Square Knot Tutorial
Tips
- Leave a little space when crimping to prevent the clasp from being too tight.
- Keep strands separated while stringing to prevent beads from misaligning.
- Check bead holes before stringing to avoid blocked holes.
- Use long chain nose pliers to help attach crimp bead covers if needed.
- Crimp covers are optional; you can leave crimps uncovered.