Have you ever gazed at the night sky, mesmerized by the twinkling constellations? Now you can capture that celestial magic and wear it on your finger! This tutorial will guide you through the creation of a breathtaking celestial wire wrapped ring, a stunning piece of DIY jewelry that's both unique and surprisingly easy to make. Forget expensive, mass-produced designs; this project lets you personalize your jewelry, incorporating your favorite stones, colors, and wire techniques to craft a truly one-of-a-kind accessory. Imagine the compliments you'll receive when you unveil your handcrafted celestial masterpiece!
Learn the art of wire wrapping and transform simple materials into a captivating piece of wearable art. Whether you're a seasoned jewelry maker or a complete beginner, this detailed tutorial will walk you through each step of the process, from choosing the perfect stones to securing the final flourish. Ready to embark on this cosmic crafting adventure? Let's dive into the step-by-step instructions and create your own celestial wire wrapped ring!
Preparation and Safety Guidelines
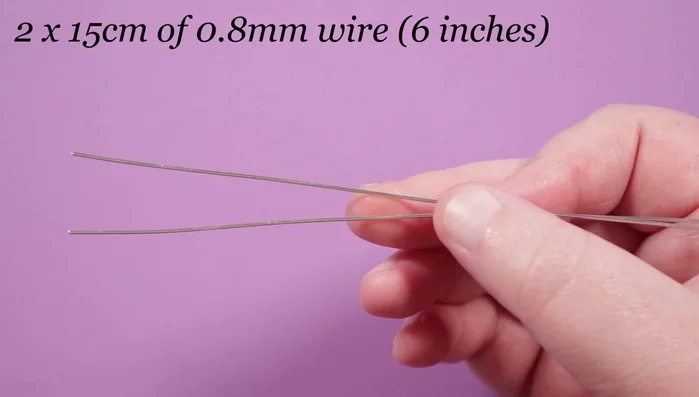
- Round wire (0.8 mil & 0.4 mil)
- Silver coated wire
- Copper wire
- Flush cutters
- Tweezers
- Round nose pliers
- Ring mandrel
- 6mm Rosemonte
- Always wear safety glasses when working with wire to protect your eyes from flying debris.
- Use caution when working with sharp tools like wire cutters and pliers. Keep tools away from children.
- Be mindful of the wire's sharpness. Avoid touching your face or eyes while handling it.
Step-by-Step Instructions
Prepare Materials
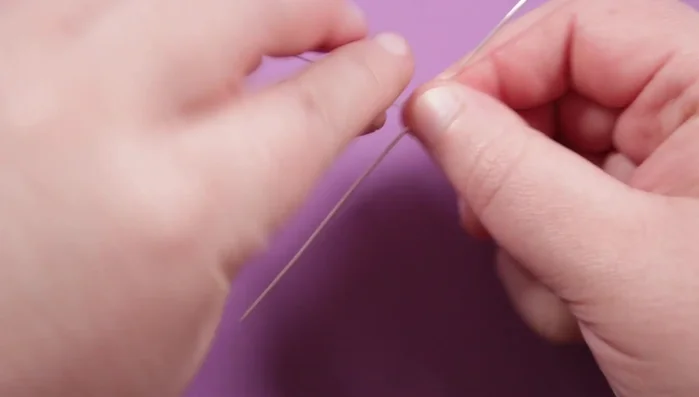
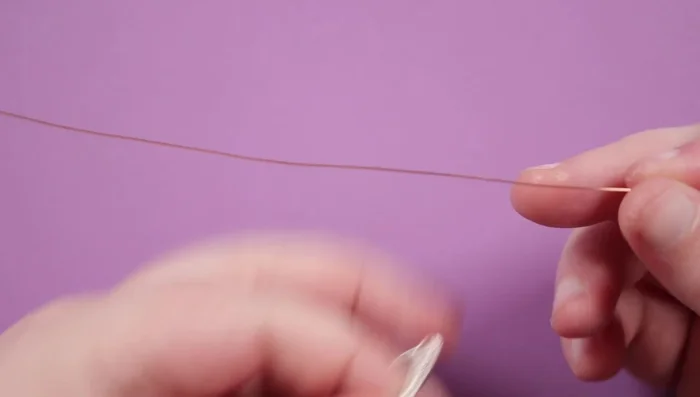
- 2 lengths of 0.8 mil wire (15cm each), 1 length of 0.4 mil copper wire (50cm), and a length of 0.4 mil silver wire (attached to reel for weaving).

Prepare Materials Create Ring Band
- Create the ring band using a diagonal wire weave with two base wires (0.8 mil) and one weaving wire (0.4 mil). Continue weaving until you reach the desired ring size. Use a scrap wire wrapped around your ring mandrel to gauge the necessary length.
Create Ring Band Shape and Prepare Ring Band Ends
- Shape the ring band on the mandrel, ensuring a slight gap between the ends of the weave. Make small loops on each end of the base wires using round nose pliers.
Connect Ring Band Ends
- Connect the loops using the weaving wire tails, creating a platform for the top piece. Securely wrap the weaving wires around the loops and the base wires.
Connect Ring Band Ends Create Top Piece Base
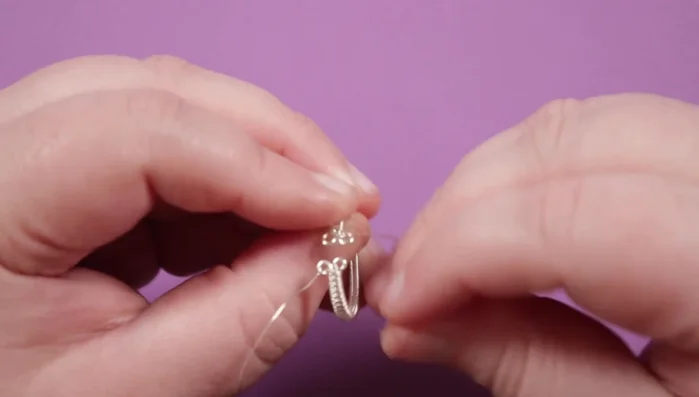
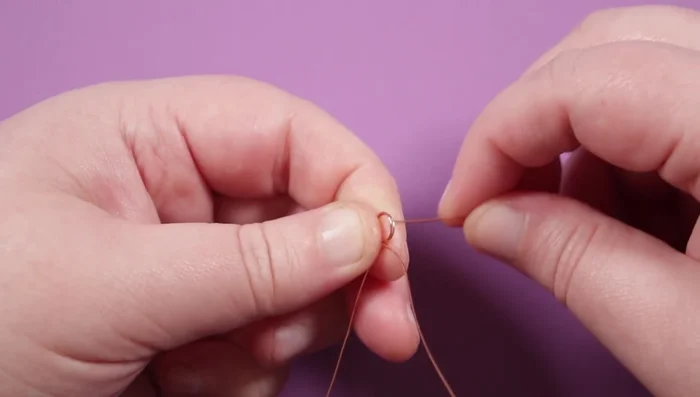
- Create the top piece using the copper wire (0.4 mil). Use round nose pliers to form two small circles, doubling the wire to create a sturdy base.
Create Top Piece Base Create Top Piece Spikes
- Wrap the long end of the copper wire around the circles, creating a secure base. Create alternating short (4mm) and long (7mm) spikes by measuring from the base circles and wrapping the wire around and through the circles.
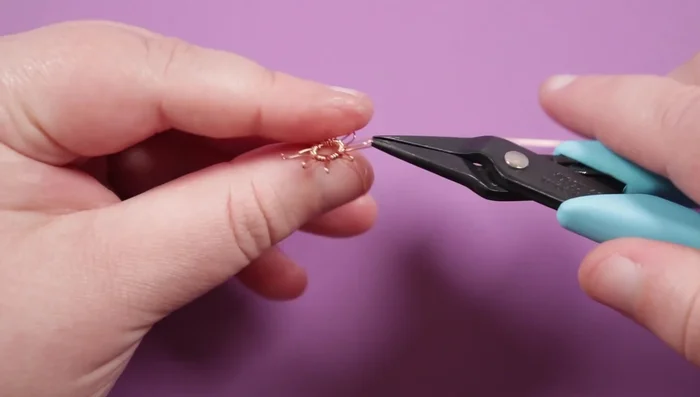
Create Top Piece Spikes Secure and Detail Top Piece
- Secure the spikes by twisting the ends for sturdiness. Add the Rosemonte in the center by weaving the remaining copper wire through the holes and wrapping around the base circles.
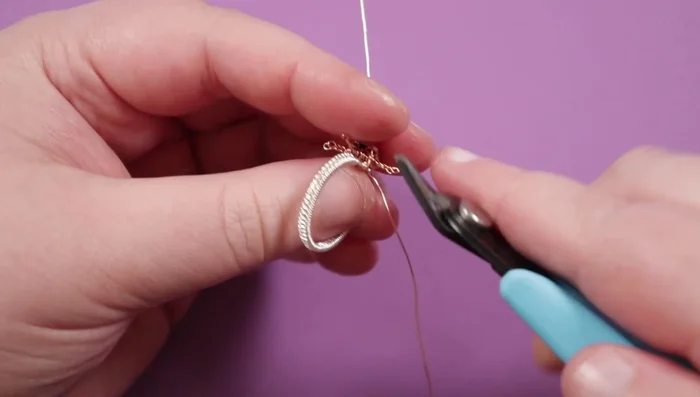
Secure and Detail Top Piece Attach Top Piece to Ring Band
- Attach the top piece to the ring band by weaving the remaining copper wire tails through the loops on the ring band. Securely wrap the wires around the loops and ring band, ensuring everything is tightly fastened.
Attach Top Piece to Ring Band Finish Ring
- Finish off the weaving wires by wrapping around a base wire, tucking the ends away to avoid snagging.
Finish Ring

Read more: Ultimate Guide to Making Inlay Rings with Bentwood Ring Supplies
Tips
- Use a scrap wire wrapped around your ring mandrel to determine the needed length for the ring band weave.
- Leave a small gap between the ends of the weave when shaping the ring band to allow for joining.
- Keep wraps tight throughout the weaving process for a secure and neat finish.
- Use a ruler to measure the spikes for consistent length and precise placement.
- Twist the ends of each spike to add strength and definition.