Transform everyday blooms into breathtaking wearable art with the captivating world of UV resin jewelry! This versatile crafting medium allows for incredible detail and creativity, but achieving a flawless, bubble-free finish can be challenging. The key lies in mastering the layering technique, a process that ensures your delicate floral inclusions are perfectly preserved and showcased in stunning clarity. Forget the frustration of trapped air bubbles and the disappointment of cloudy resin; this guide unlocks the secrets to achieving professional-looking results, even for beginners.
Imagine stunning necklaces, earrings, and rings adorned with vibrant, meticulously preserved flowers, all crafted by your own hands. This guide will walk you through the intricate layering process, providing clear instructions and tips to avoid common pitfalls. Ready to create stunning, bubble-free flower jewelry? Let's dive into the step-by-step process!
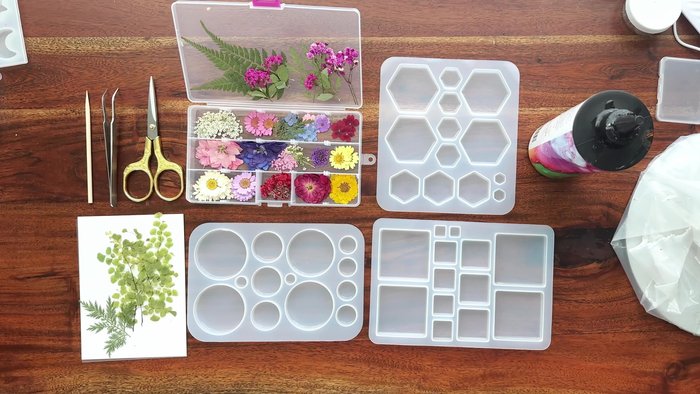
Preparation and Safety Guidelines
- UV resin
- silicone molds
- packing tape
- skewer
- heat gun
- UV lamps
- dried flowers
- sharp scissors
- eyepins
- earring hoops/studs/findings
- necklace chain and clasp
- drill with 1.5mm bit
- alcohol
- paper towels
- pliers
- UV resin is a powerful adhesive and can cause skin irritation or allergic reactions. Always wear gloves and work in a well-ventilated area. Avoid skin contact.
- UV resin cures rapidly under UV light. Protect your eyes from the UV light source by wearing appropriate safety glasses.
- Dispose of cured resin and any uncured resin according to local regulations. Do not pour resin down the drain.
Step-by-Step Instructions
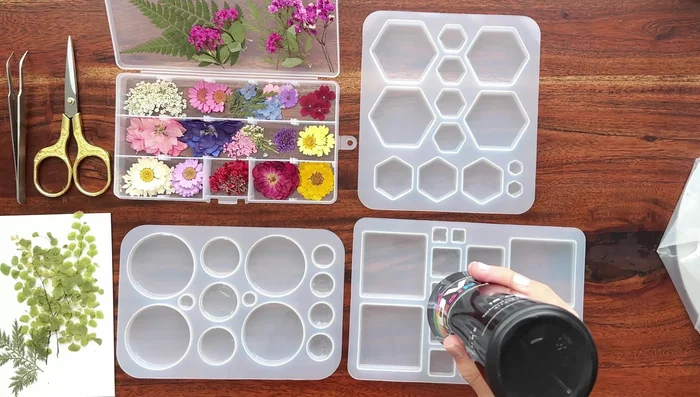
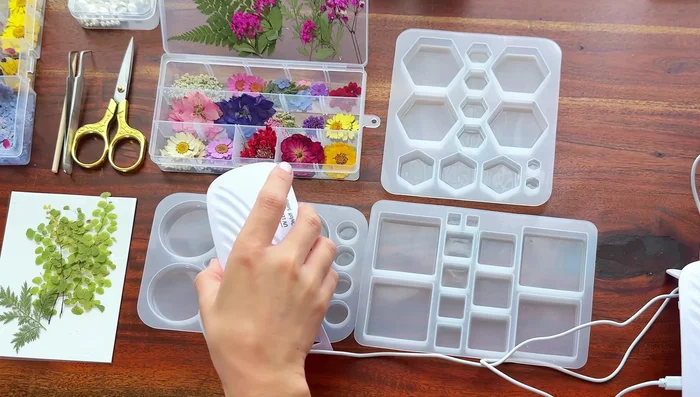
Prepare Molds
- Clean and dry silicone molds. Use packing tape to ensure cleanliness.

Prepare Molds First Resin Layer
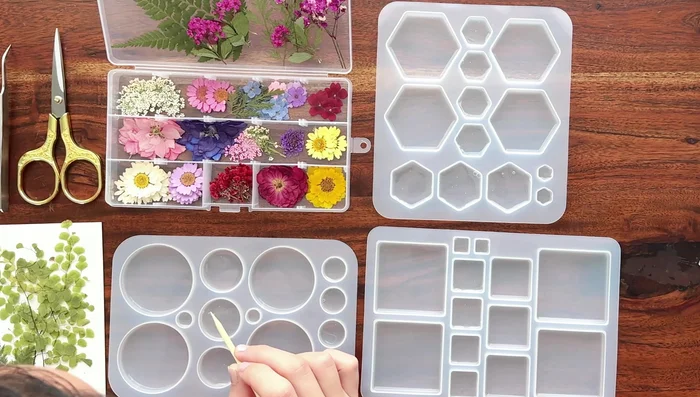
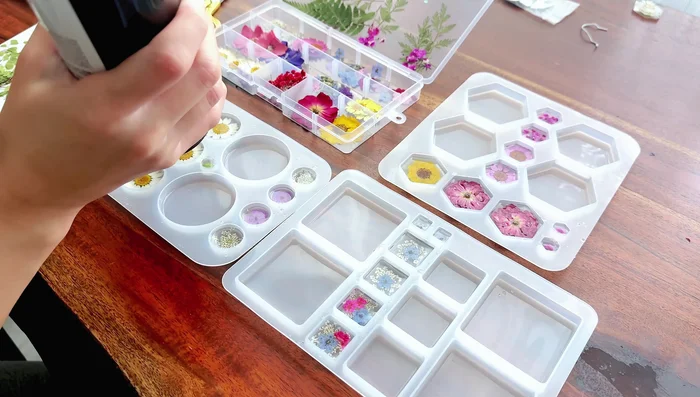
- Add a thin layer of UV resin to each mold cavity, using the resin bottle tip to spread.
- Use a skewer to move bubbles away from the silicone mold walls, then use a heat gun briefly to pop them.
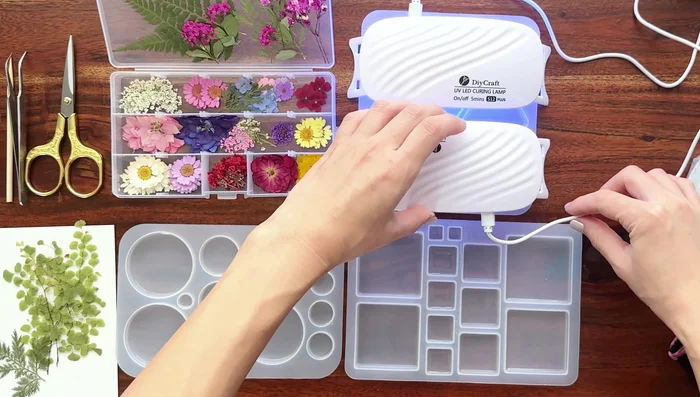
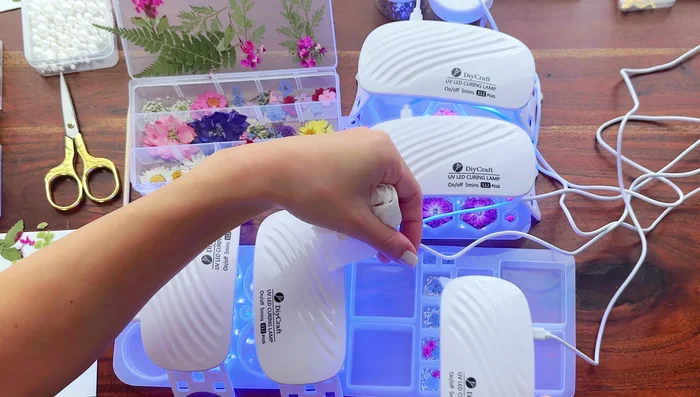
- Use UV lamps (5 minutes per lamp) to cure the resin.
First Resin Layer Second Resin Layer
- Add another thin layer of resin to each mold.
- Use a skewer and heat gun to remove bubbles.
- Add dried flowers to each mold, arranging them as desired.
- Cure with UV lamps (5 minutes per lamp).
Second Resin Layer Thin Coating Layer
- Add a thin coating of resin over the flowers to prevent bubble formation.
- Use a heat gun to pop bubbles from this coating layer.
- Cure with UV lamps (5 minutes per lamp).
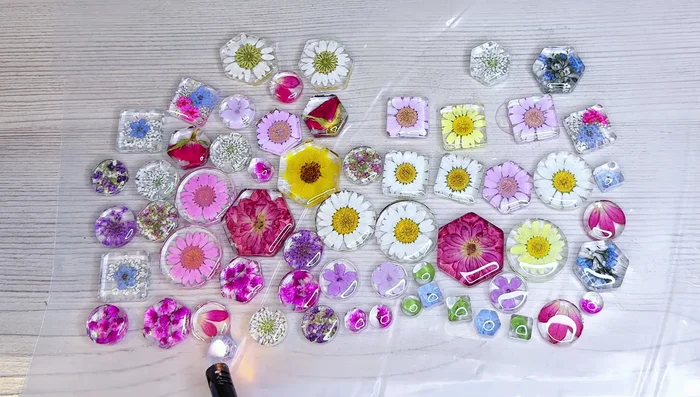
Thin Coating Layer Final Resin Layer
- Add a small amount of resin to completely encapsulate the flowers.
- Cure with UV lamps (10 minutes per lamp).
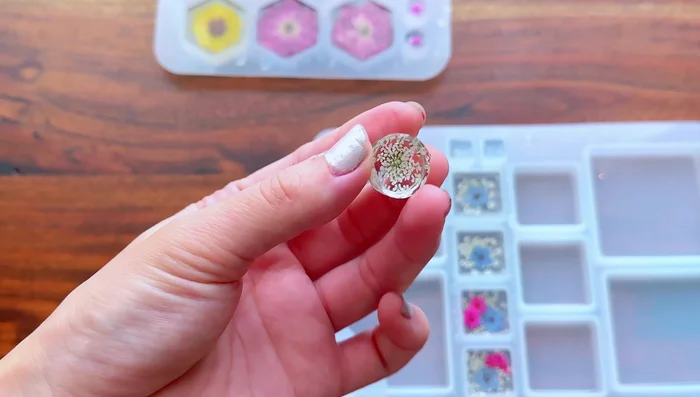
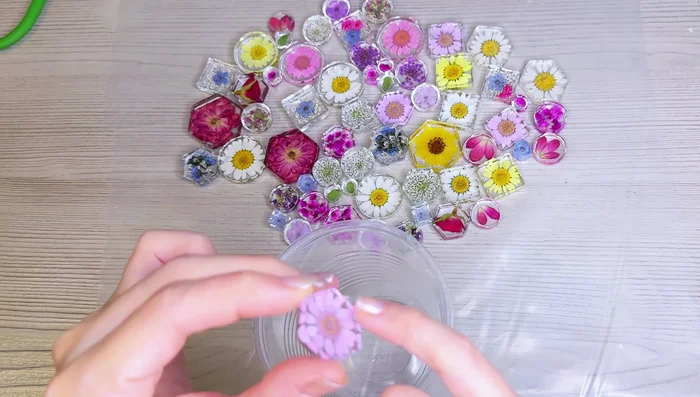
Final Resin Layer Demolding and Curing
- Carefully remove the resin pieces from the molds.
- Cure the backside of the pieces with UV lamps to ensure they are fully cured and not sticky.
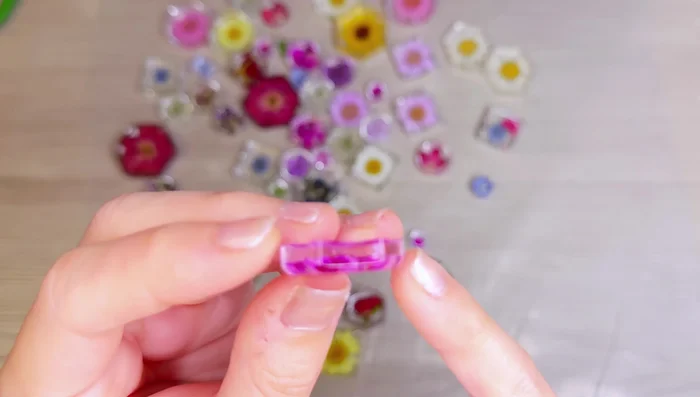
Demolding and Curing Edge Trimming
- Trim any excess or uneven edges using sharp scissors.
Edge Trimming Top Coat Application
- Apply a thin top coat of resin to each piece.
- Use a lighter (briefly) to pop any bubbles in the top coat.
- Cure the top coat with UV lamps (5-10 minutes).
Top Coat Application Hardware Attachment
- Drill holes, add eyepins (secure with UV resin), and attach earring findings or necklace clasps.
Hardware Attachment


Read more: Twisted Wire Spiral Earrings: A Step-by-Step Guide
Tips
- Use thin resin layers to prevent bubbles and speed up curing.
- Ensure flowers are completely dry before use.
- Use a thin resin coating over flowers in the second layer to minimize bubble formation.
- Don't overheat silicone molds or resin.
- Fully cure resin pieces before demolding.