The three-strand braid, a timeless and versatile hairstyle, is a fundamental skill in the world of hair braiding. From simple everyday styles to intricate updos, mastering this technique opens up a world of creative possibilities. Whether you're aiming for perfectly symmetrical braids for a formal occasion or a more relaxed, slightly messy look for everyday wear, the ability to confidently braid your own hair (or someone else's!) is a highly valuable asset. It's a skill that's easily learned with a little patience and practice, and the rewards are endless.
This seemingly simple braid might appear daunting to beginners, but with clear instructions, anyone can achieve a beautiful, neat result. This step-by-step guide will walk you through the process, from preparing your hair to securing the finished braid, ensuring you'll be braiding like a pro in no time. Let's dive into the details and learn how to create your own perfect three-strand braid!
Preparation and Safety Guidelines
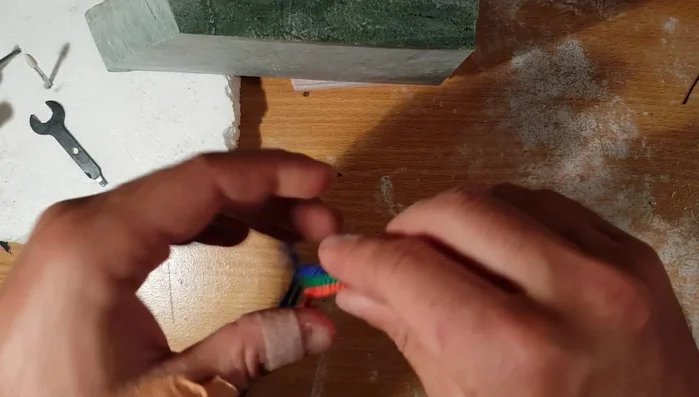
- 3 pieces of cord/string/nylon
- weight or clip to secure the end
- Avoid pulling the hair too tightly, as this can cause discomfort or headaches. Maintain a gentle but firm grip throughout the braiding process.
- If braiding someone else's hair, ensure you have their consent and proceed with care to avoid accidental pulling or snagging.
- Use a mirror to help you see the back of your head, especially when first learning how to braid. This will help you keep the strands even and prevent mistakes.
Step-by-Step Instructions
Prepare the Cords
- Tie off the three cords with a simple overhand knot.

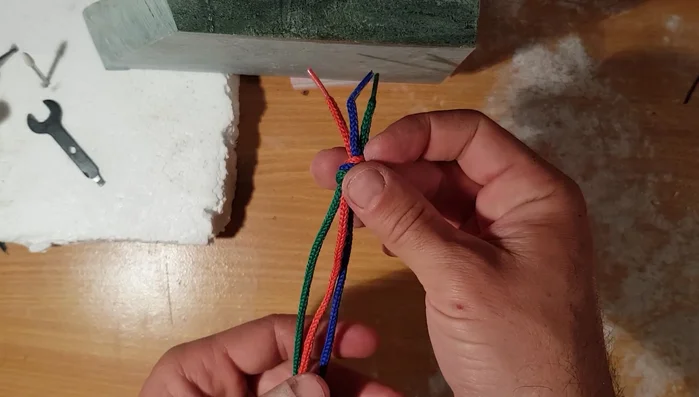
Prepare the Cords Secure the End
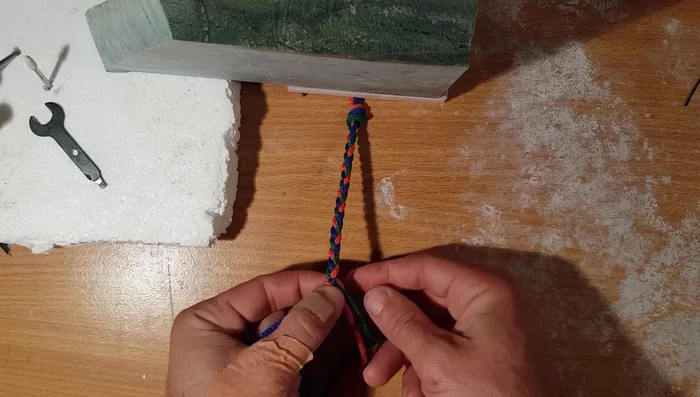
- Secure one end of the braid using a weight or clip to keep it taut.
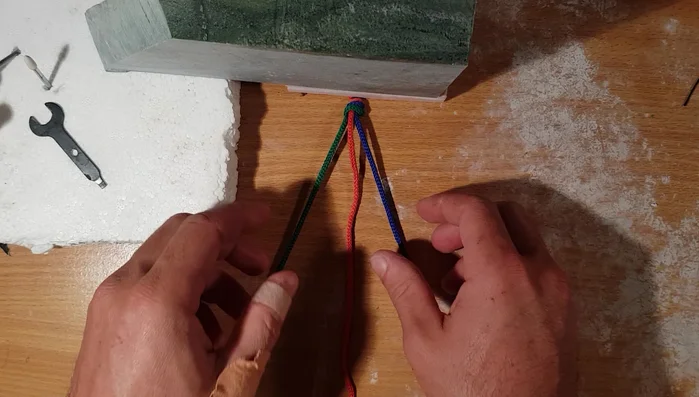
Secure the End Start the Braid
- Take the rightmost strand and cross it over the middle strand, placing it as the new middle strand.
- Take the leftmost strand and cross it over the new middle strand, making it the new middle strand.
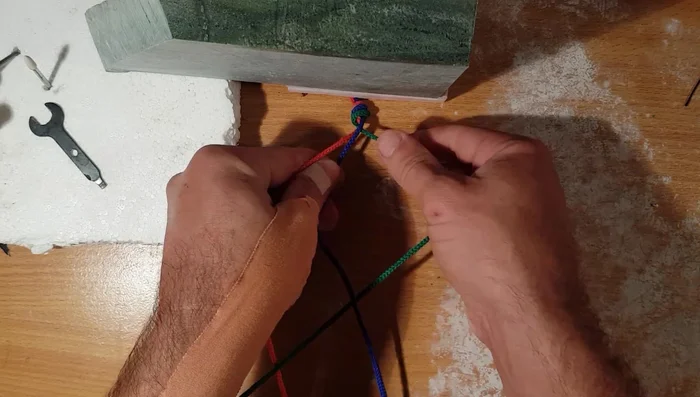
Start the Braid Continue Braiding
- Repeat steps 3 and 4, consistently moving the outside strands to the center. Maintain even tension throughout the braiding process.
Continue Braiding Finish the Braid
- Continue braiding until you reach the desired length, keeping the braid tight and untangling any knots as you go.
- To finish, tie off the ends with a secure knot.
Finish the Braid


Read more: Elegant Russian Spiral Necklace Tutorial: A Step-by-Step Guide
Tips
- Use different colored cords to easily visualize the braiding pattern.
- Maintain even tension while braiding to create a neat and even braid. Use a weight or clip to help with this.
- Untangle any knots that form during the braiding process.
- Experiment with different finger placements to find a comfortable and efficient technique.
- Practice makes perfect! The more you braid, the faster and more skilled you will become.