Tassels. Those charming little adornments add a touch of elegance and whimsy to everything from graduation caps and keychains to curtains and artwork. While they might seem intimidating to make, the truth is crafting perfect tassels is surprisingly simple and quick! Whether you're a seasoned crafter or a complete beginner, this tutorial will guide you through the process, empowering you to create beautiful, professional-looking tassels in no time. Forget about expensive pre-made options; with a few basic supplies and a bit of patience, you'll be amazed at what you can achieve.
This quick and easy tutorial breaks down the process into manageable steps, using clear instructions and helpful visuals. From preparing the thread to creating the perfect loop, we’ll cover every detail to ensure your tassels turn out flawlessly. Ready to add a touch of handmade magic to your projects? Let's dive into the step-by-step guide and learn how to make your own perfect tassels!
Preparation and Safety Guidelines
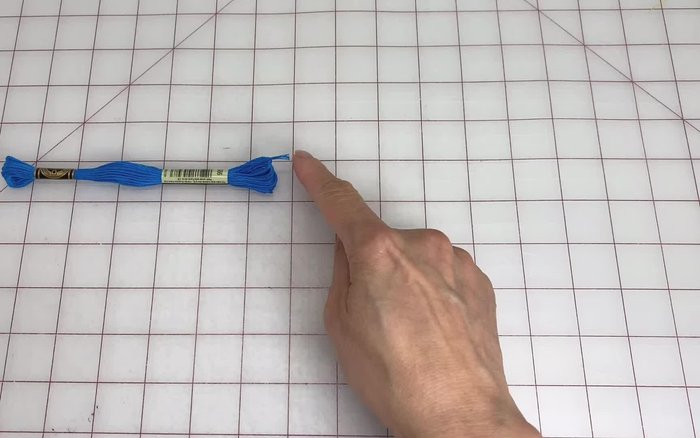
- DMC embroidery floss
- Scissors (6 inch Kai embroidery scissors recommended)
- Tapestry needle
- Use sharp scissors to avoid frayed ends and ensure clean cuts. Dull scissors can lead to uneven tassel lengths and potential injury.
- Be mindful of long strands of yarn or thread; keep them away from your face and eyes to prevent accidental entanglement or injury.
- If using glue, work in a well-ventilated area and avoid contact with skin or eyes. Always follow the manufacturer's instructions on the glue bottle.
Step-by-Step Instructions
Prepare the Floss
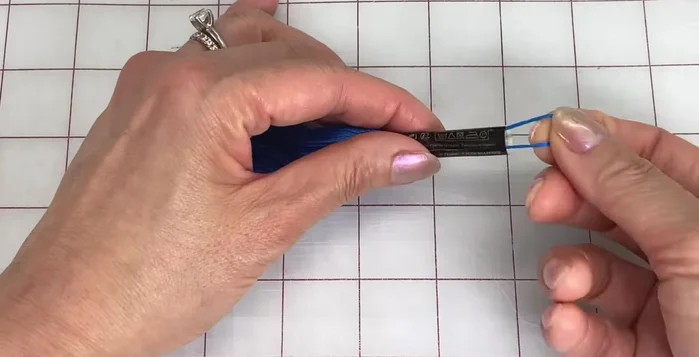
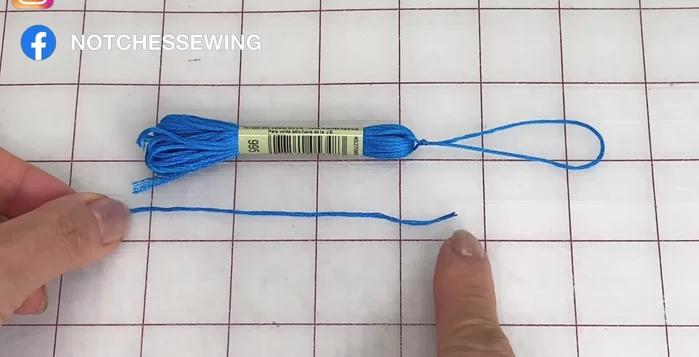
- Cut two strands of embroidery floss, double the desired tassel length (approx. 13 inches or 33 centimeters).
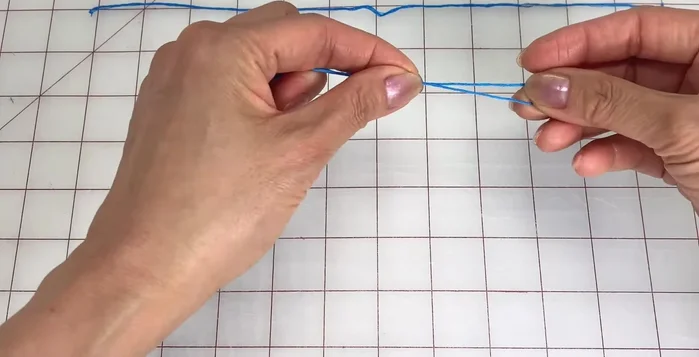
- Fold one strand in half and tie a loop at the top (about 2 inches or 5 centimeters long).

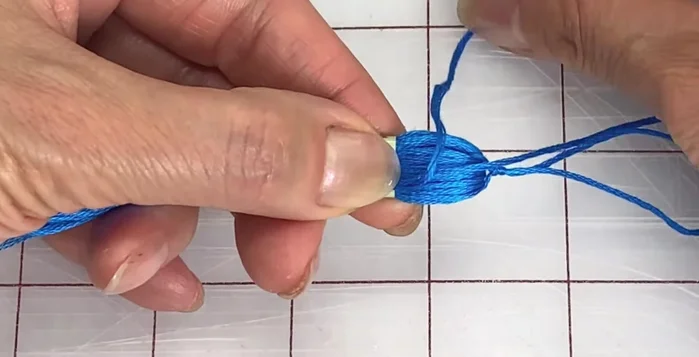
Prepare the Floss Create the Tassel Base
- Separate the ends, fold the floss in half to find the center, and place the center on top of the knot. Tie the ends together around the floss with a double knot.
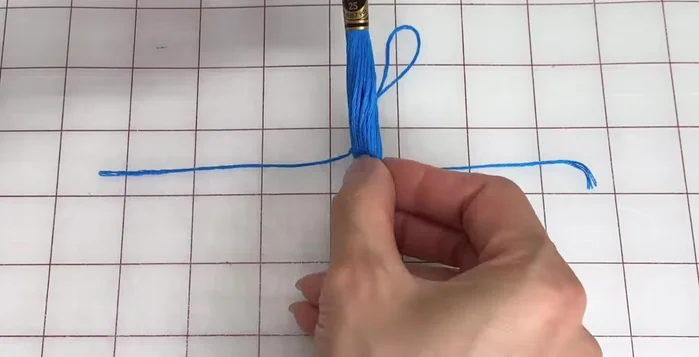
- Remove the sleeves from each end, fold in half again, and pull up on the top loop.
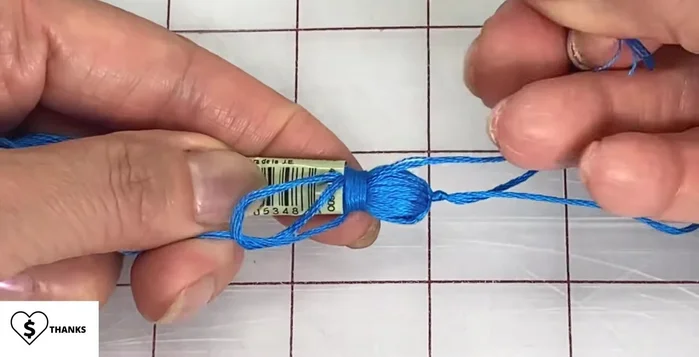
Create the Tassel Base Secure the Top
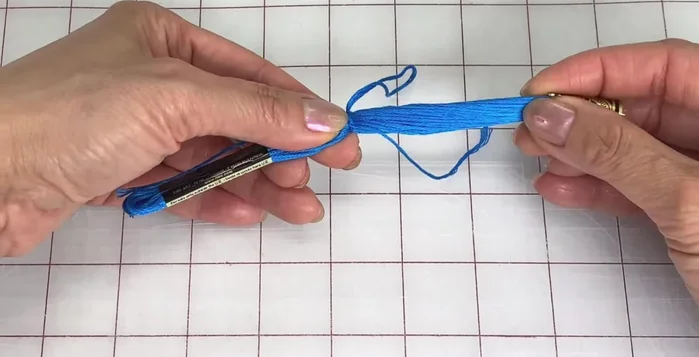
- Thread the loop into one of the sleeves and pull the sleeve down until about 3/4 of an inch or 2 centimeters of floss is showing at the top.
- Take the other strand, measure it slightly longer than the tassel, fold it around to form a loop at the bottom, and hold it in place near the top of the sleeve.
- Wrap the longer end clockwise around the top five times, pulling it tight each time and wrapping downwards.
- Thread the end through the loop and pull the top strand to close it up. Remove the sleeve and pull on the top strand until the loop disappears.
Secure the Top Finishing Touches
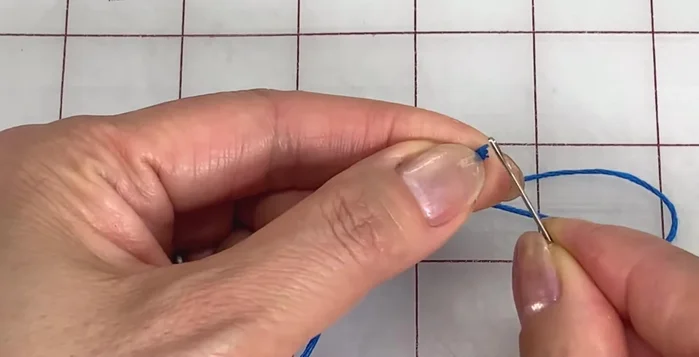
- Thread the end of the top strand through a tapestry needle. Thread the strand across the center top, below the top loop, and down between the tightly wound strands. Gently pull it through.
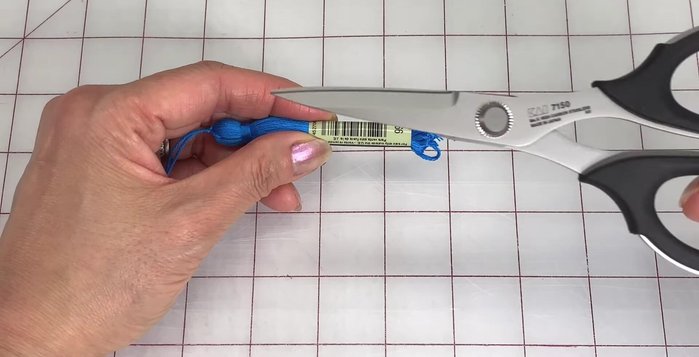
- Thread the tassel through a sleeve again and push it down to your desired length. Trim the ends using sharp scissors.
Finishing Touches
Read more: Twisted Wire Spiral Earrings: A Step-by-Step Guide
Tips
- Use sharp scissors like 6-inch Kai embroidery scissors for a clean cut and to avoid short strands.