The intricate world of steampunk, with its blend of Victorian aesthetics and futuristic technology, offers endless inspiration for creative projects. This unique tutorial will guide you through the fascinating process of crafting a stunning beaded cicada brooch, a miniature marvel perfectly embodying the spirit of this captivating genre. Imagine the gleaming metallic sheen of the body, the delicate filigree wings, and the vibrant colours of the meticulously placed beads – all coming together to create a truly eye-catching accessory. This project, while detailed, is surprisingly achievable, even for those with intermediate beading skills.
Prepare to be captivated as we delve into the art of transforming humble beads into a breathtaking piece of wearable art. From selecting the perfect beads and finding the right wire to assembling the intricate body and delicate wings, each step is meticulously explained. Let's embark on this crafting journey together, and soon you'll be proudly displaying your own handcrafted steampunk-inspired cicada brooch. Ready to begin? Let's dive into the step-by-step instructions below.
Preparation and Safety Guidelines
- Wool blend felt
- Tila beads (various colors & sizes)
- Seed beads (size 11 & 15)
- Sequins (various colors, sizes, and finishes)
- Peacock feathers
- Bugle beads
- Embroidery floss (various colors)
- Beading needles
- Long beading needle
- Copper wire
- Hat making buckram
- Pin back
- Scissors
- Always use sharp, high-quality beading needles to avoid bent needles and potential injury. Change needles frequently if they become dull.
- Be mindful of small parts. This project uses small beads which pose a choking hazard. Keep away from young children.
- When working with wire, use wire cutters specifically designed for jewelry making to avoid frayed ends and potential cuts.
Step-by-Step Instructions
Prepare the Cicada Base
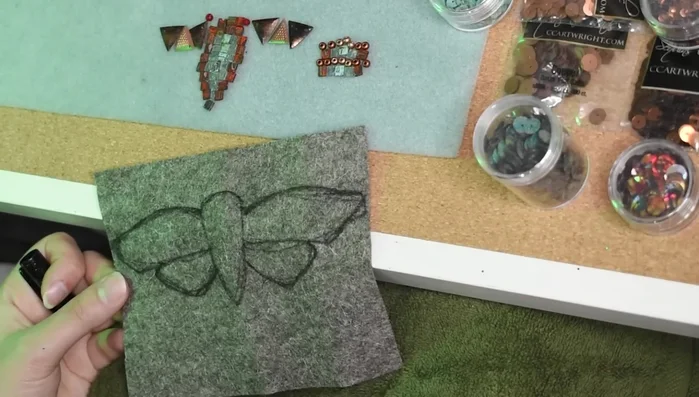
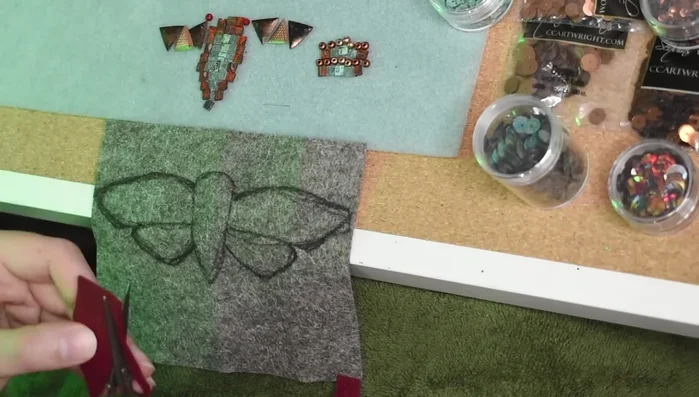
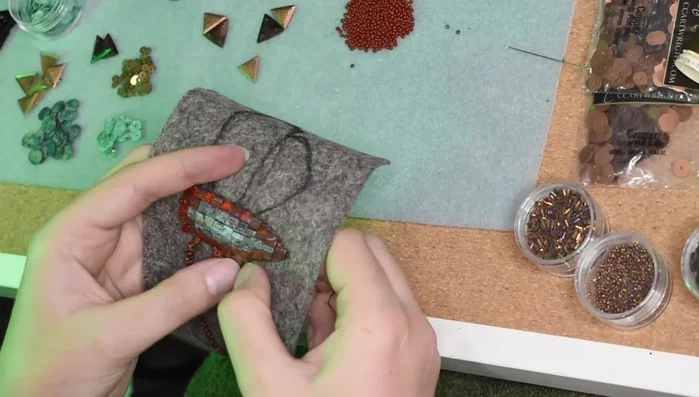
- Prepare the felt base and sketch the cicada shape.

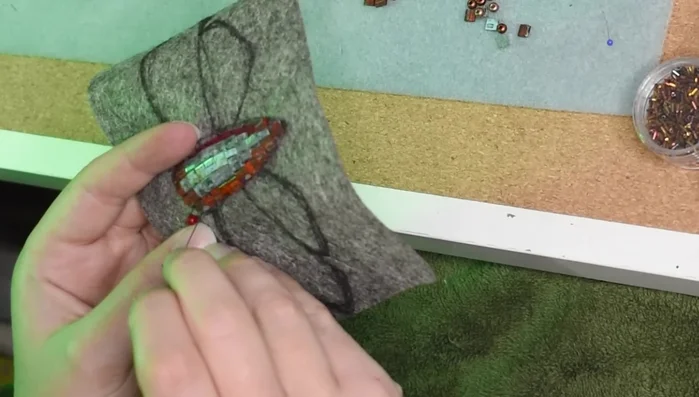
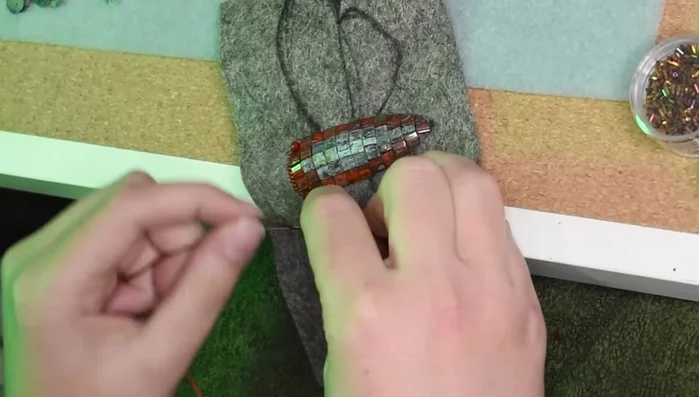
Prepare the Cicada Base Embroider the Cicada Body
- Add felt padding to the cicada's center using a whip stitch.
- Embroider the cicada's body center using Tila beads in a mosaic pattern, creating a color gradient.
- Add red seed beads for the eyes.
Embroider the Cicada Body Create the Top Wings
- Embroider the top wings using French knots.
- Finish the top wings with sequins, mirroring the bottom wing technique.
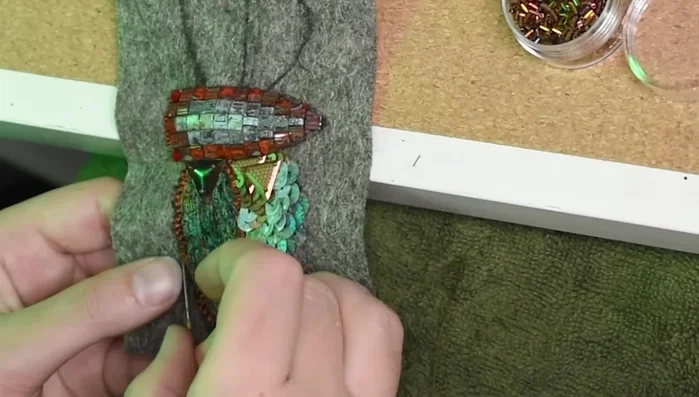
Create the Top Wings Create the Bottom Wings
- Embroider the bottom wings using sequins, creating a layered effect with varying sizes and colors.
- Add peacock feathers to the bottom wings, securing them with small stitches.
Create the Bottom Wings Add Embellishments
- Add bugle beads for extra sparkle.
Add Embellishments Add Structural Elements
- Add copper wire antennas.
- Add a stabilizing copper wire structure inside the brooch.
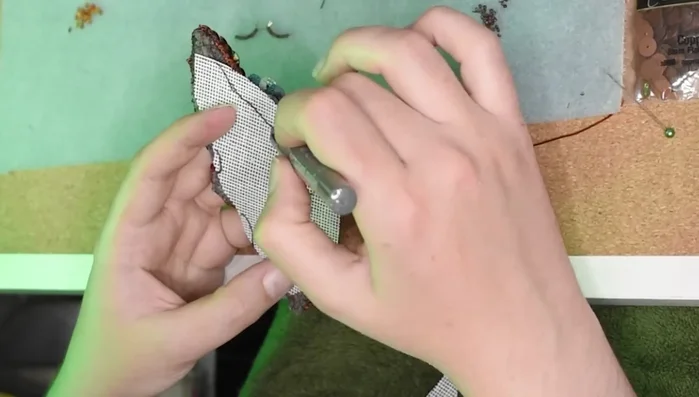
Add Structural Elements Complete the Brooch
- Attach the pin back.
- Add a final backing of felt, securing it with a blanket stitch.
Complete the Brooch

Read more: DIY Wonky House Brooches: The Fastest & Easiest Method
Tips
- Use doubled embroidery thread on a beading needle for secure stitches.
- Couch the threads to secure beads firmly.
- Vary the spacing of stitches depending on the area's expected tension.
- Experiment with different bead and sequin sizes and finishes to create texture and visual interest.
- For a flatter finish, trim the edges instead of folding the felt tabs.