The allure of handmade jewelry is undeniable, offering a unique blend of artistry and personal expression. Silver, with its lustrous sheen and malleable nature, is a particularly rewarding material for crafting exquisite pieces. Among the most popular and versatile silver jewelry designs is the rope chain, its intricate texture adding a touch of sophistication to any style. This tutorial will guide you through the process of creating your own beautiful, handcrafted silver rope chain, empowering you to transform simple silver wire into a stunning piece of wearable art. From selecting the right tools and materials to mastering the fundamental techniques, we’ll cover every step of the way.
This detailed guide will walk you through each stage of the process, providing clear instructions and helpful visuals to ensure a successful outcome, regardless of your prior experience with jewelry making. Prepare to be amazed by what you can create with your own two hands! Get ready to delve into the step-by-step instructions and begin your journey to crafting a magnificent handmade silver rope chain.
Preparation and Safety Guidelines
- Silver bar
- Draw plate
- Emery paper
- Beeswax/Oil/WD-40
- Flux
- Borax
- Skillet
- Hand drill
- Emery cloth
- Pickle
- Polishing brush
- Mop
- Always wear safety glasses to protect your eyes from flying metal particles during filing and sawing.
- Use proper ventilation when soldering to avoid inhaling harmful fumes. Work in a well-ventilated area or use a respirator.
- Silver is a soft metal. Avoid excessive force when working with it to prevent breakage or deformation of your chain.
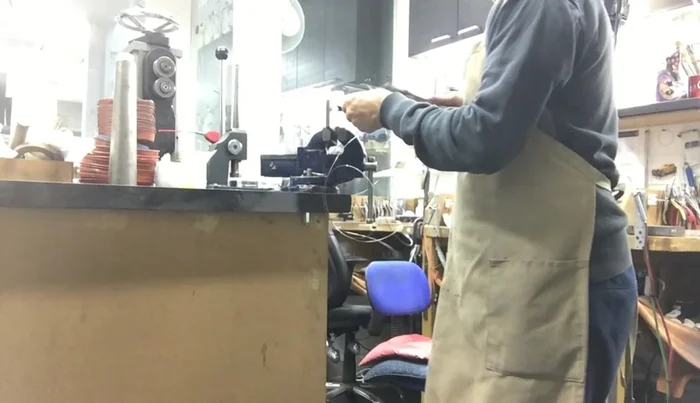
Step-by-Step Instructions
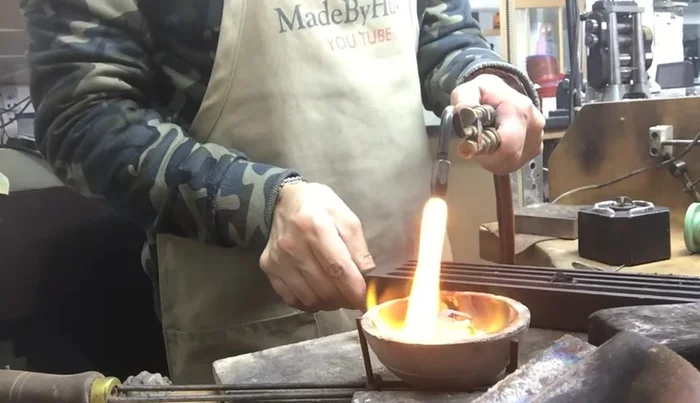
Prepare Materials
- Add borax and flux to help the silver flow, and oil to the skillet for smoother work.

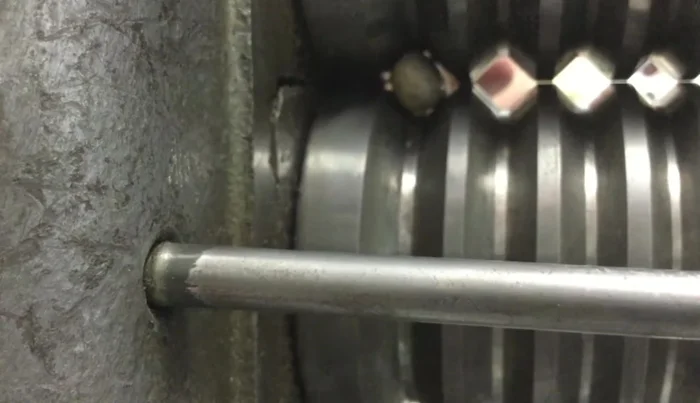
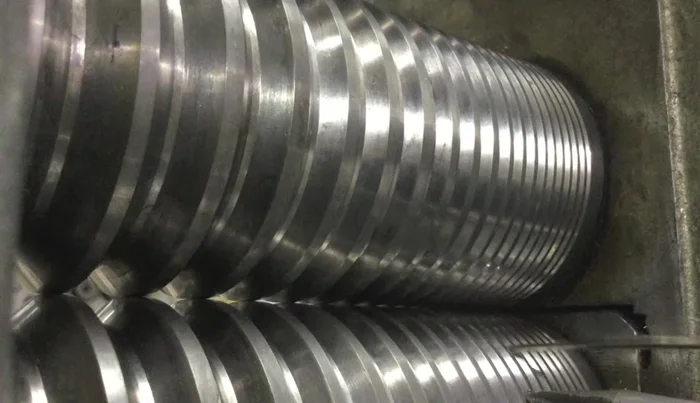
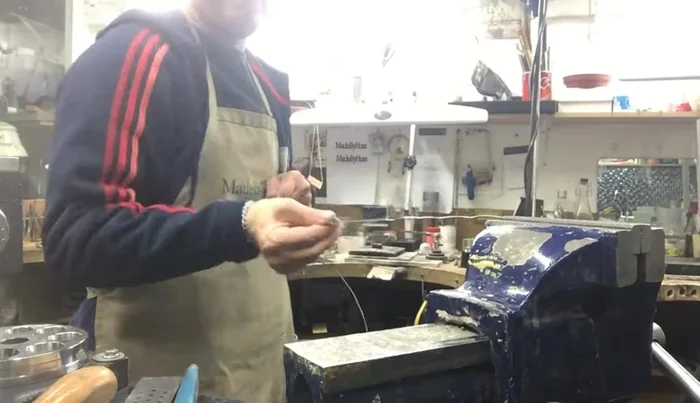
Prepare Materials Shape and Draw Silver
- Slowly heat and draw the silver through the draw plate multiple times. Anneal frequently to prevent cracking.
- Mill out the ends to make them pointed.
- Apply beeswax/oil/WD-40 to the wire before drawing it.
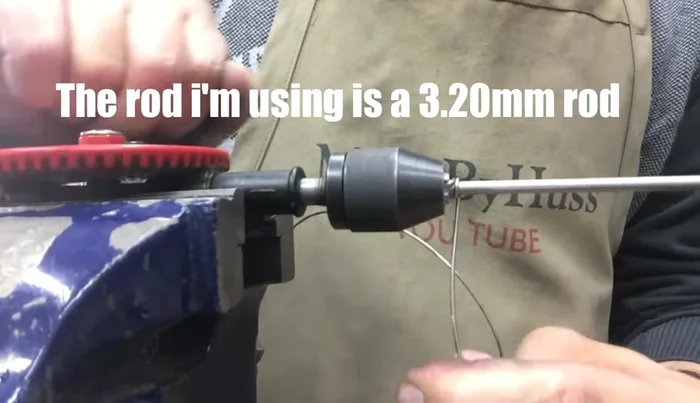
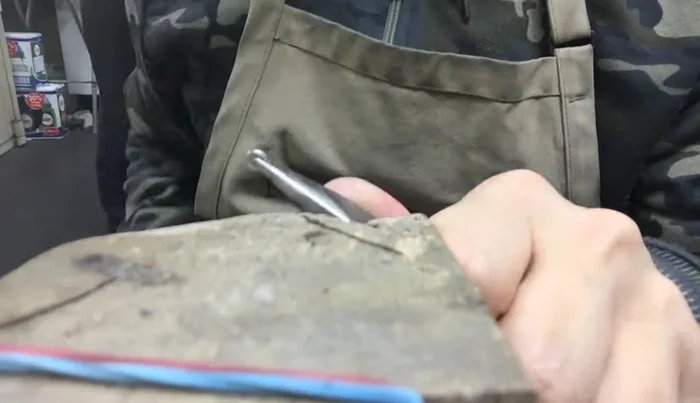
Shape and Draw Silver Prepare Wire Ends
- Use a small piece of emery paper to protect the metal while working.
- Use emery paper to smooth the ends of the wire to fit in the hand drill.
Prepare Wire Ends Create Loops
- Drill the ends to create the loops.
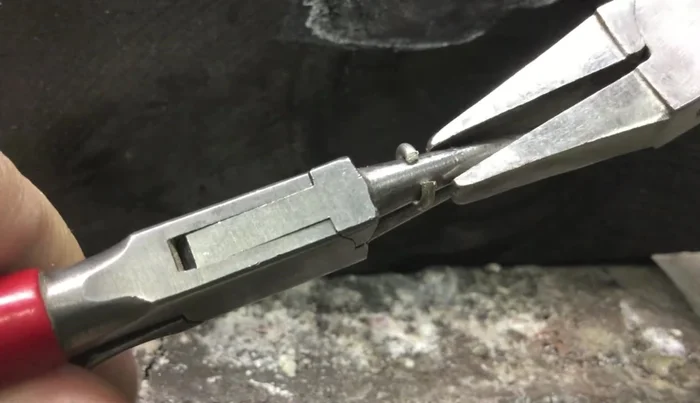
Create Loops Open and Close Links
- Open the links carefully, ensuring the metal is warm.
- Close the links, making sure they are even and parallel.
- Mark the links with a pen to know where to stop when closing.
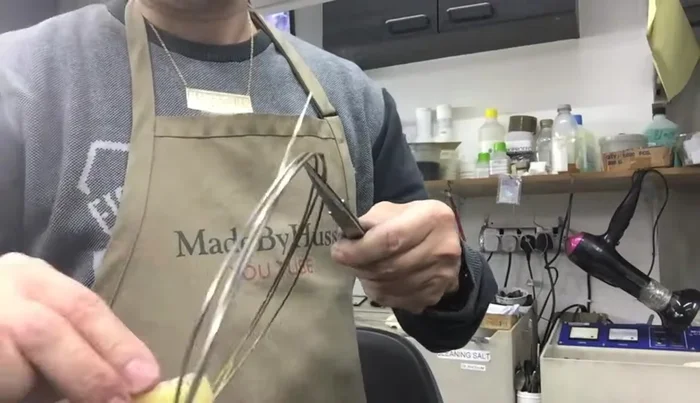
Open and Close Links Assemble Chain
- Carefully link the chain together, ensuring each link is level and parallel. Use a machine if possible to make it easier.
Assemble Chain Finish and Polish
- Finish by adding a clasp and polishing the chain.
Finish and Polish


Read more: Elegant Russian Spiral Necklace Tutorial: A Step-by-Step Guide
Tips
- Work slowly to avoid cracking the metal.
- Anneal the silver frequently to soften it and prevent cracking.
- When drilling, go backward at the end to prevent cutting your finger.
- Always do a small sample first to ensure you are happy with the result.
- Warm the silver before pickling.